Sebastien DEL GROSSO
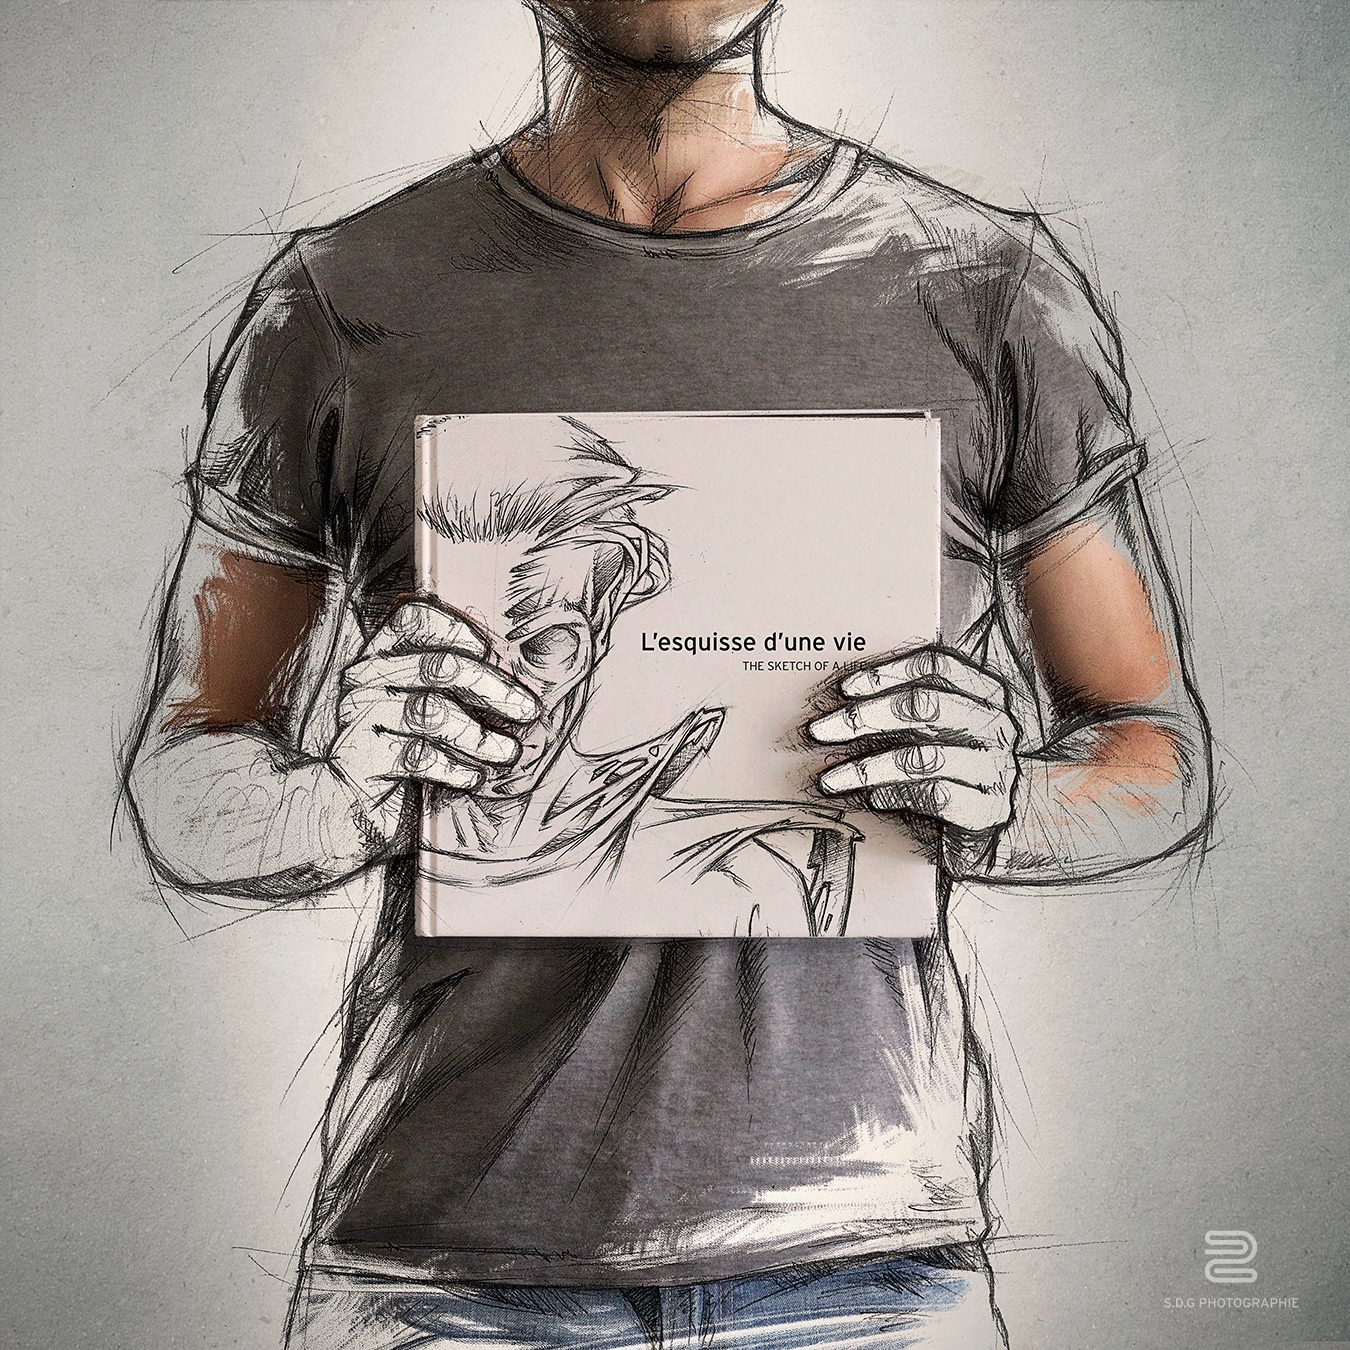
The Sketch of a Life
2014 / 2018
__
About
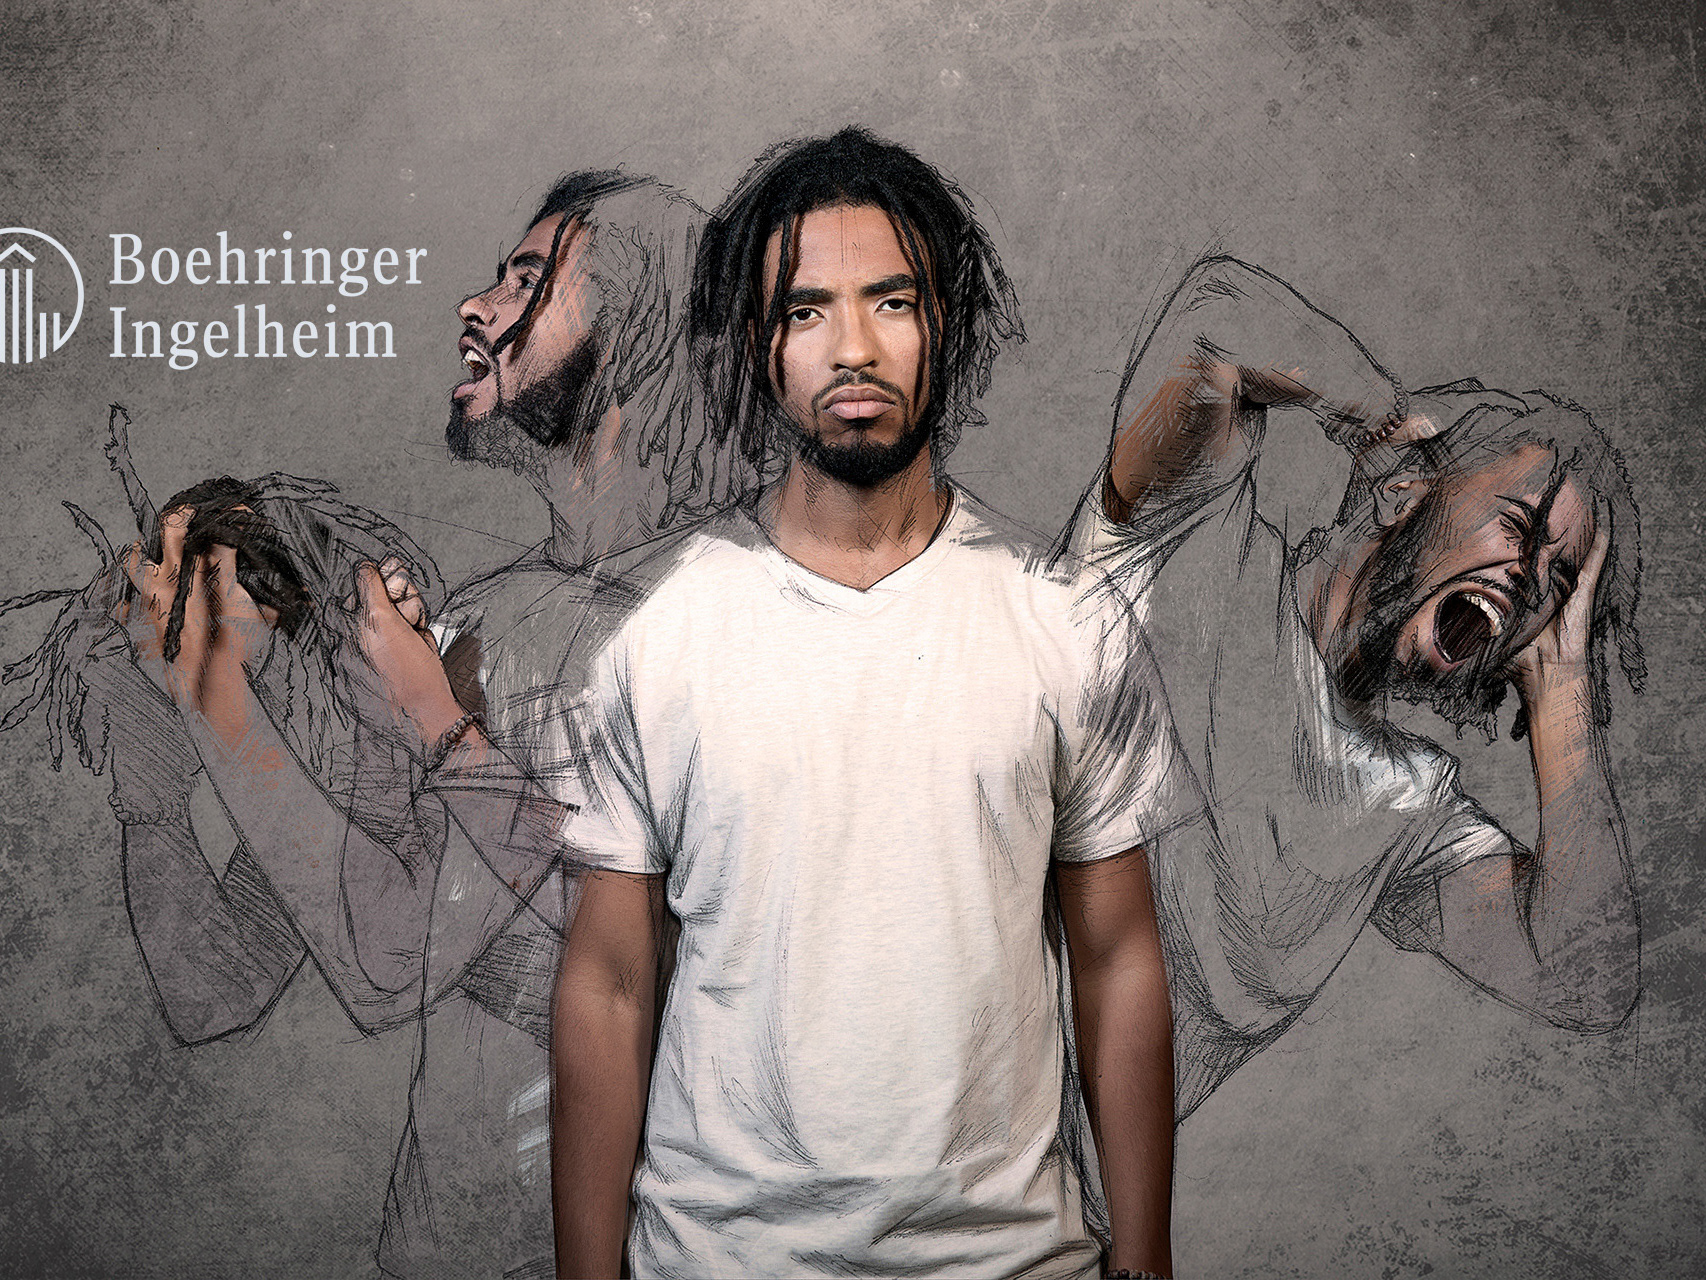
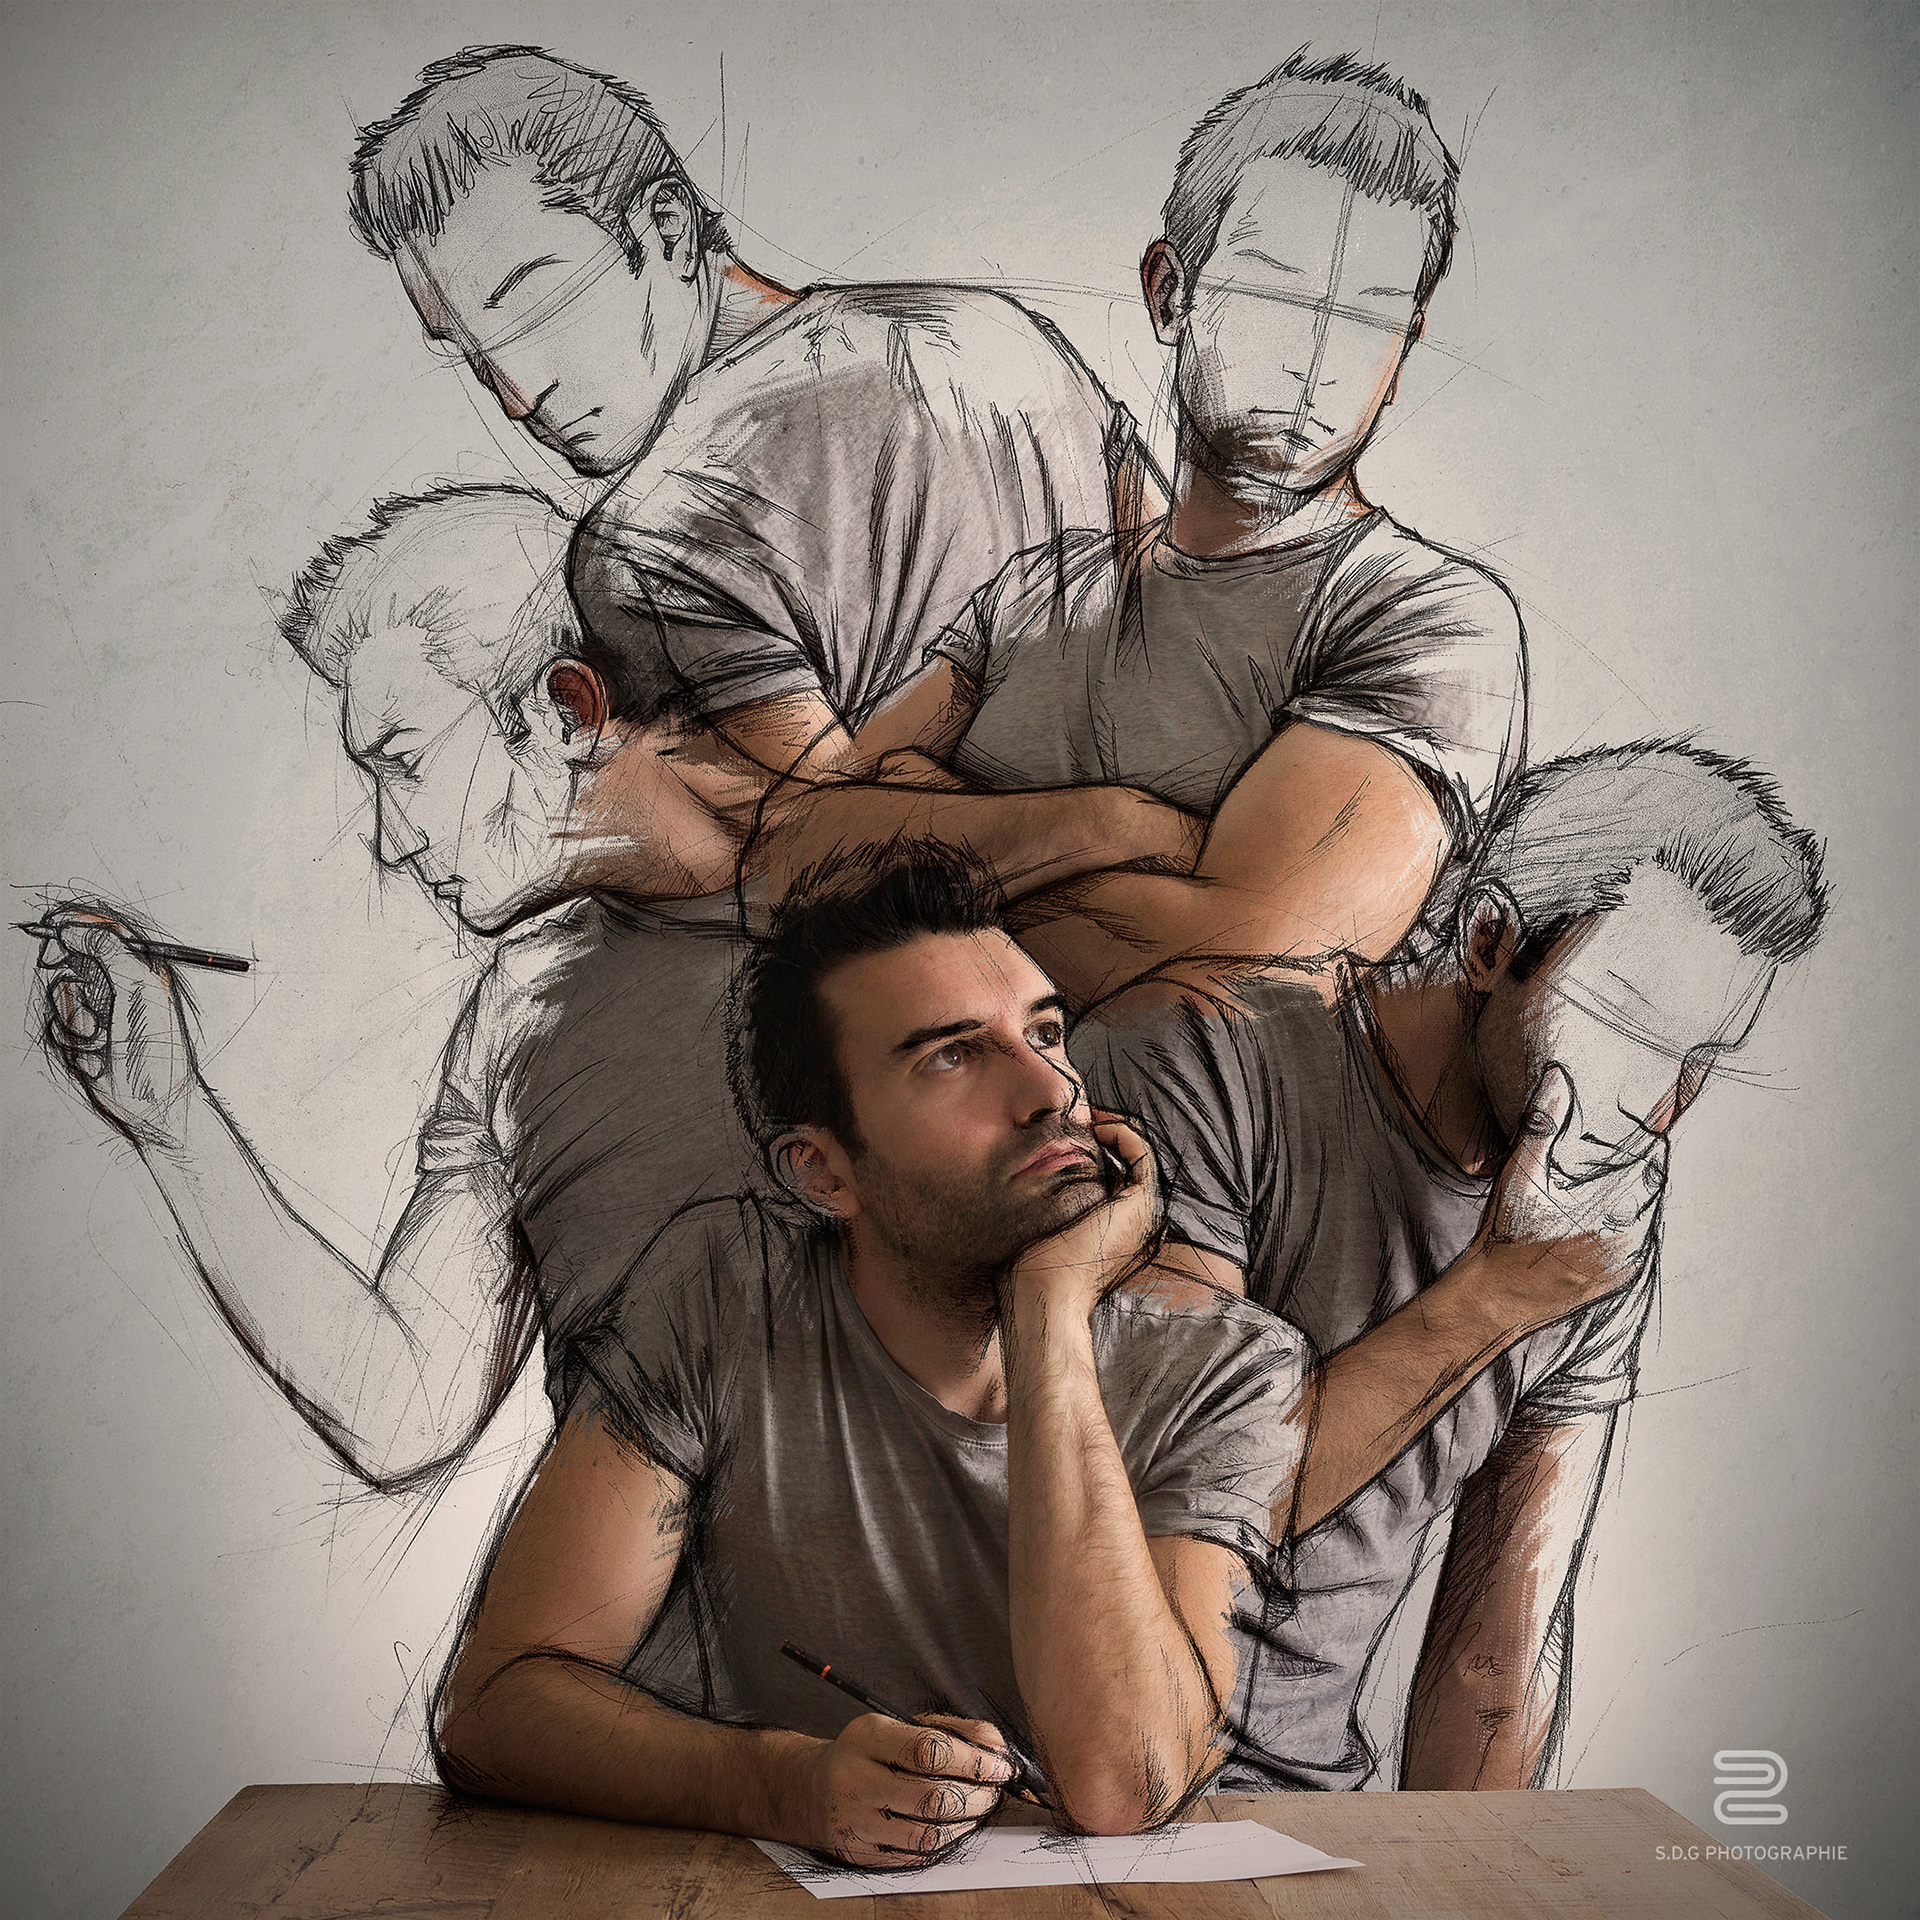
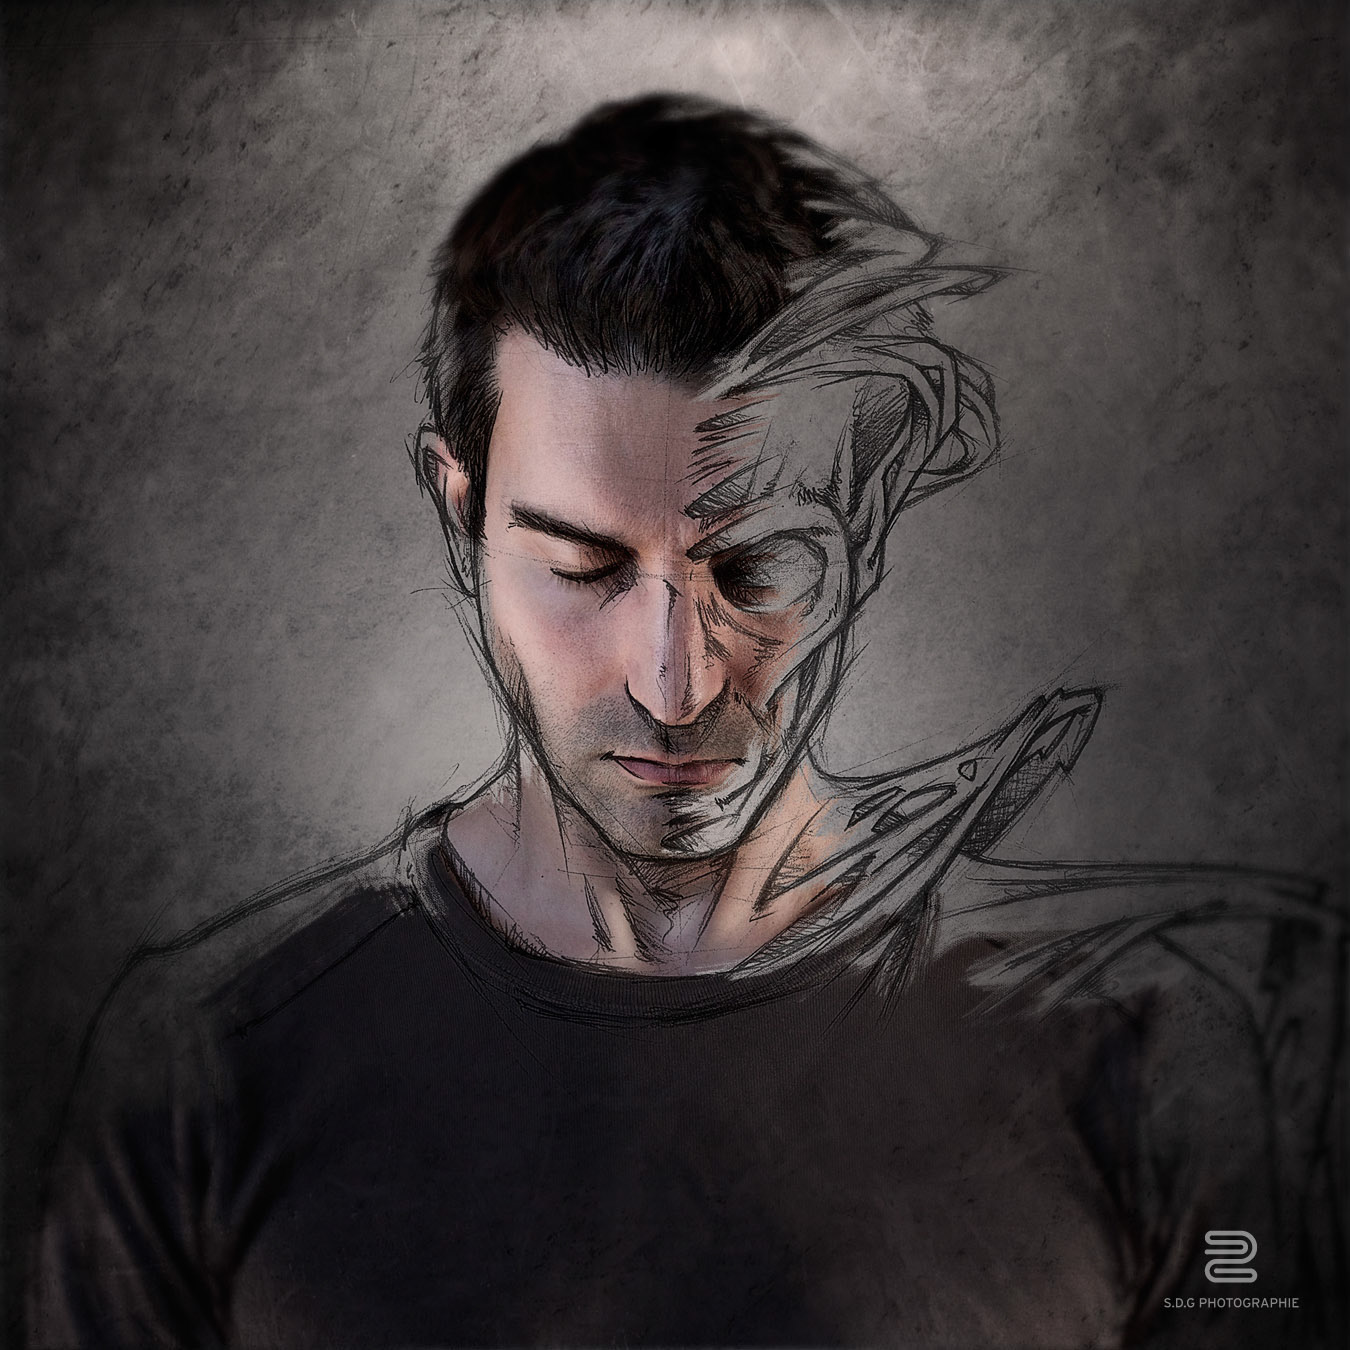
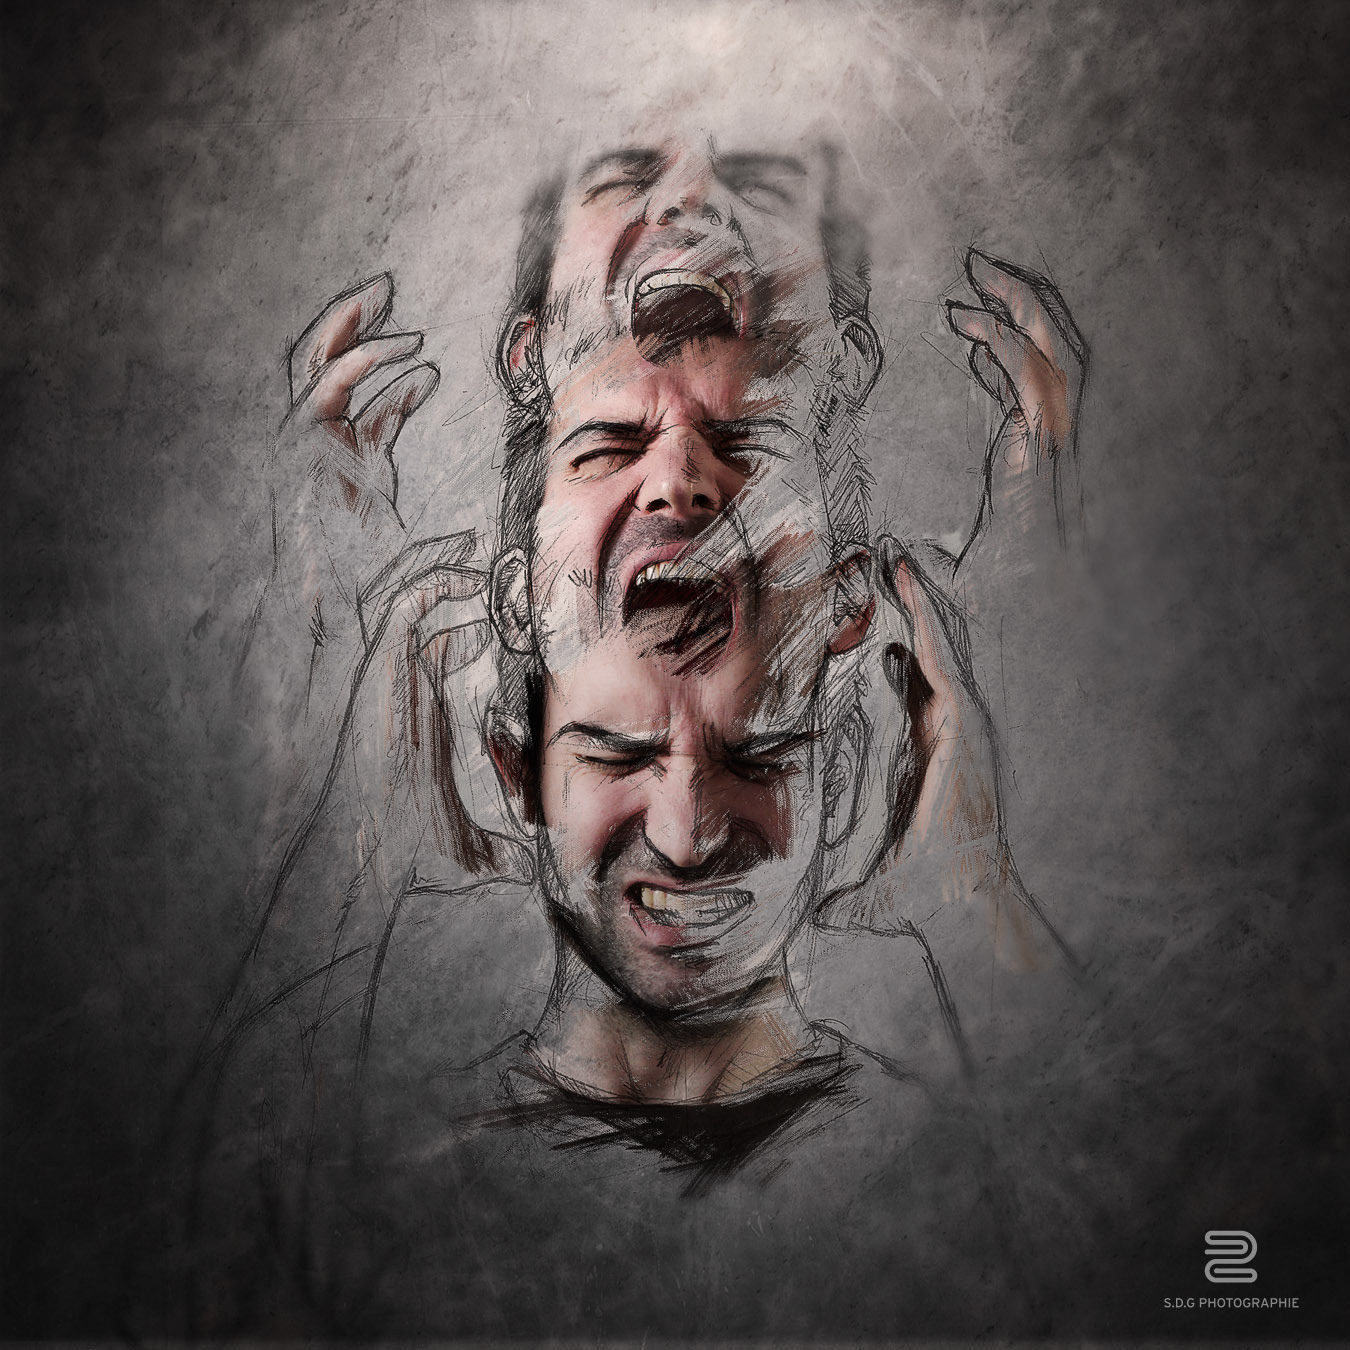
This was originally meant to be a self-portrait. But after some reflection, I realized I could create a small series to illustrate my life and the story could unfold through an entire series of sketches.
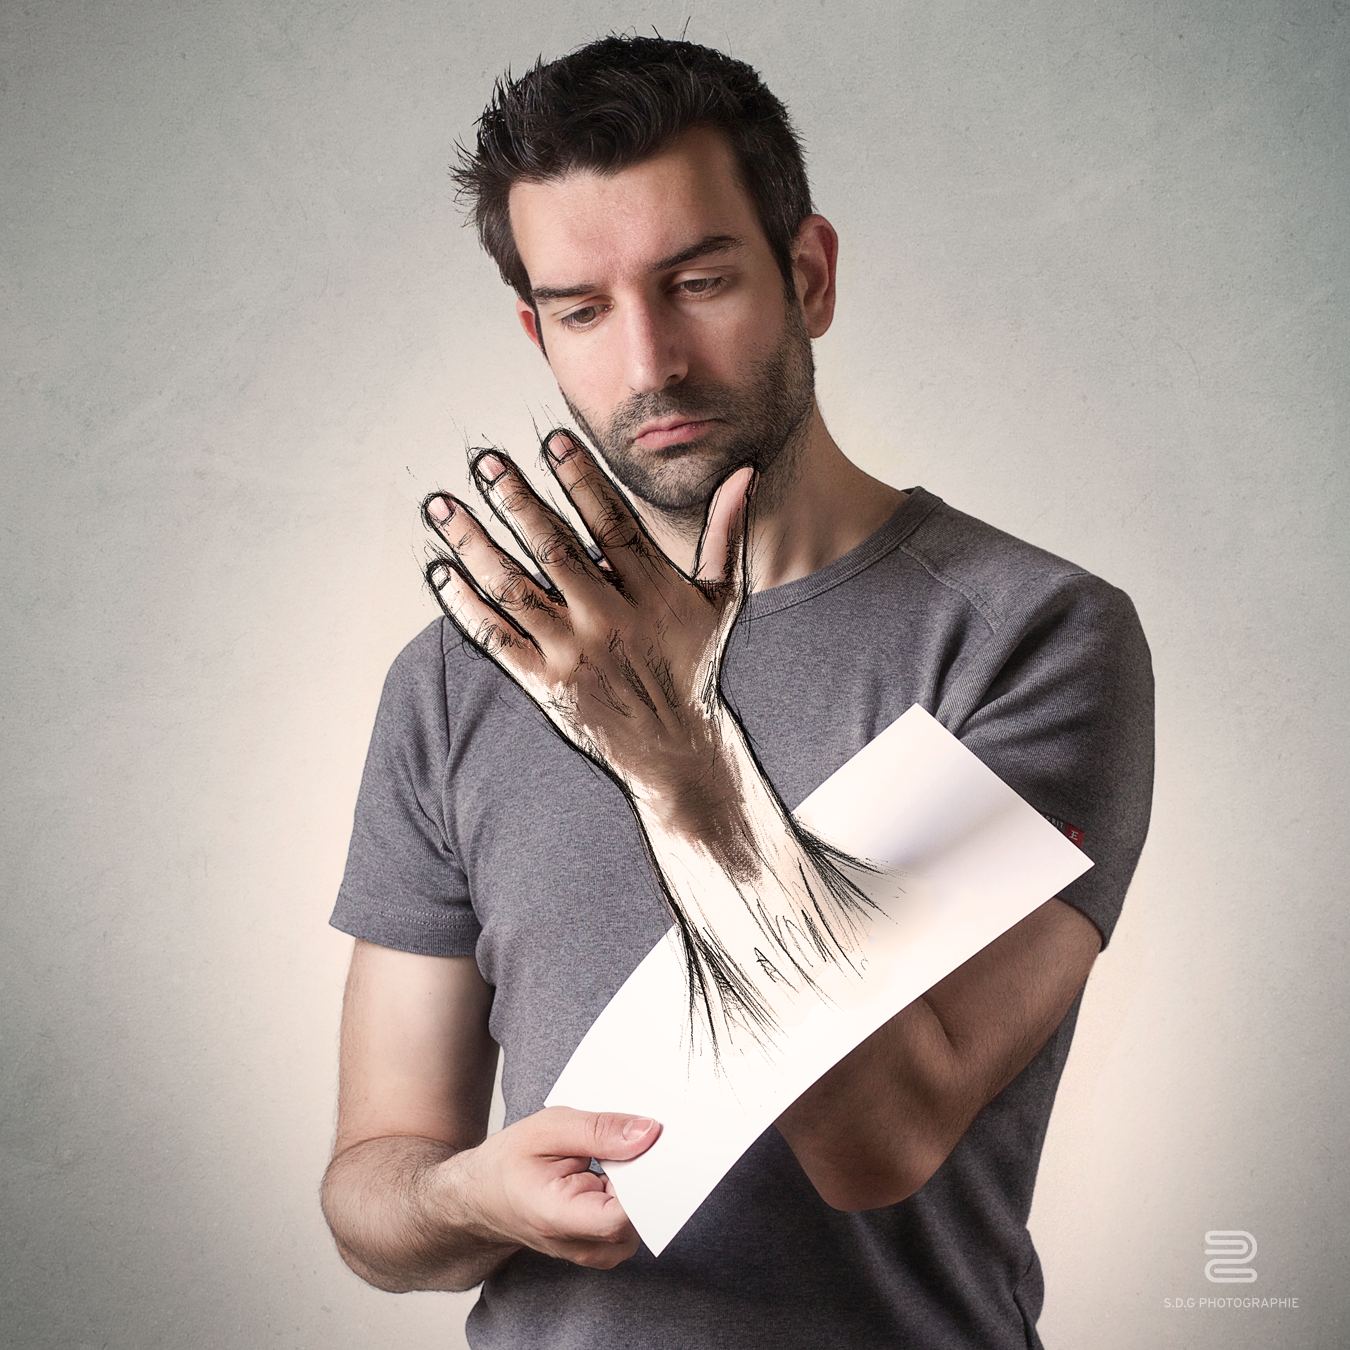
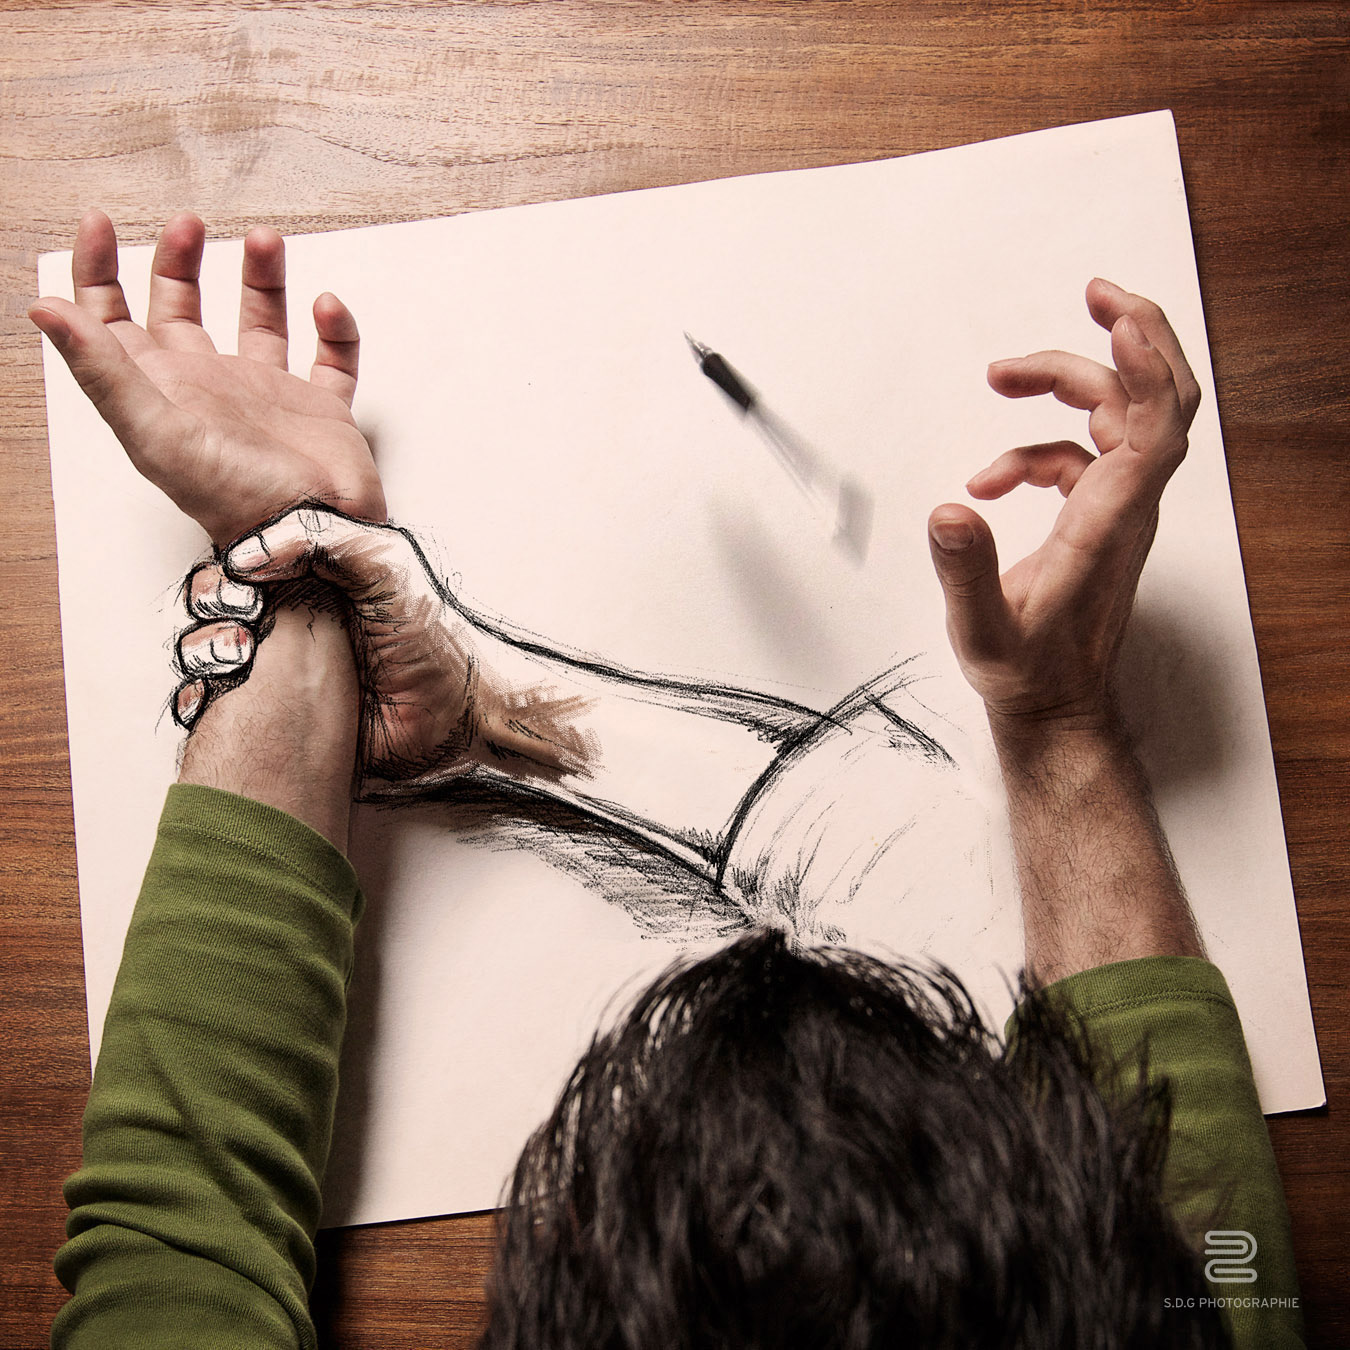
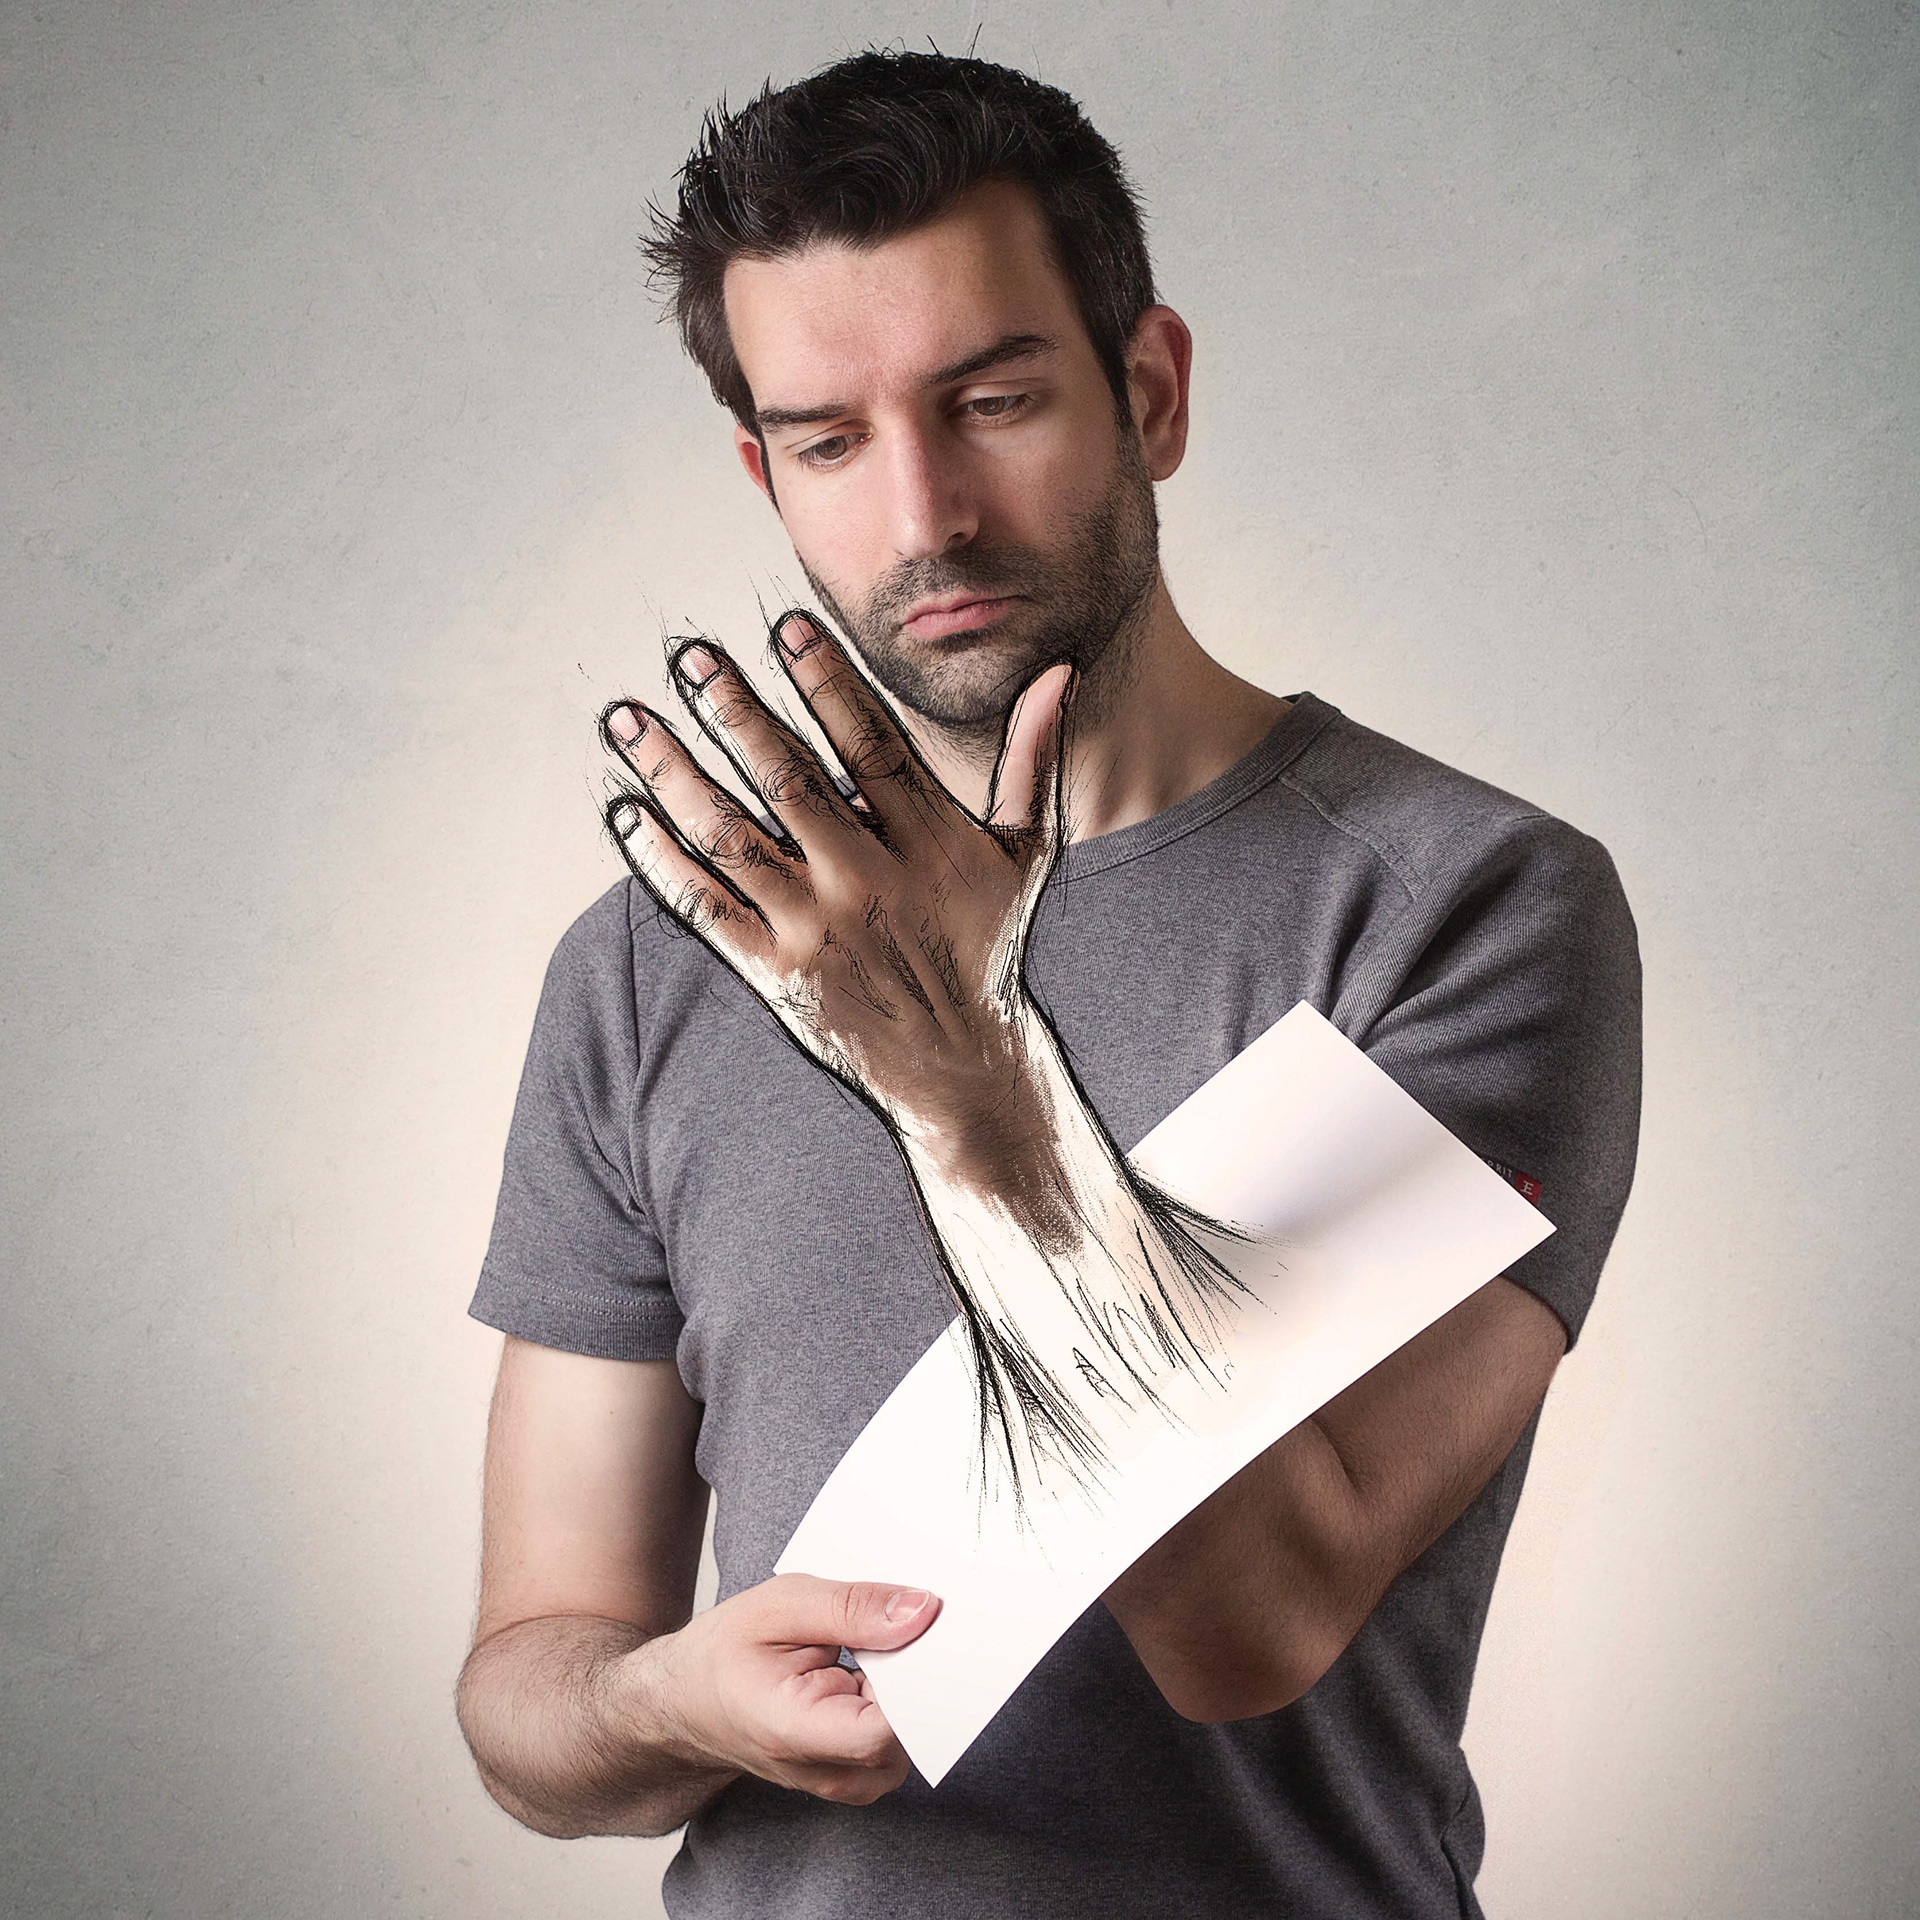
Ever since I was a child, drawing has always been my passion, but when I discovered photography, I thought that combining these two passions would allow me to do something a little out of the ordinary, very personal and it would give free rein to my imagination. My original plan was to create just one self-portrait, and this image, "Self Sketch," was the result. But after some reflection, I decided to continue and make a small series that illustrated my life, which I eventually titled "The Sketch of a Life."
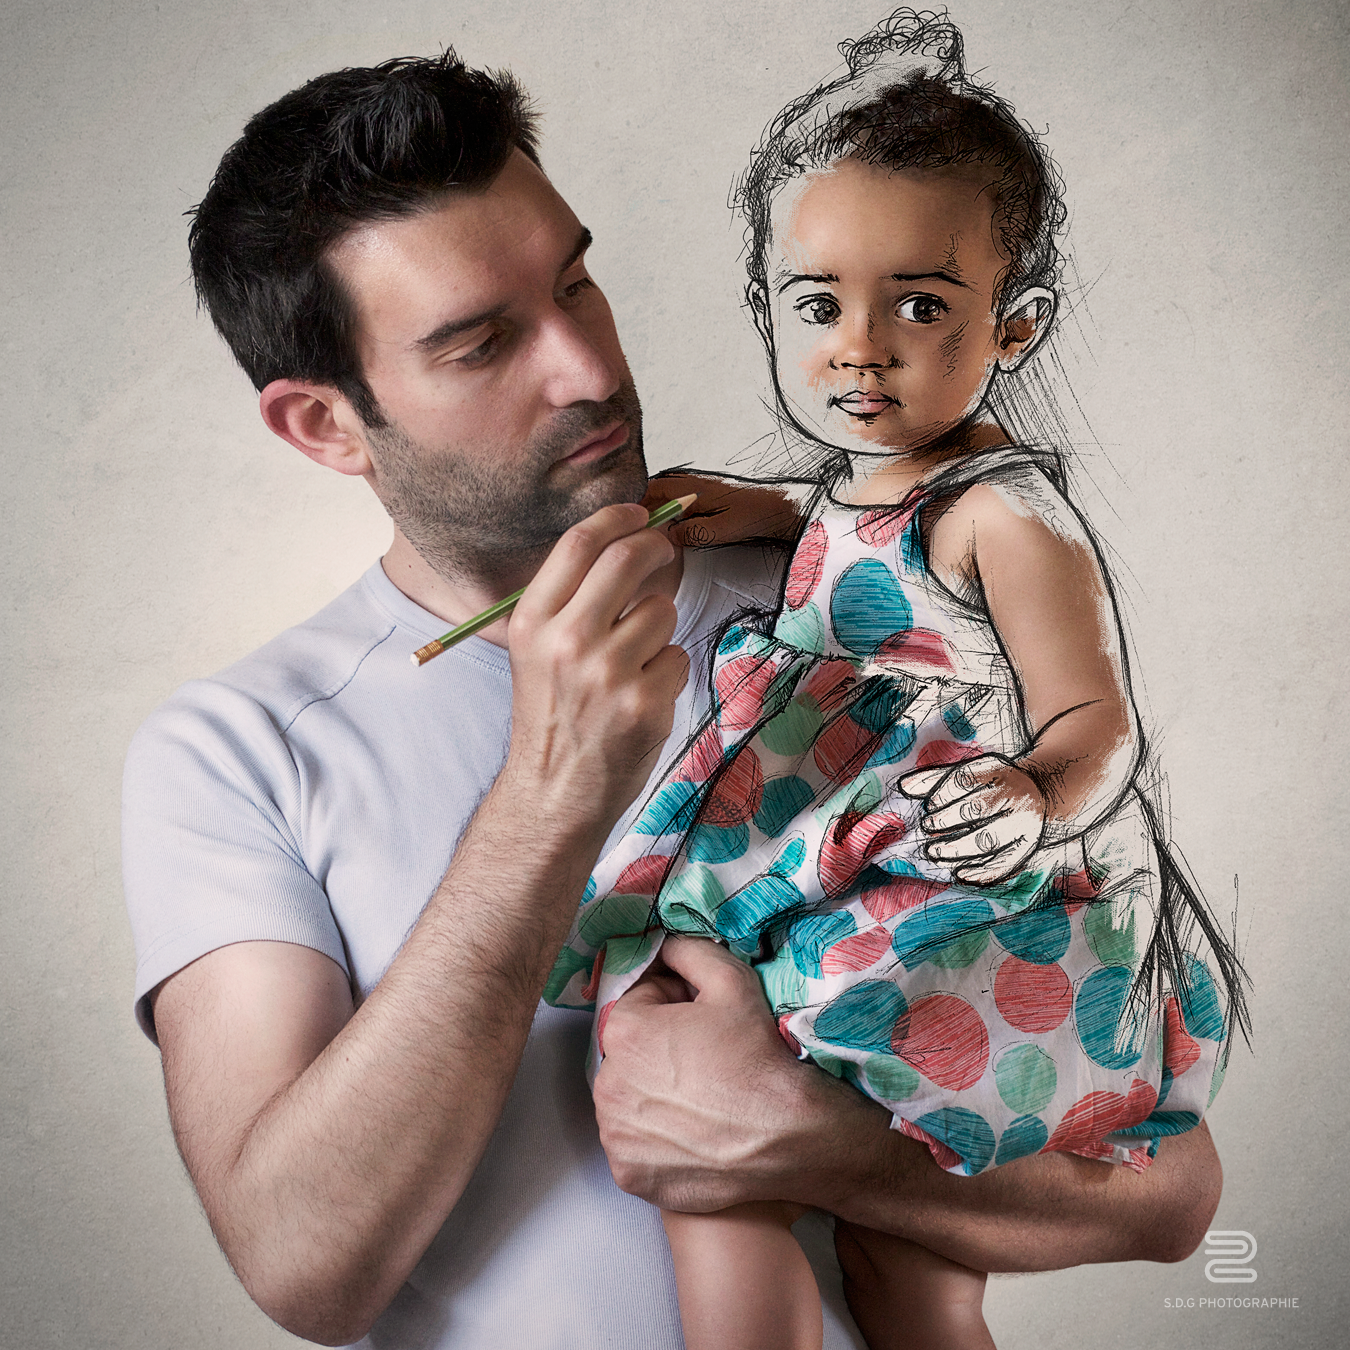
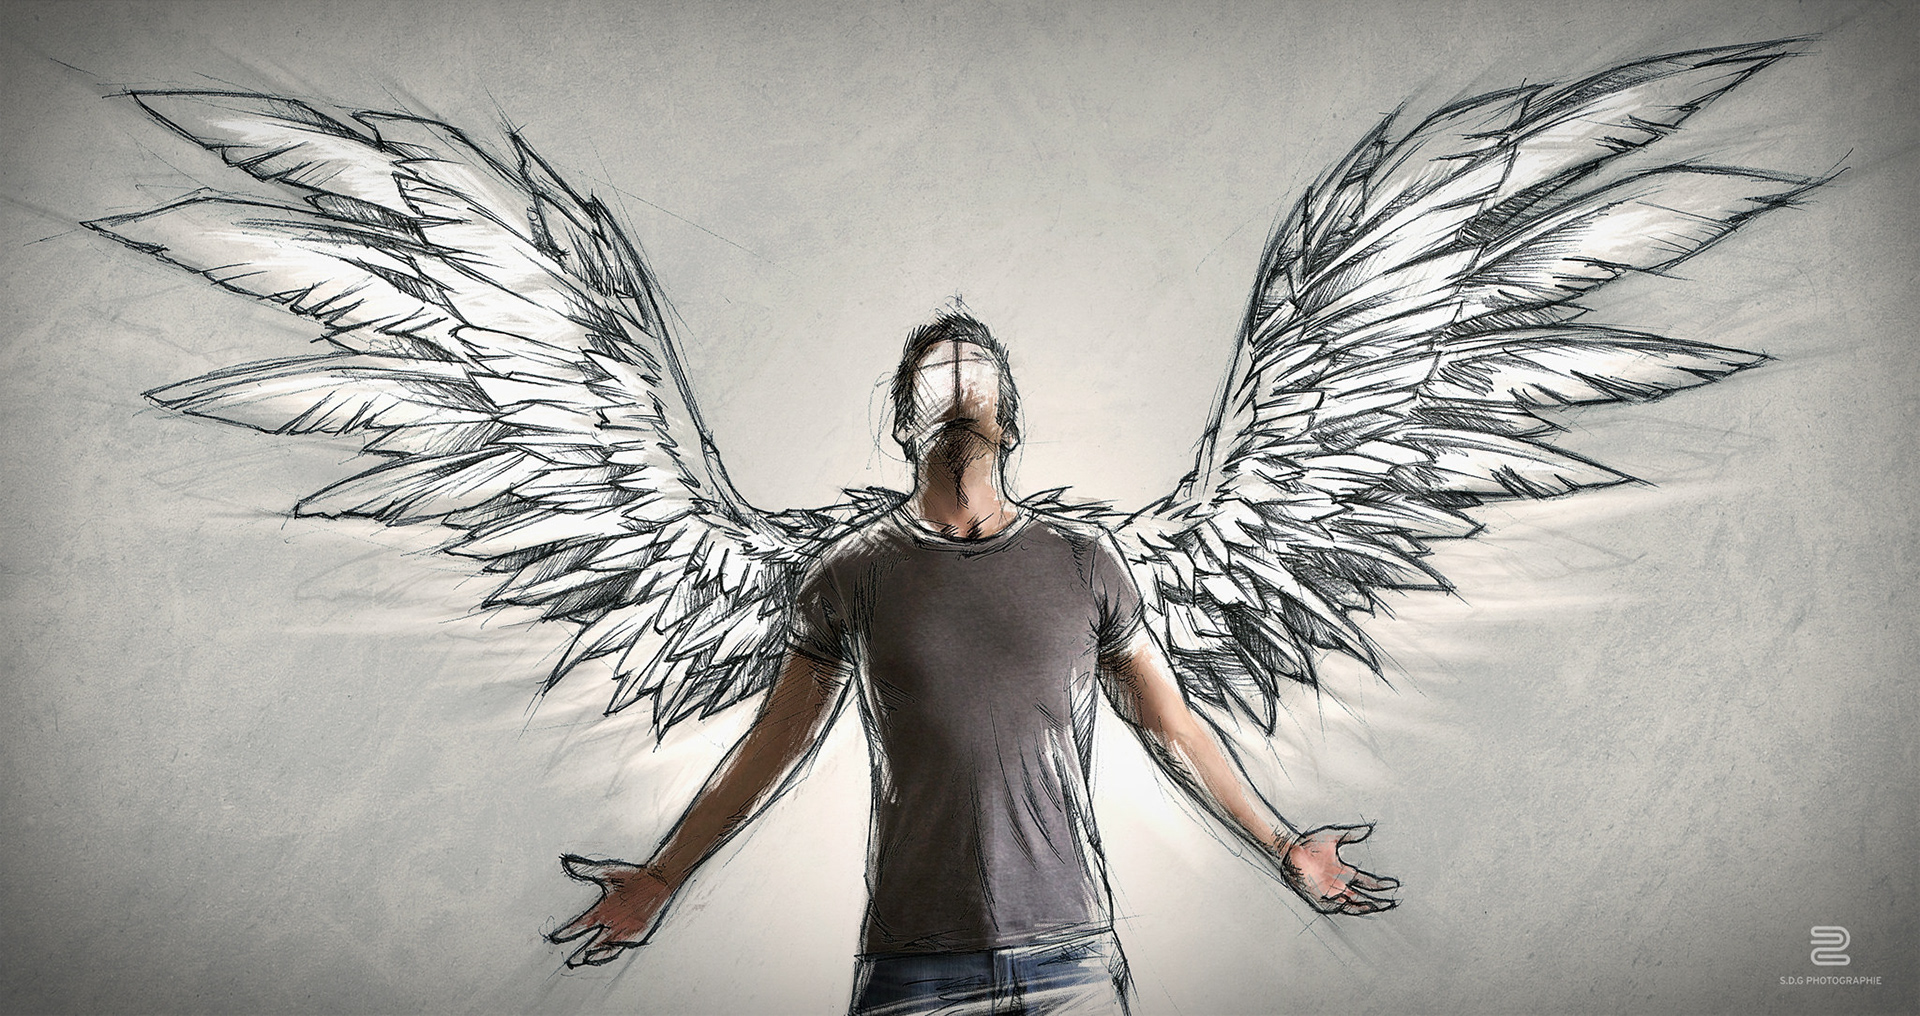
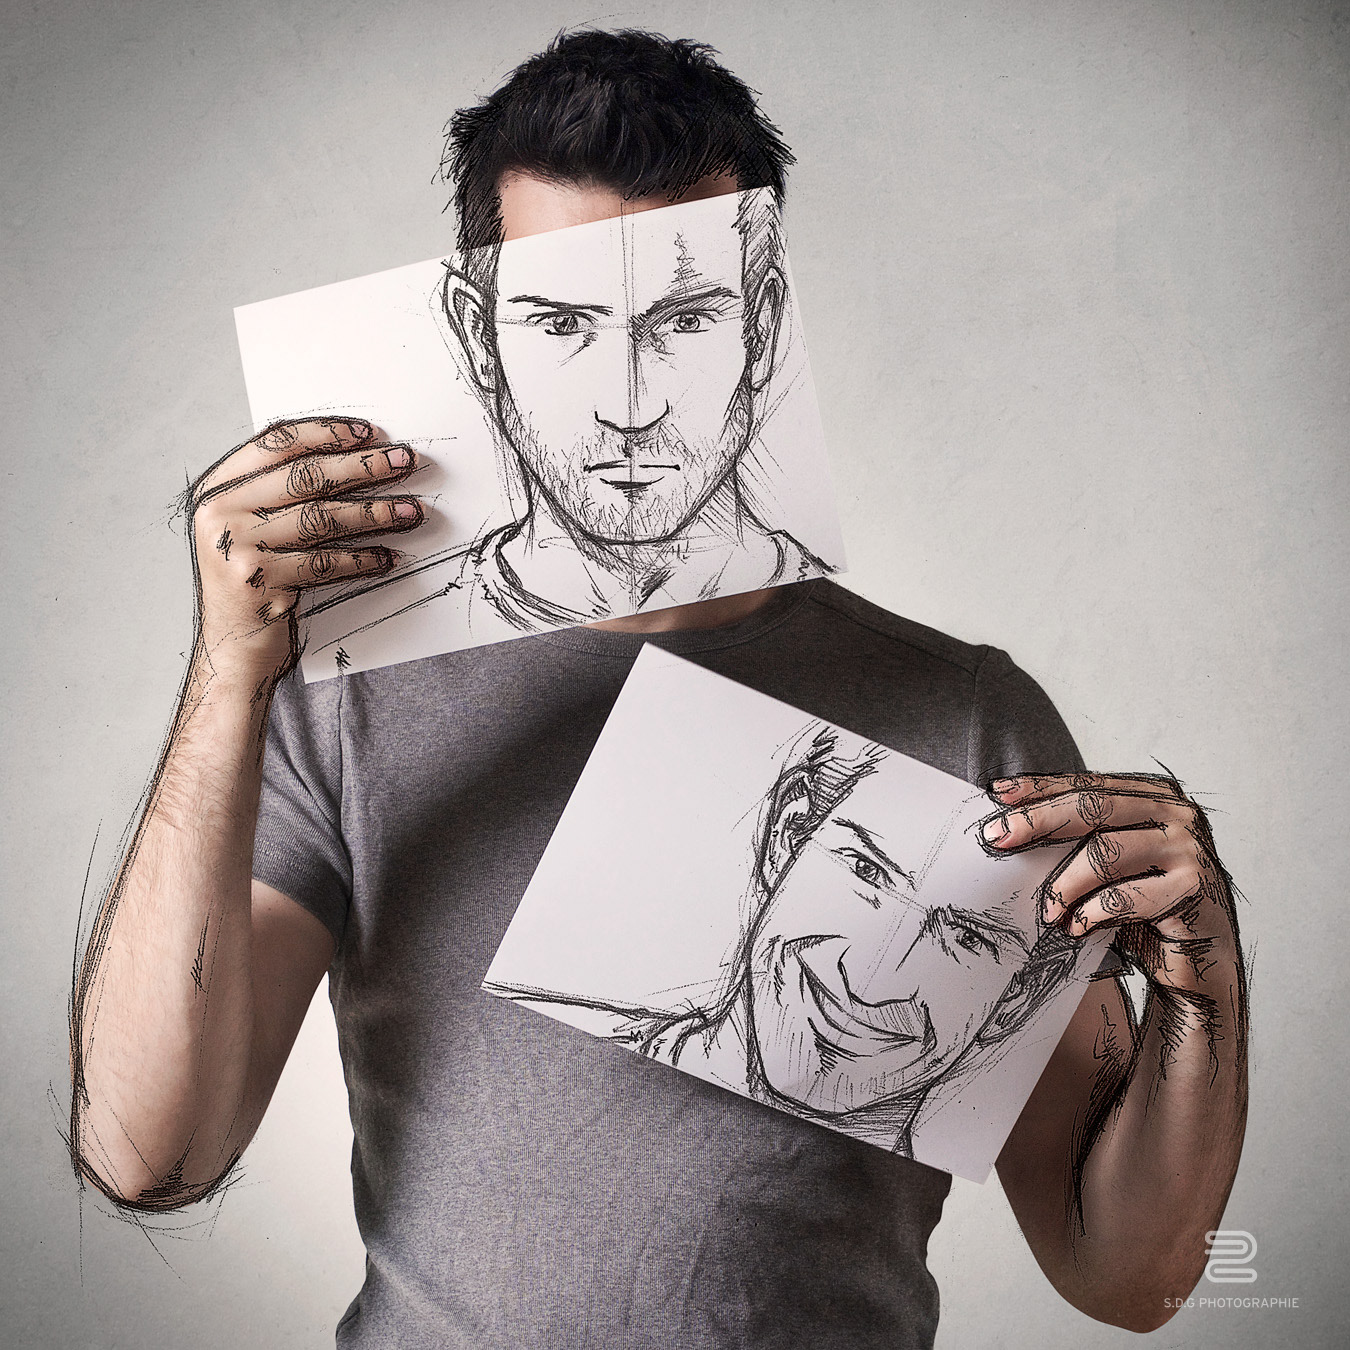
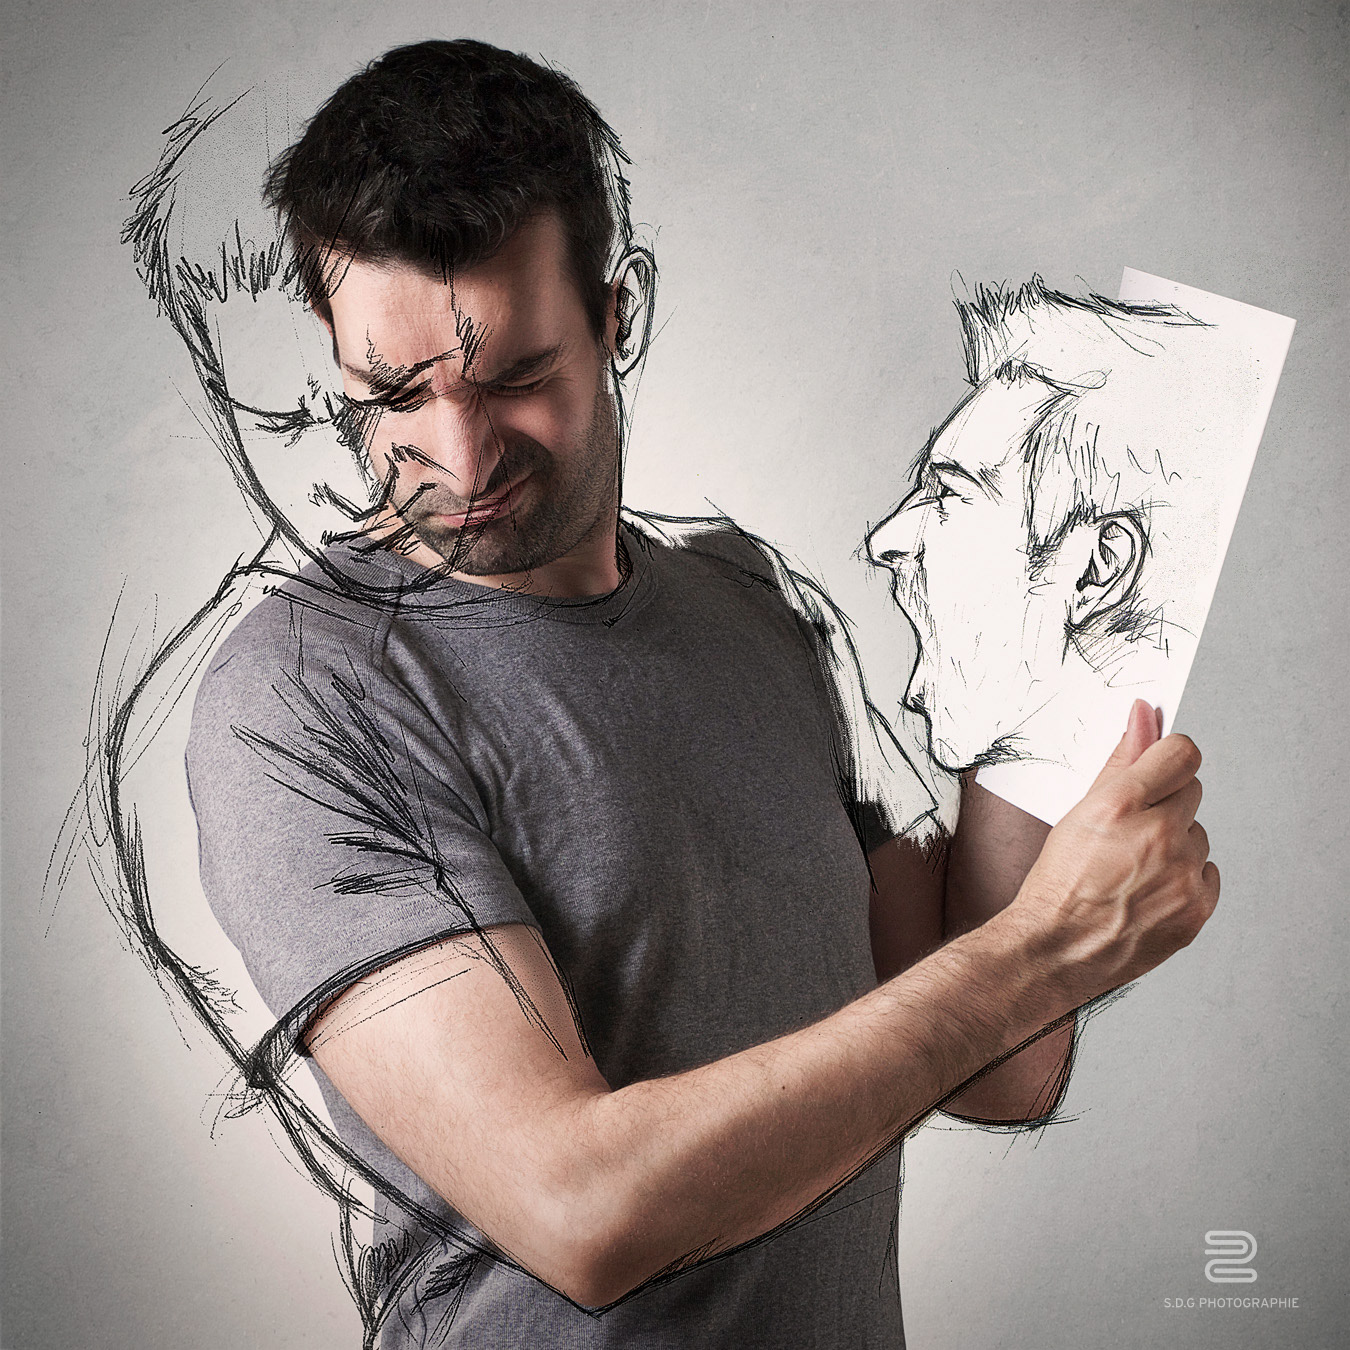
This project allowed me to portray, through my sketches, the decisions I have made in life, how the people who are close to me influenced my actions (as in "Sketch Your Mentor," the mentor being my grandmother) or life-changing events that were important to me (such as "Sketch the Life" about the birth of my daughter Cataleya). I also included some that are a bit more humorous, like "Catch & Sketch" with the help of my friend Cal Redback, and "Sketch and Fight" about a battle between two artists, each with his own technique.
This project allowed me to portray, through my sketches, the decisions I have made in life, how the people who are close to me influenced my actions (as in "Sketch Your Mentor," the mentor being my grandmother) or life-changing events that were important to me (such as "Sketch the Life" about the birth of my daughter Cataleya). I also included some that are a bit more humorous, like "Catch & Sketch" with the help of my friend Cal Redback, and "Sketch and Fight" about a battle between two artists, each with his own technique.
__
Post Processing
The image was processed in Photoshop.
I always work with layers to ensure that each adjustment is separate. I never touch a single pixel of the original file. That way I can see the evolution of my work by masking the foreground and removing any layer at any point, if necessary. To obtain this result, I have mainly applied selective corrections, color blending and luminosity/contrast.
1) To obtain even better results, I applied some Dodging and Burning — multiple black and white brushstrokes to either reveal or hide some of the facial details. White Brushes mitigate whereas black Brushes accentuate. The trick is to use the black Brush in a subdued mode and the white in inlay mode. I first applied many thick strokes and then used the Eraser tool for the finish. Once I was happy with the result, I duplicated the layers to make some of them blurry and then adjusted the layer Opacity. I usually use four or five layers, black or white, set to no more than 40% or 50% Opacity.
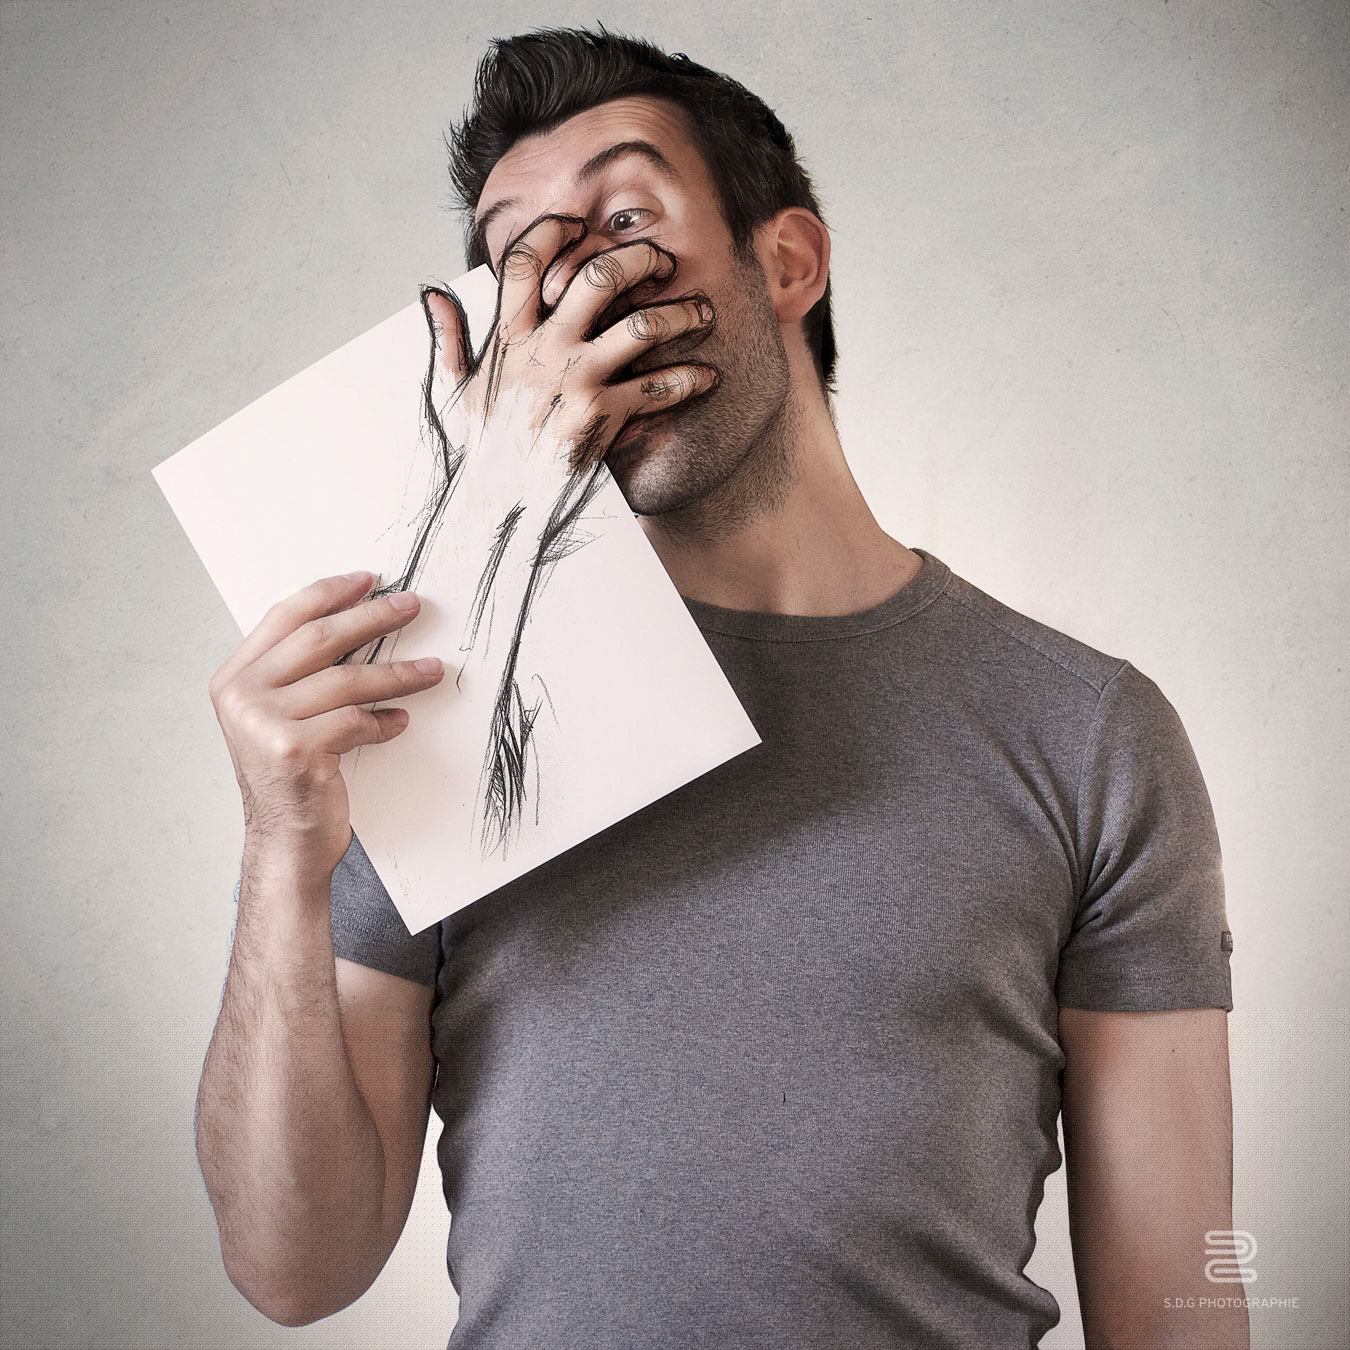
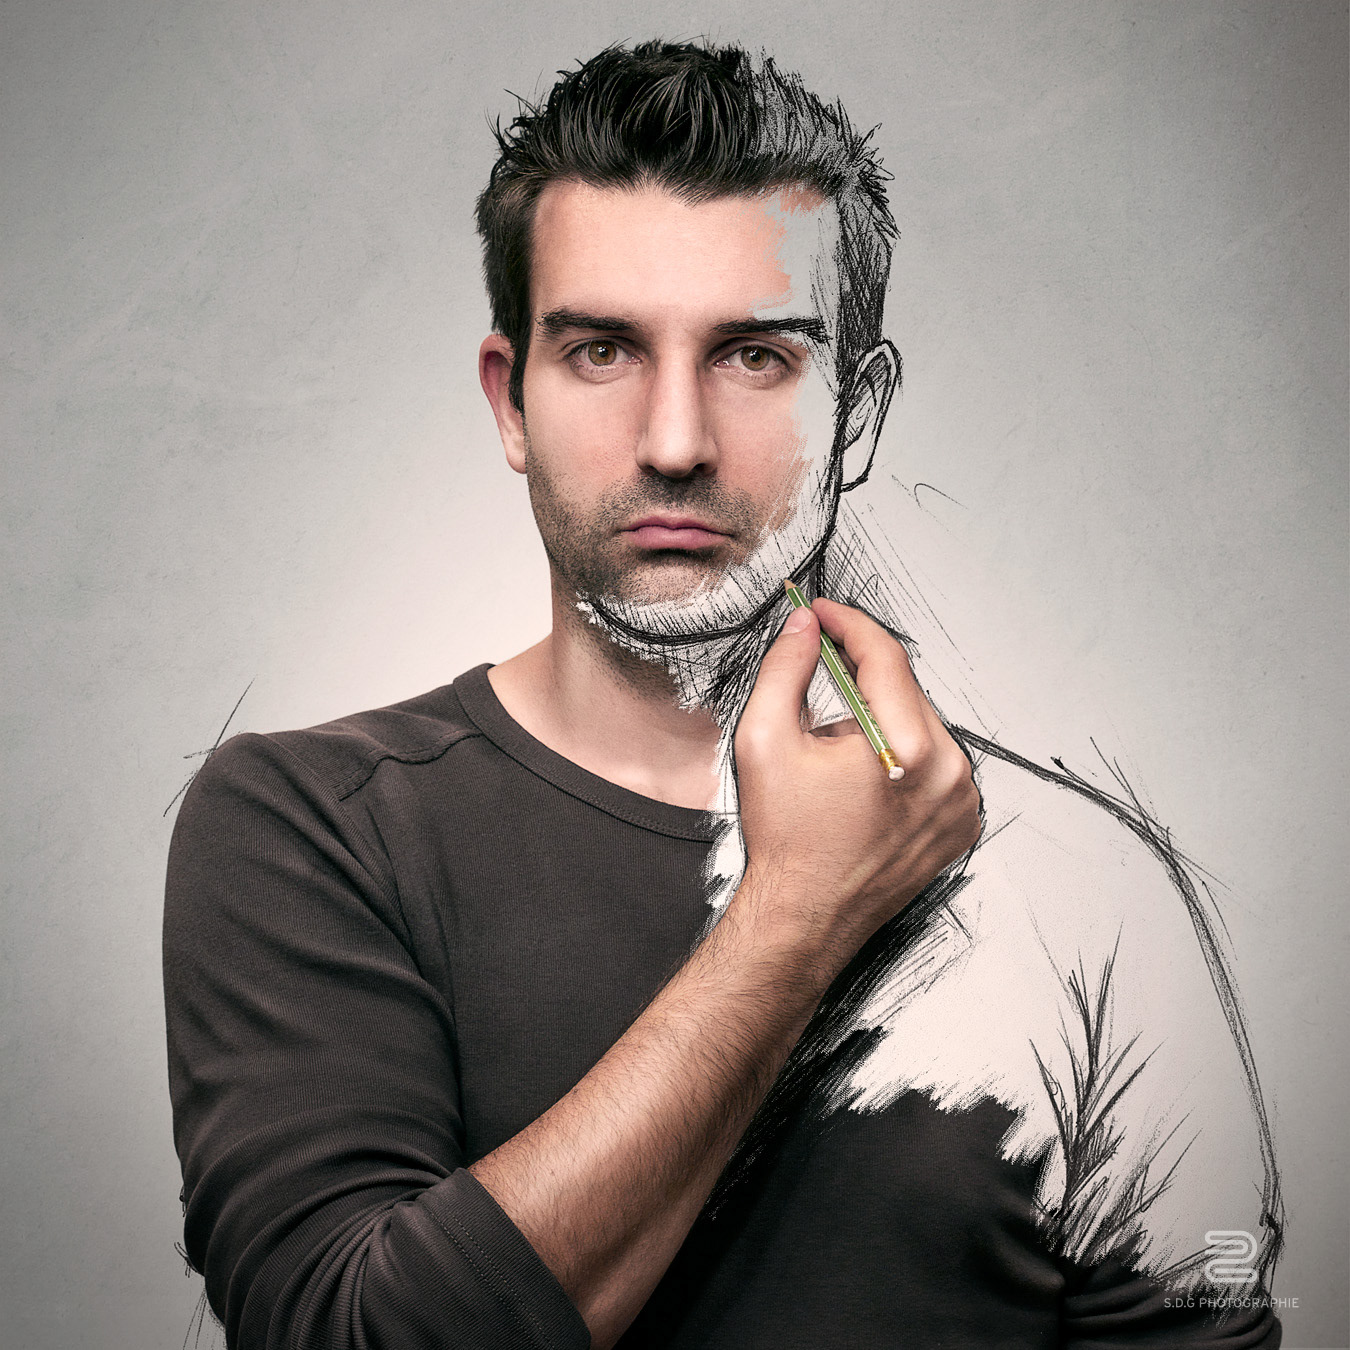
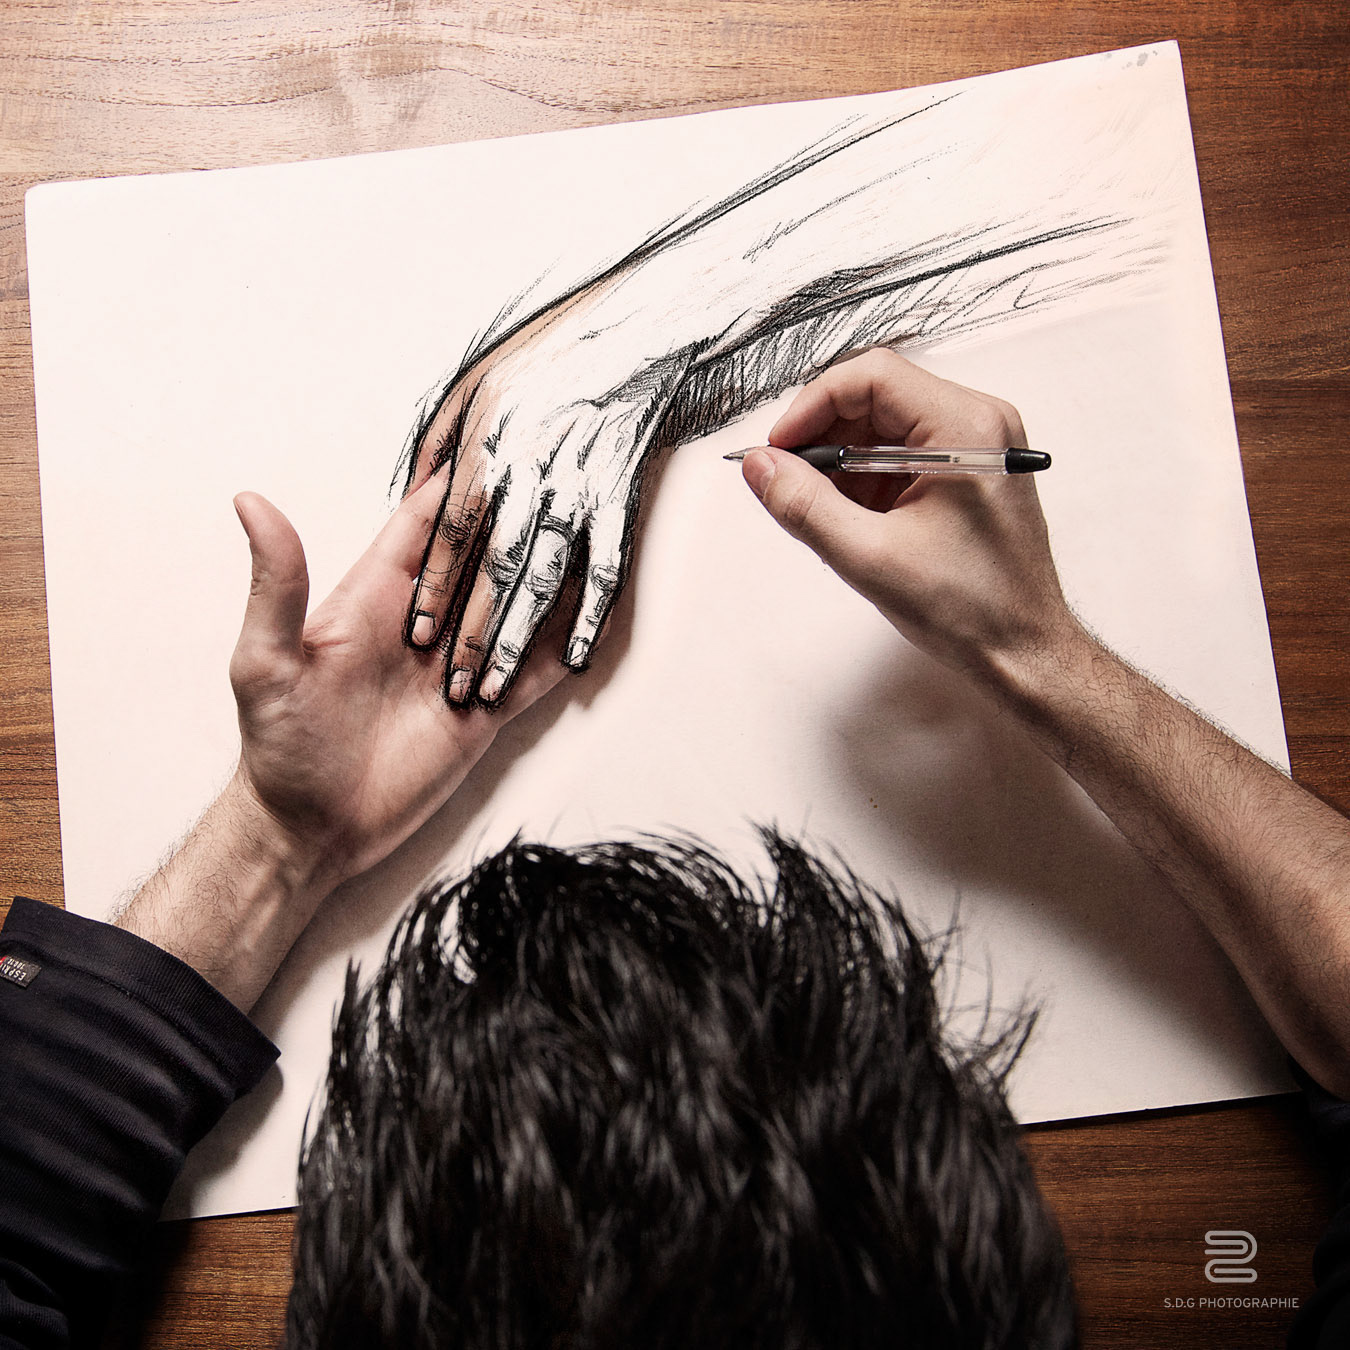
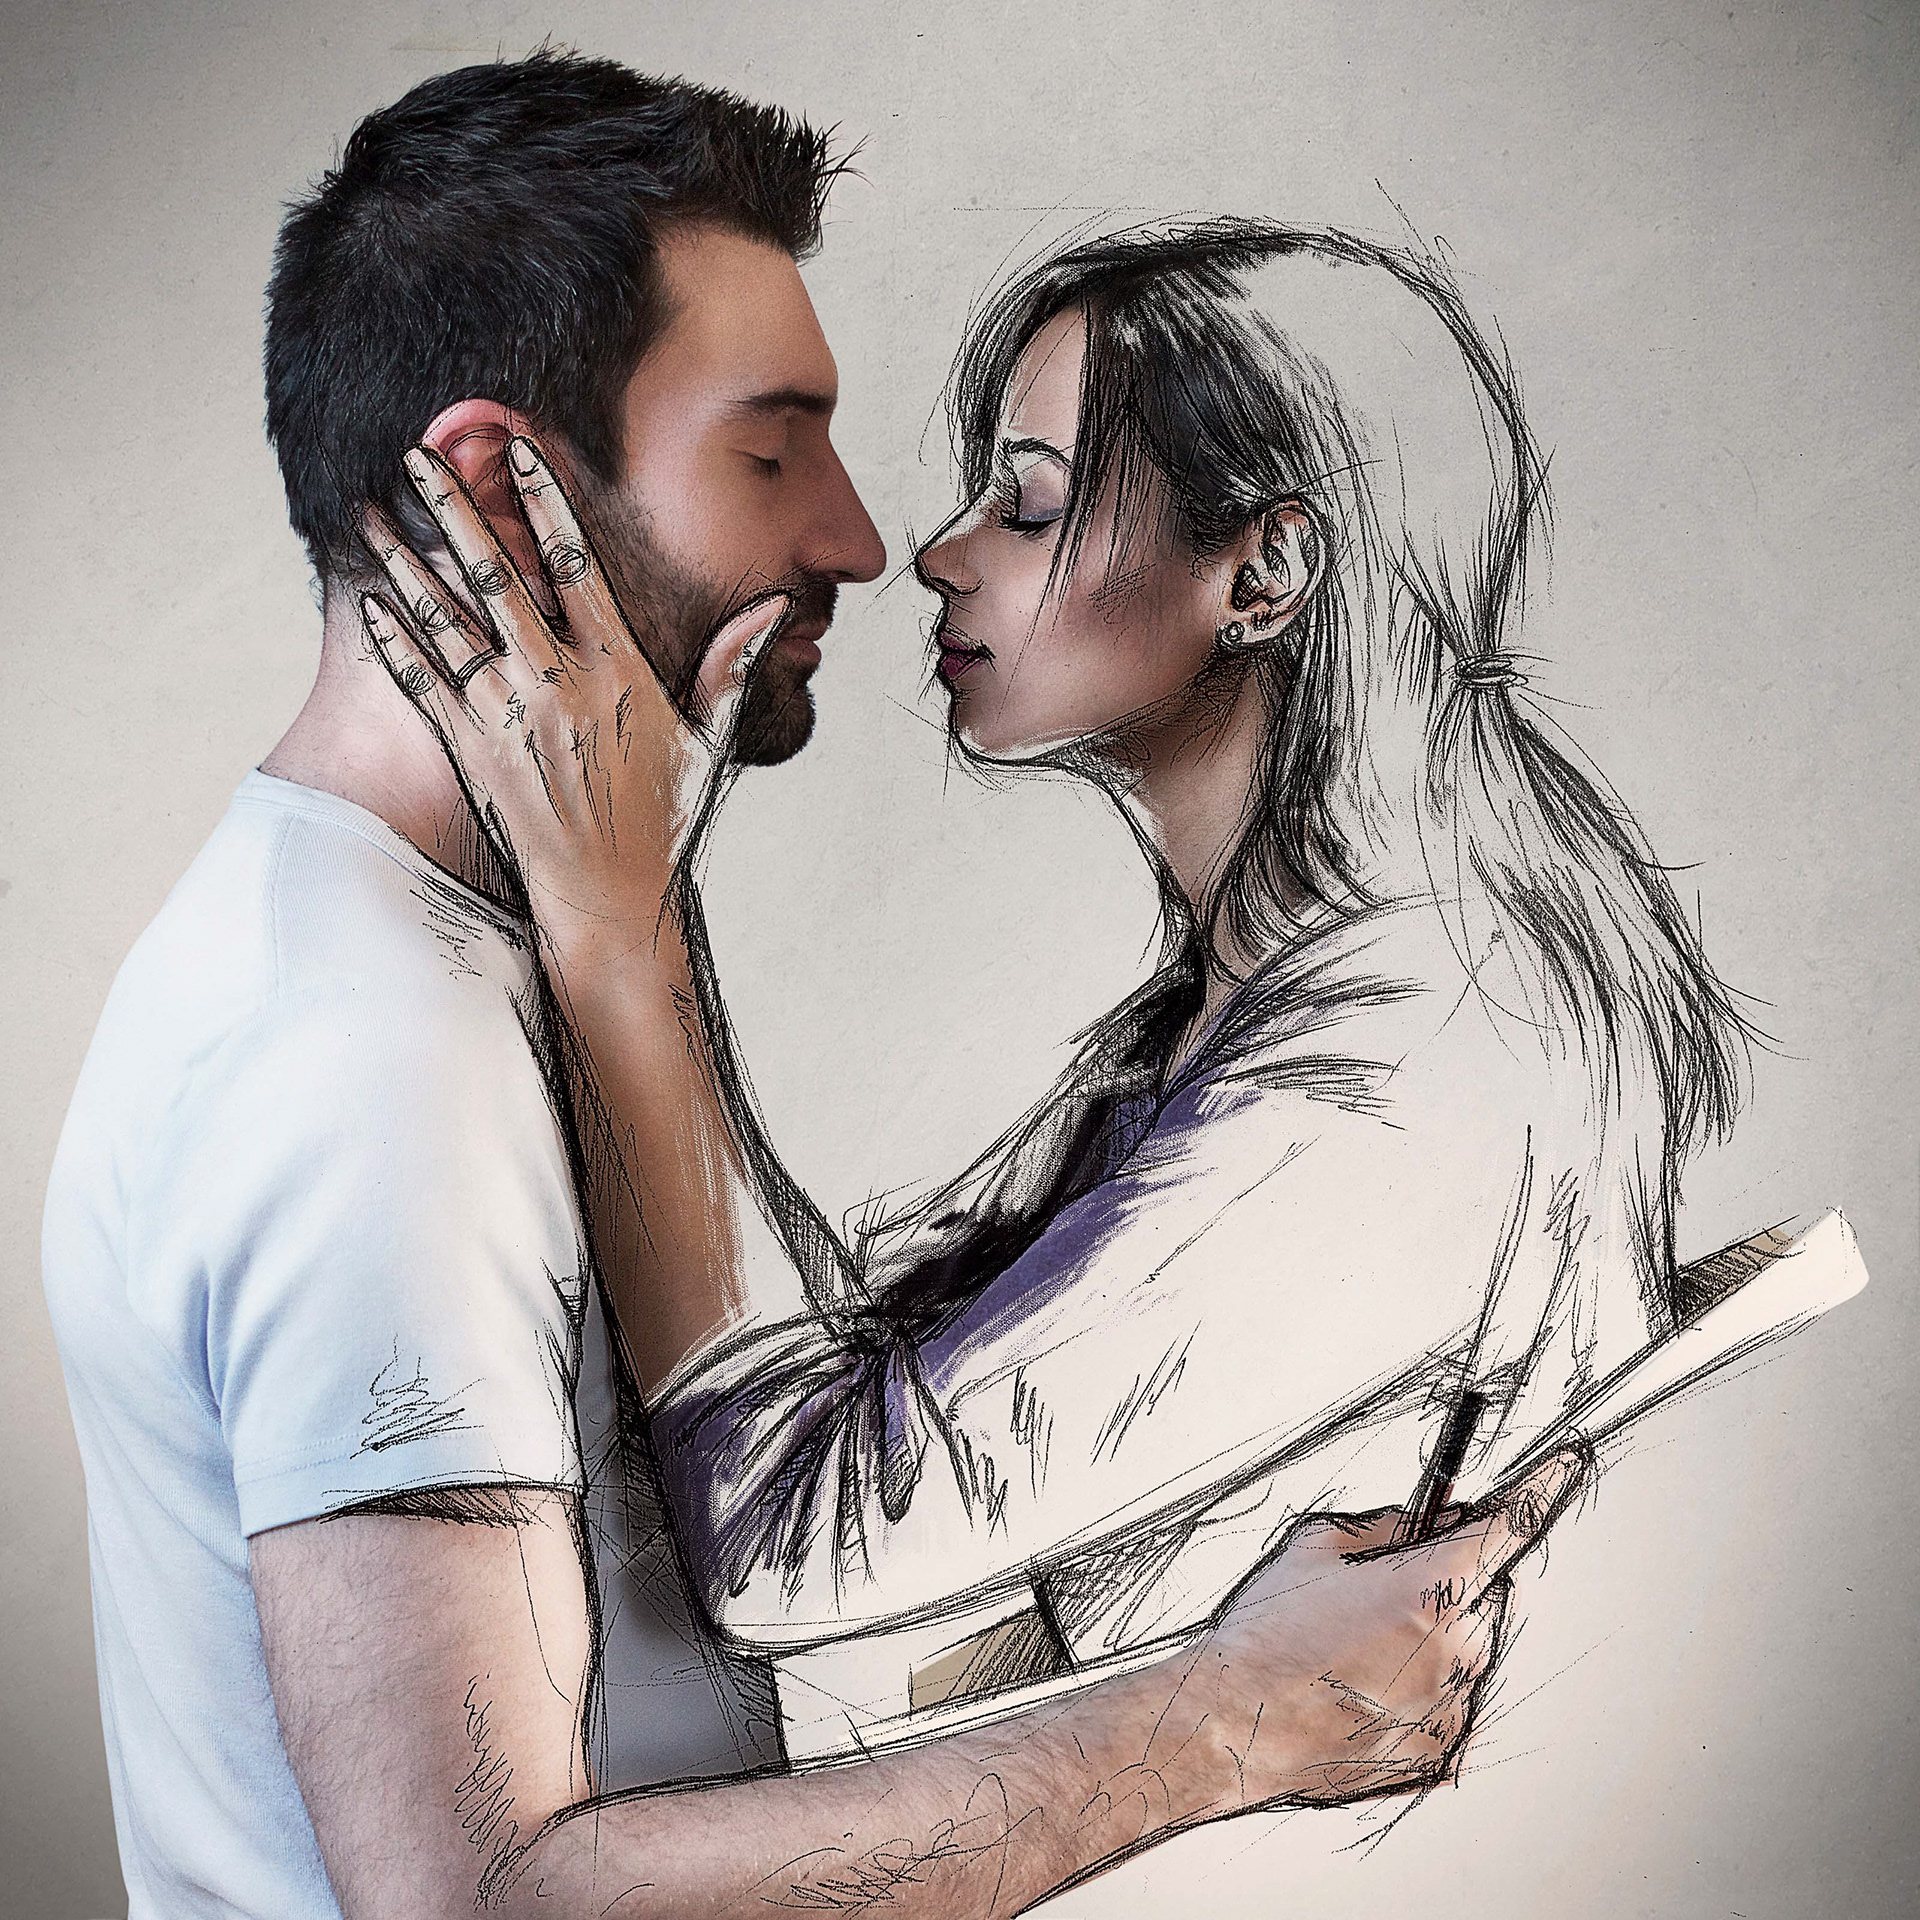
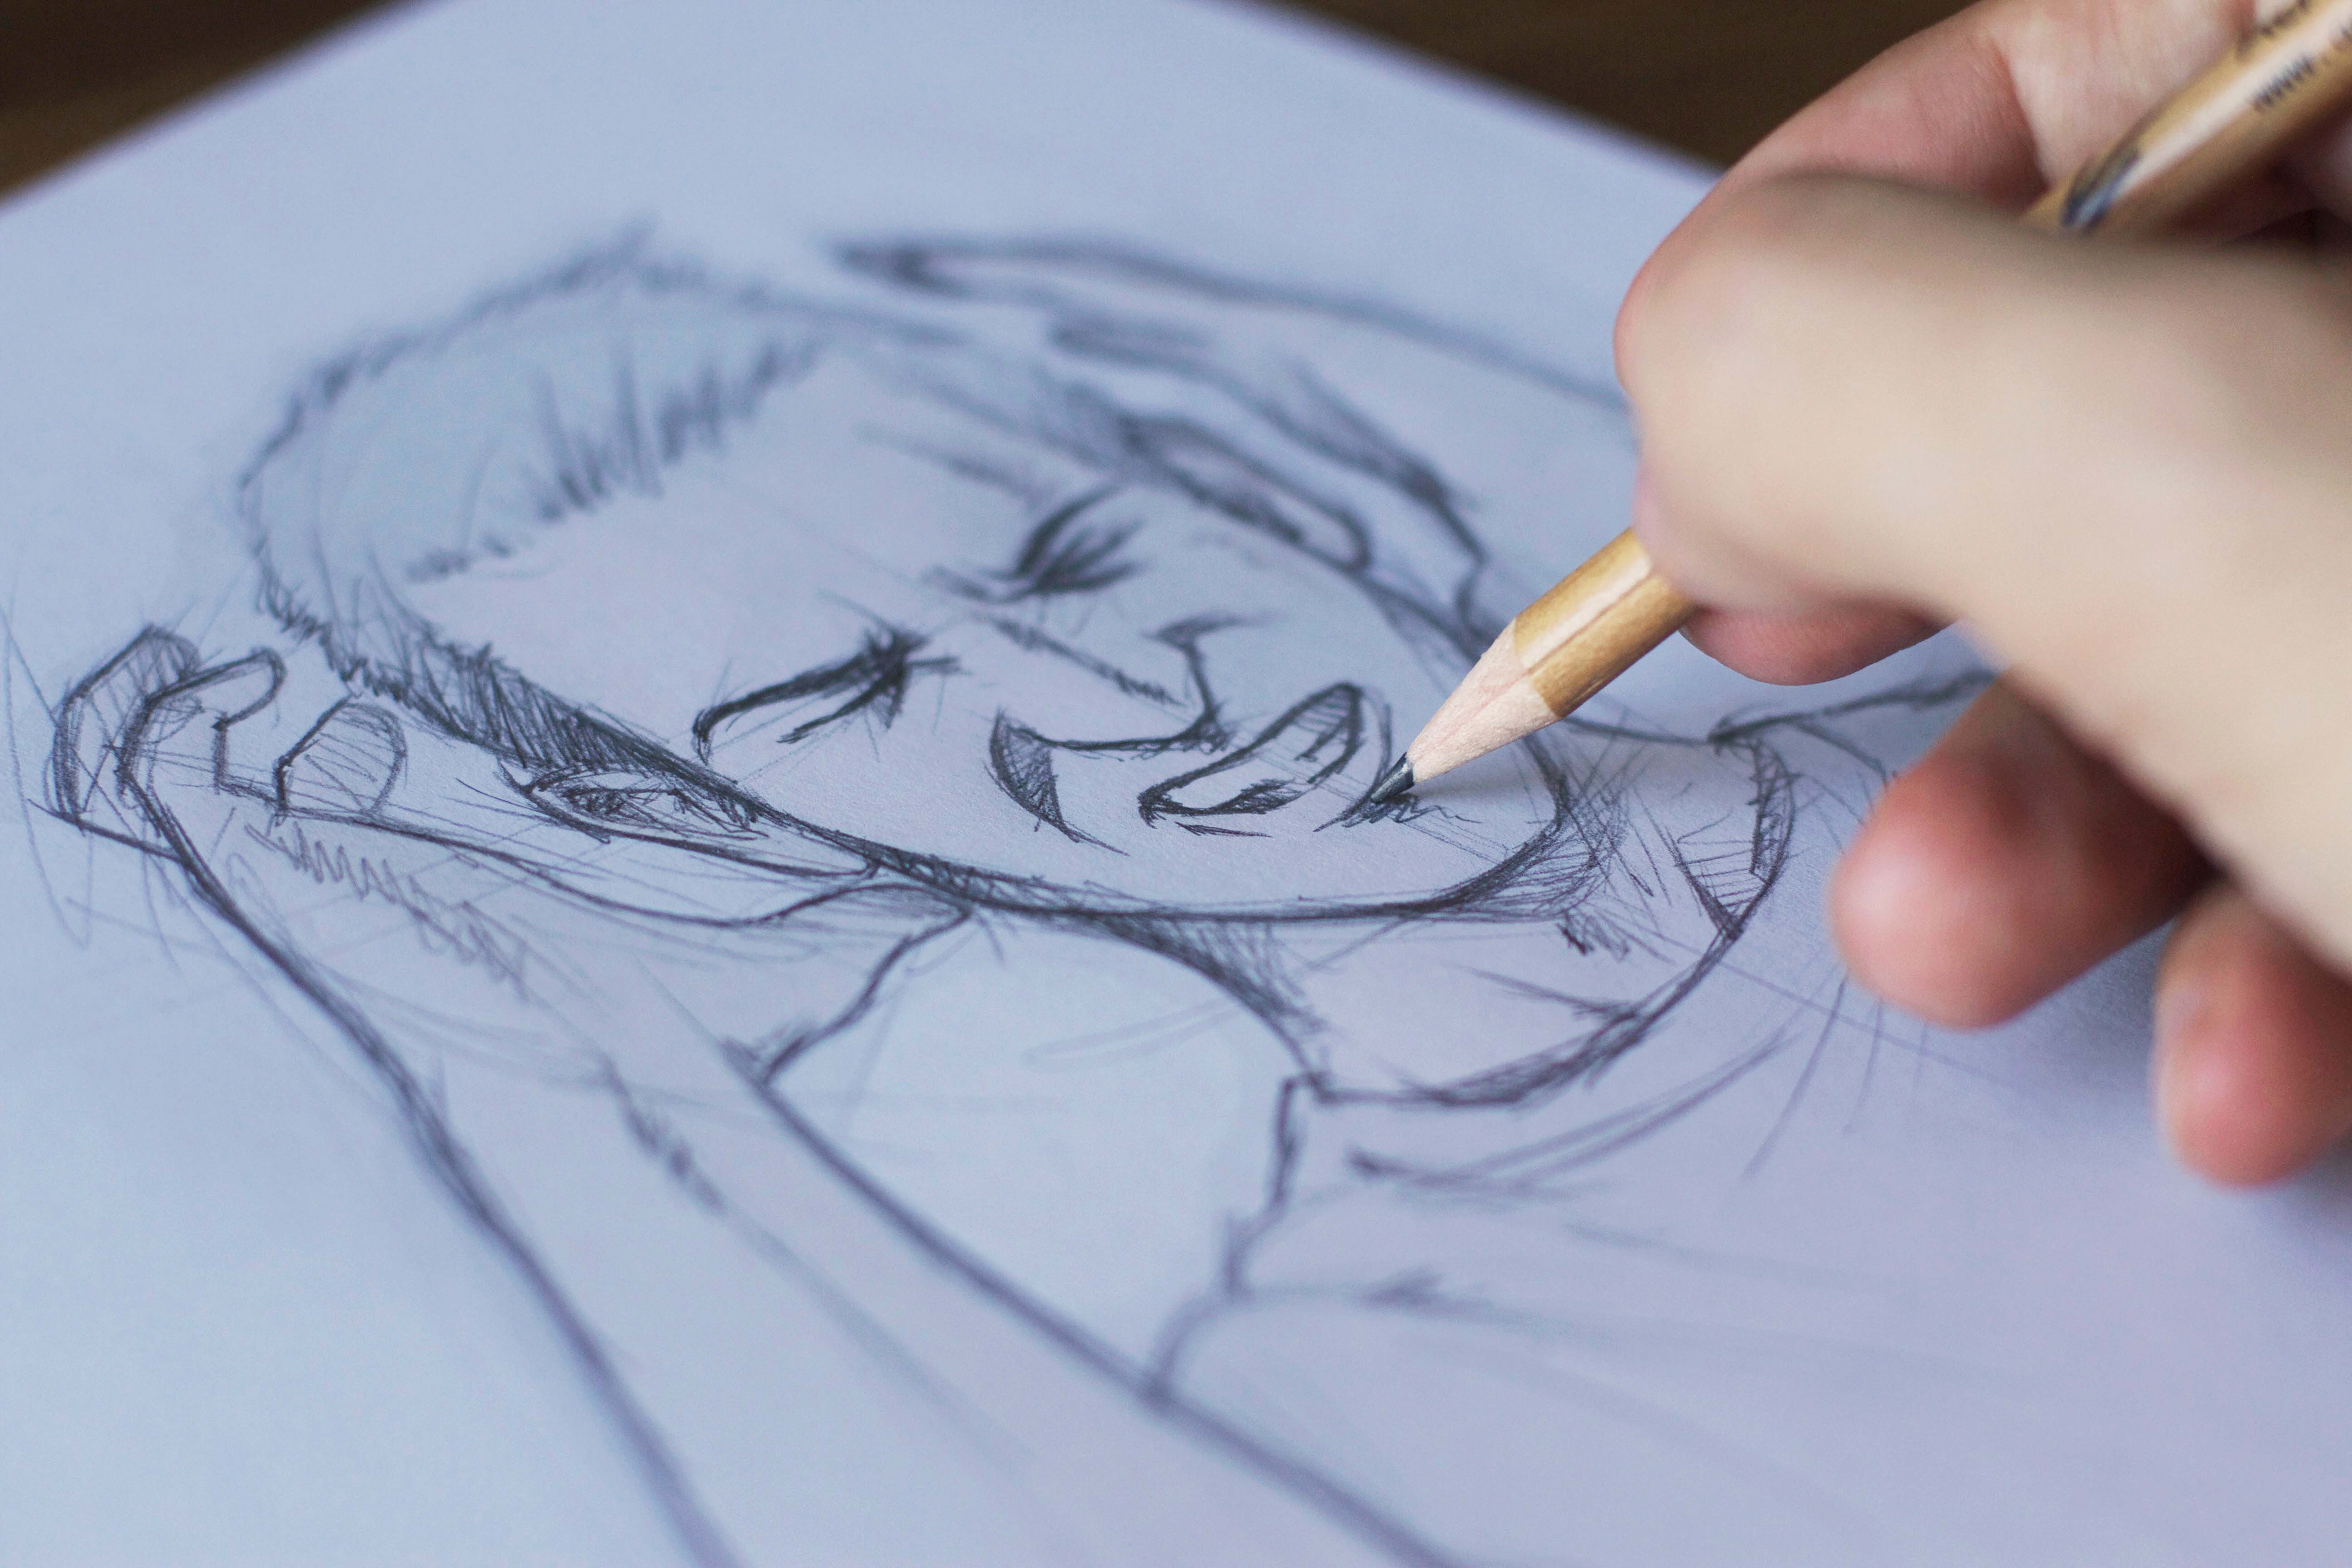
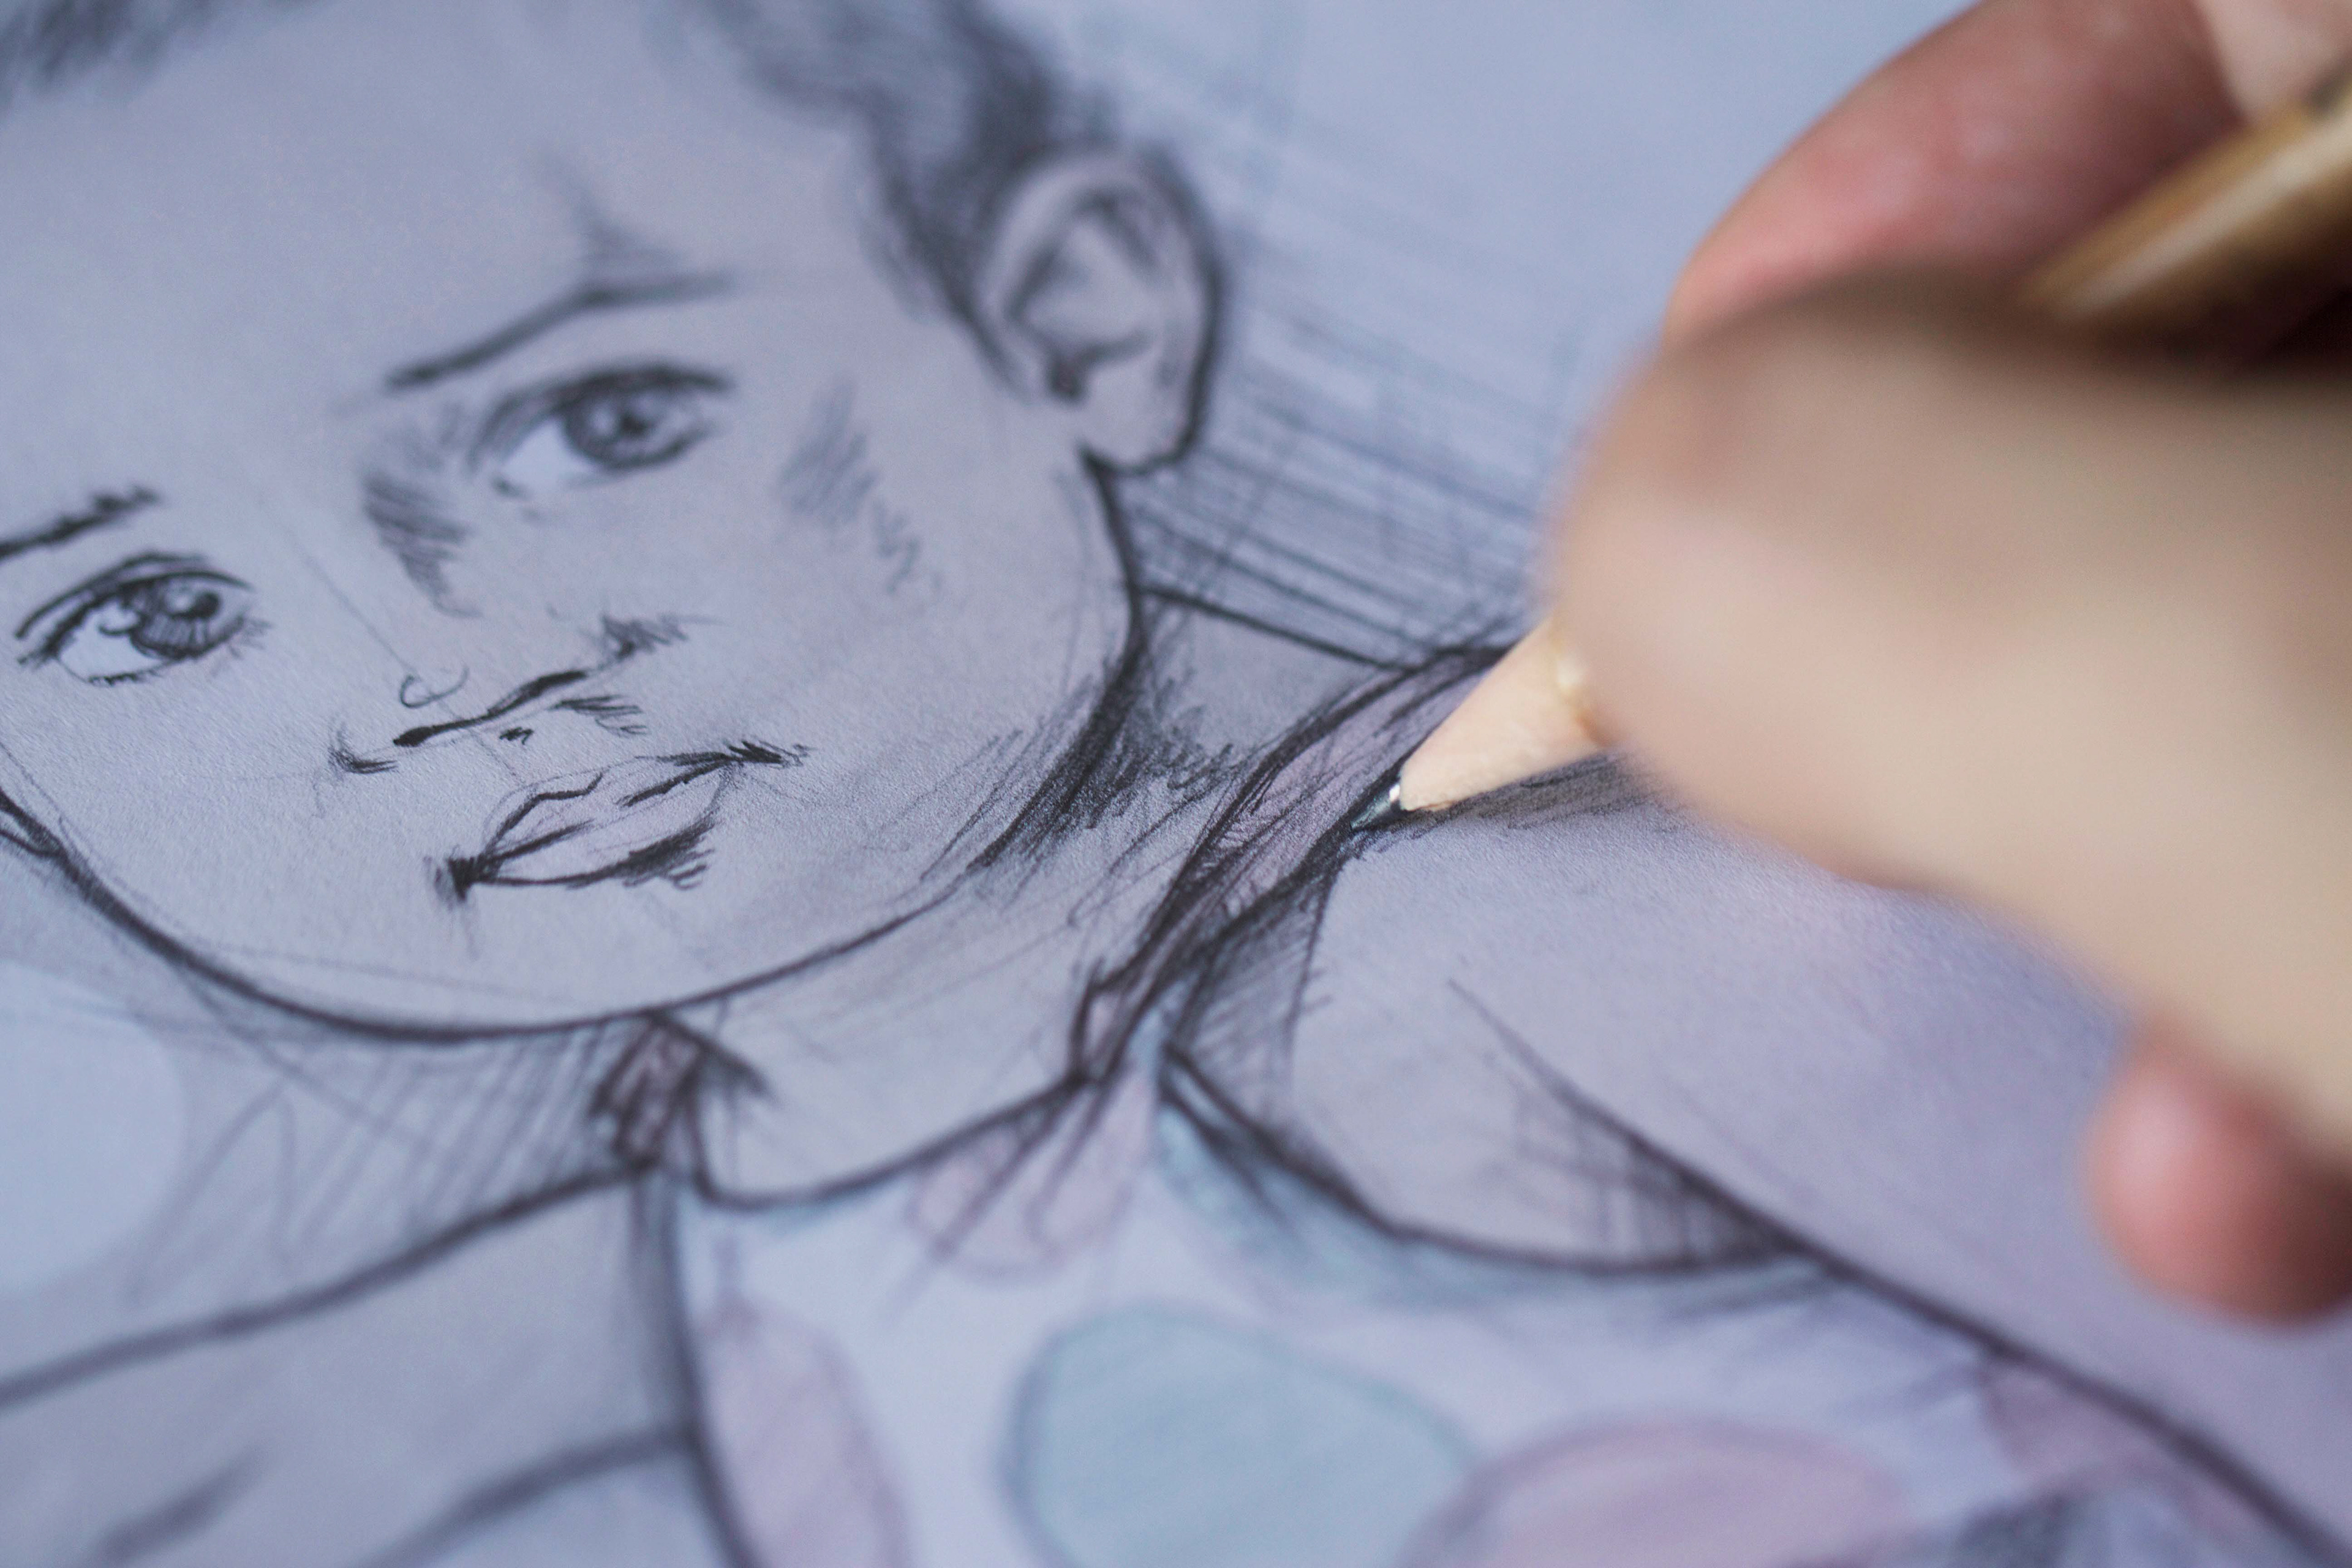
2) Once the colors were tweaked, I printed the picture with a white layer set to 90% Opacity so that I could draw on the face or body, getting as close as possible to reality. The pencil drawing was bold and nervous to ensure that the viewer sees a work in progress; essentially, the drawing gives birth to reality.
3) The finished drawing was then scanned, cleaned up in Photoshop and placed on top of the background but beneath the previously edited picture. I used the Eraser tool to remove some details in the top layer, revealing the background picture. The best way to do this is to use a sharp Brush; the larger ones are ineffective for this kind of work.
4) When the image was complete, I duplicated all of the layers, merged them and applied a High Pass filter to this merged layer, setting Radius somewhere between 0.1 – 0.3 pixels. I was then sure to have a sharper image with no glitches.
I always work with layers to ensure that each adjustment is separate. I never touch a single pixel of the original file. That way I can see the evolution of my work by masking the foreground and removing any layer at any point, if necessary. To obtain this result, I have mainly applied selective corrections, color blending and luminosity/contrast.
1) To obtain even better results, I applied some Dodging and Burning — multiple black and white brushstrokes to either reveal or hide some of the facial details. White Brushes mitigate whereas black Brushes accentuate. The trick is to use the black Brush in a subdued mode and the white in inlay mode. I first applied many thick strokes and then used the Eraser tool for the finish. Once I was happy with the result, I duplicated the layers to make some of them blurry and then adjusted the layer Opacity. I usually use four or five layers, black or white, set to no more than 40% or 50% Opacity.
2) Once the colors were tweaked, I printed the picture with a white layer set to 90% Opacity so that I could draw on the face or body, getting as close as possible to reality. The pencil drawing was bold and nervous to ensure that the viewer sees a work in progress; essentially, the drawing gives birth to reality.
3) The finished drawing was then scanned, cleaned up in Photoshop and placed on top of the background but beneath the previously edited picture. I used the Eraser tool to remove some details in the top layer, revealing the background picture. The best way to do this is to use a sharp Brush; the larger ones are ineffective for this kind of work.
4) When the image was complete, I duplicated all of the layers, merged them and applied a High Pass filter to this merged layer, setting Radius somewhere between 0.1 – 0.3 pixels. I was then sure to have a sharper image with no glitches.
__
Tips
1) Producing an image like this, from start to finish, can take a few hours or several days. Sometimes I need to take a break from an image and return to it a few days later. This helps me to see it differently, and I can often find mistakes that I may not have noticed before.
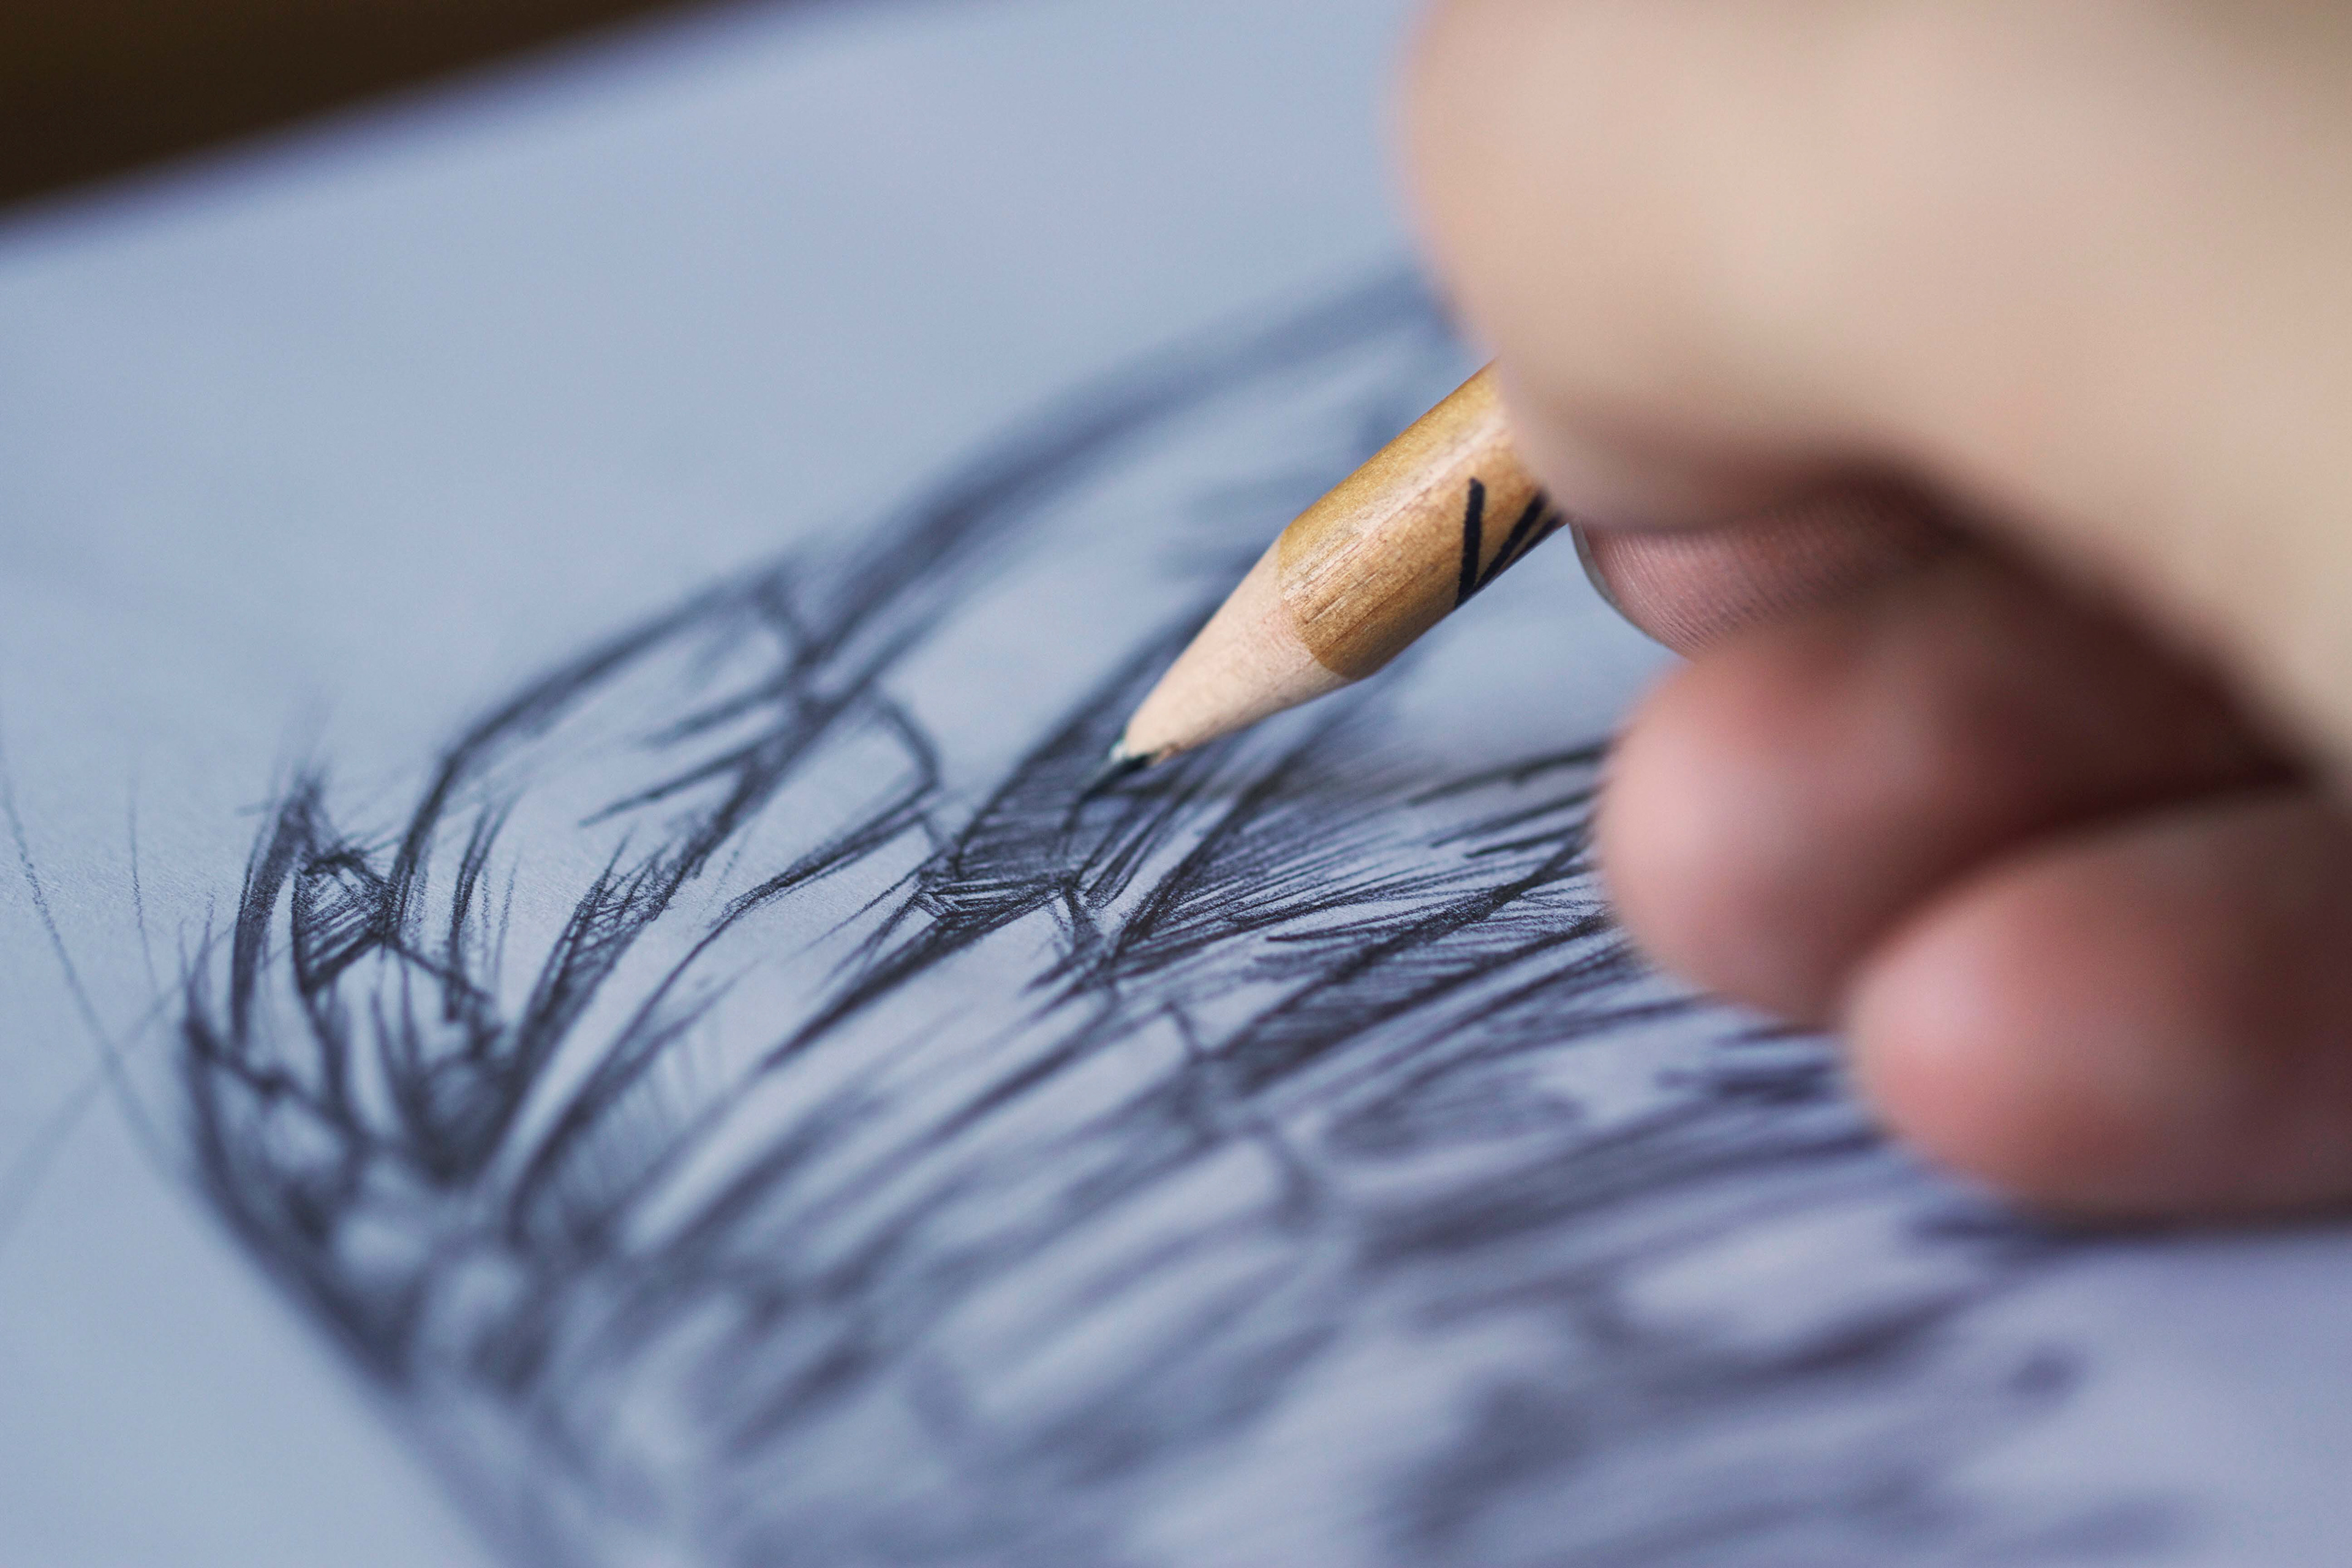
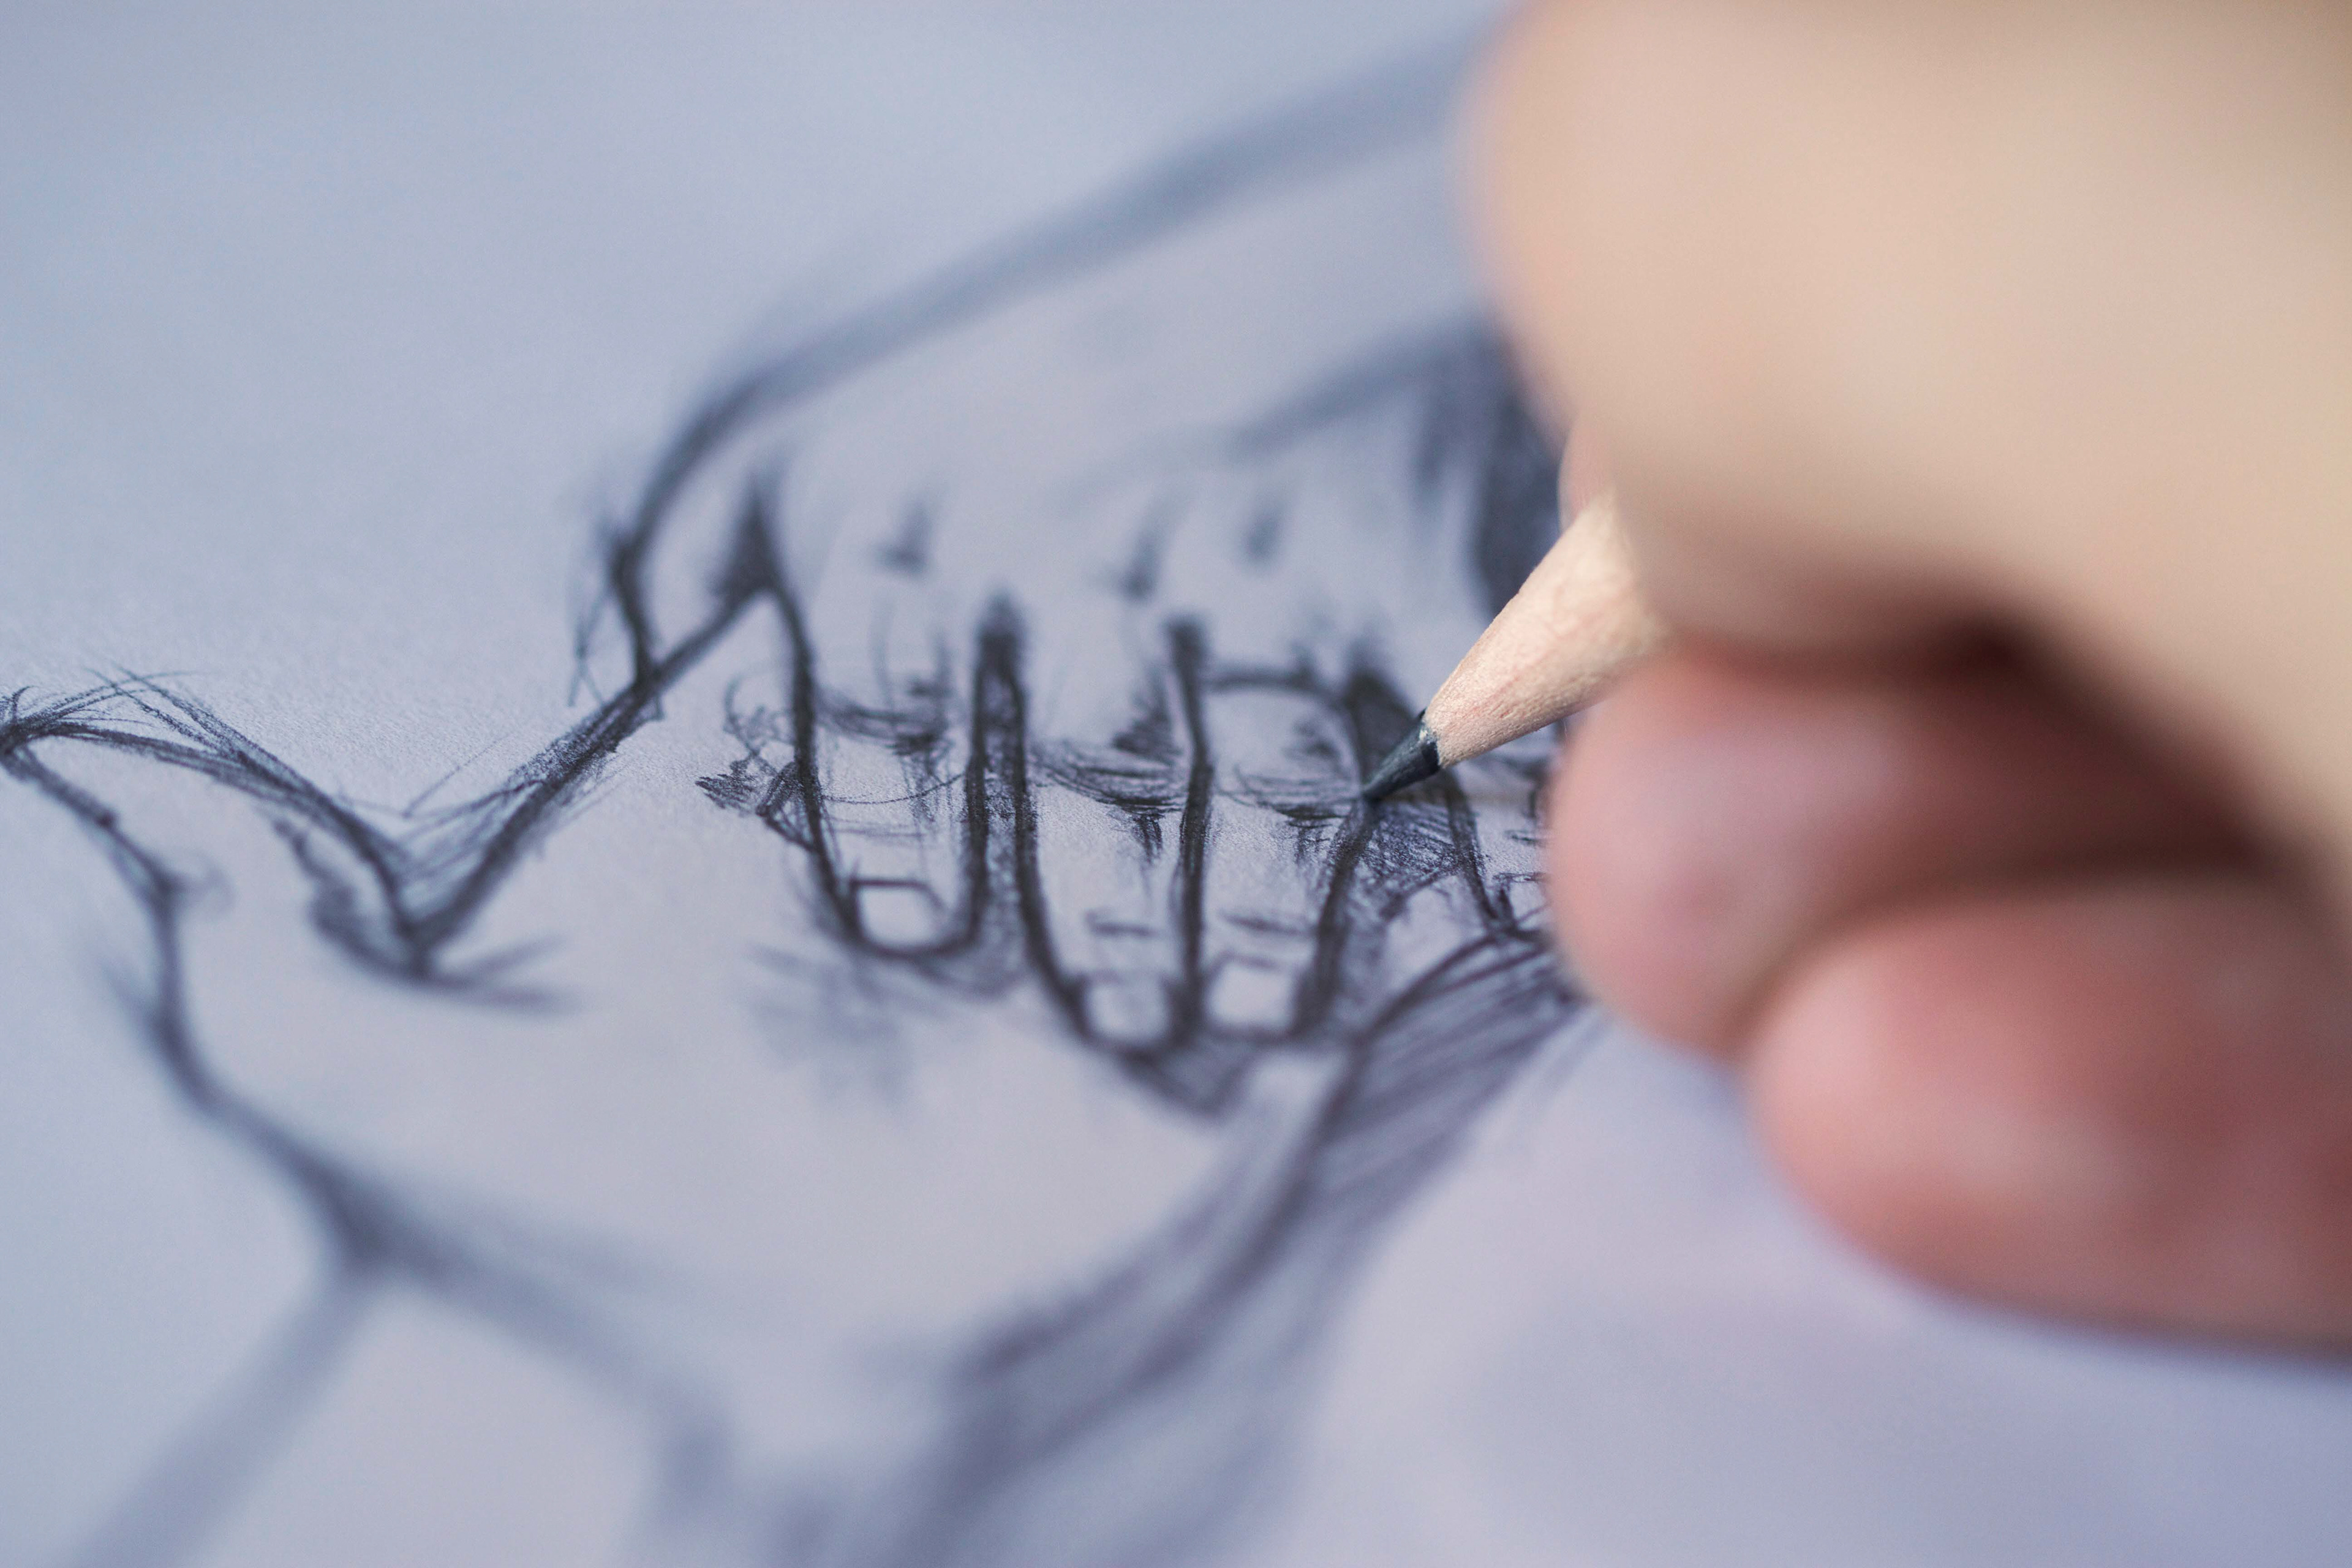
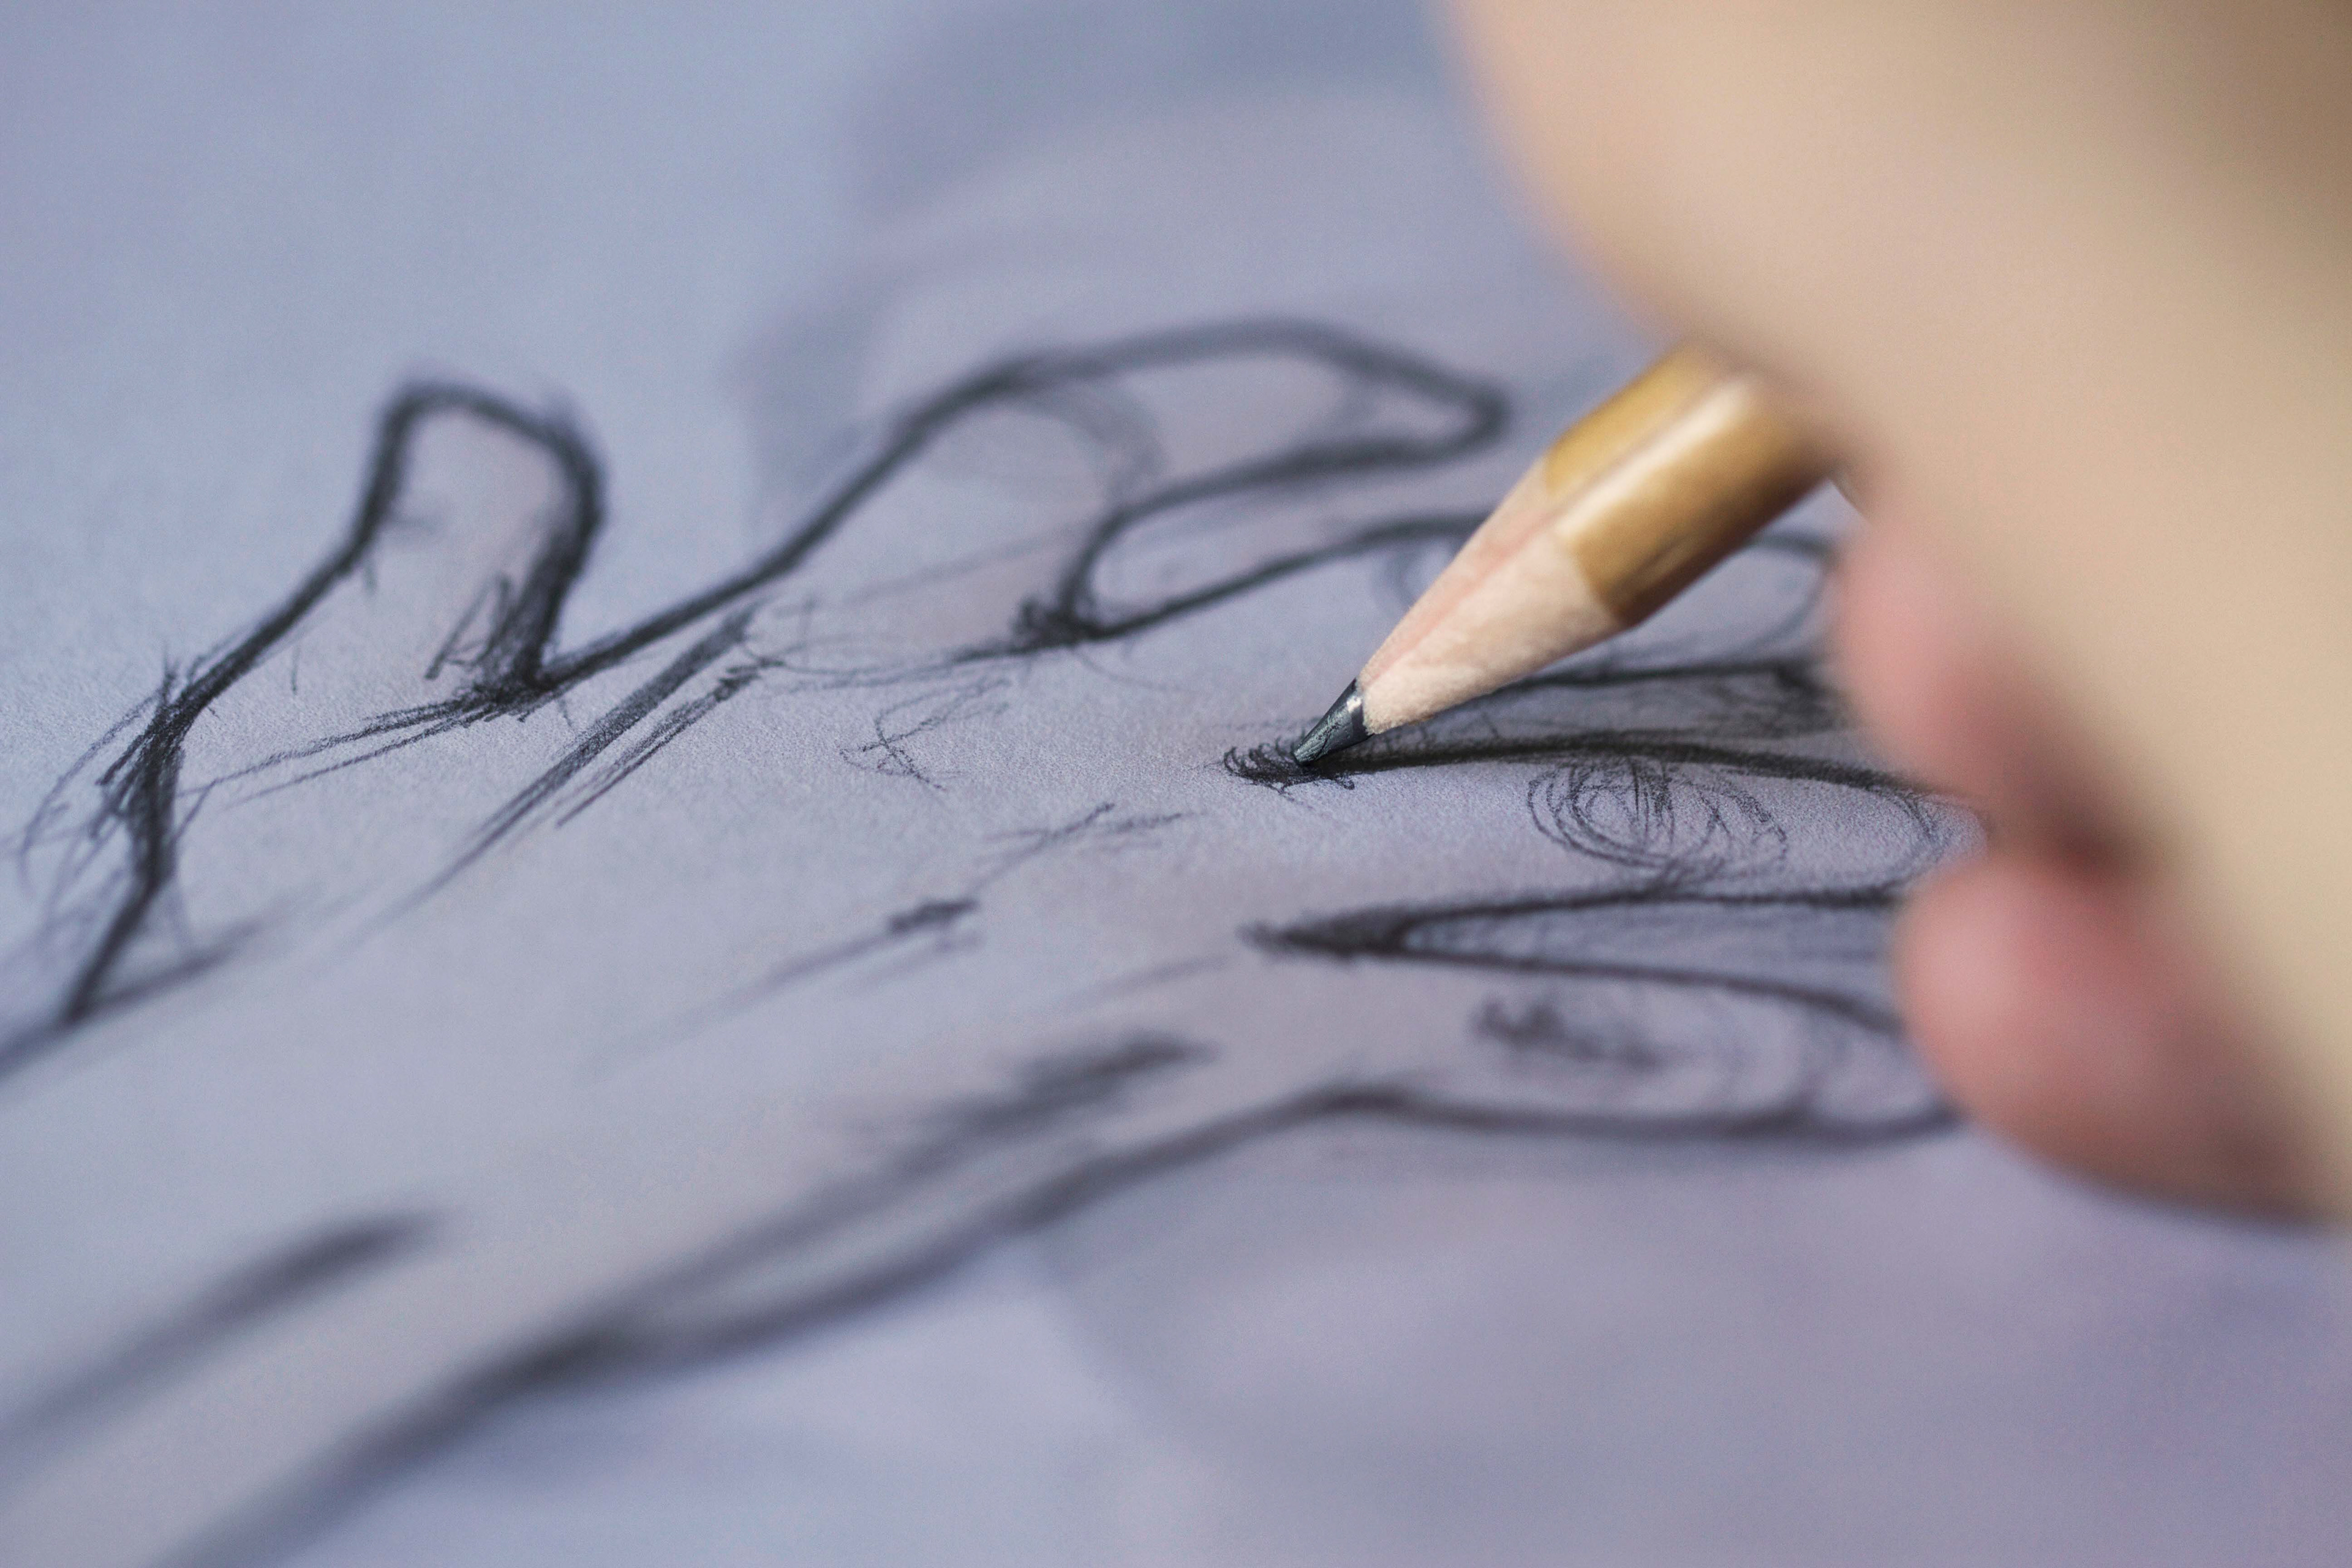
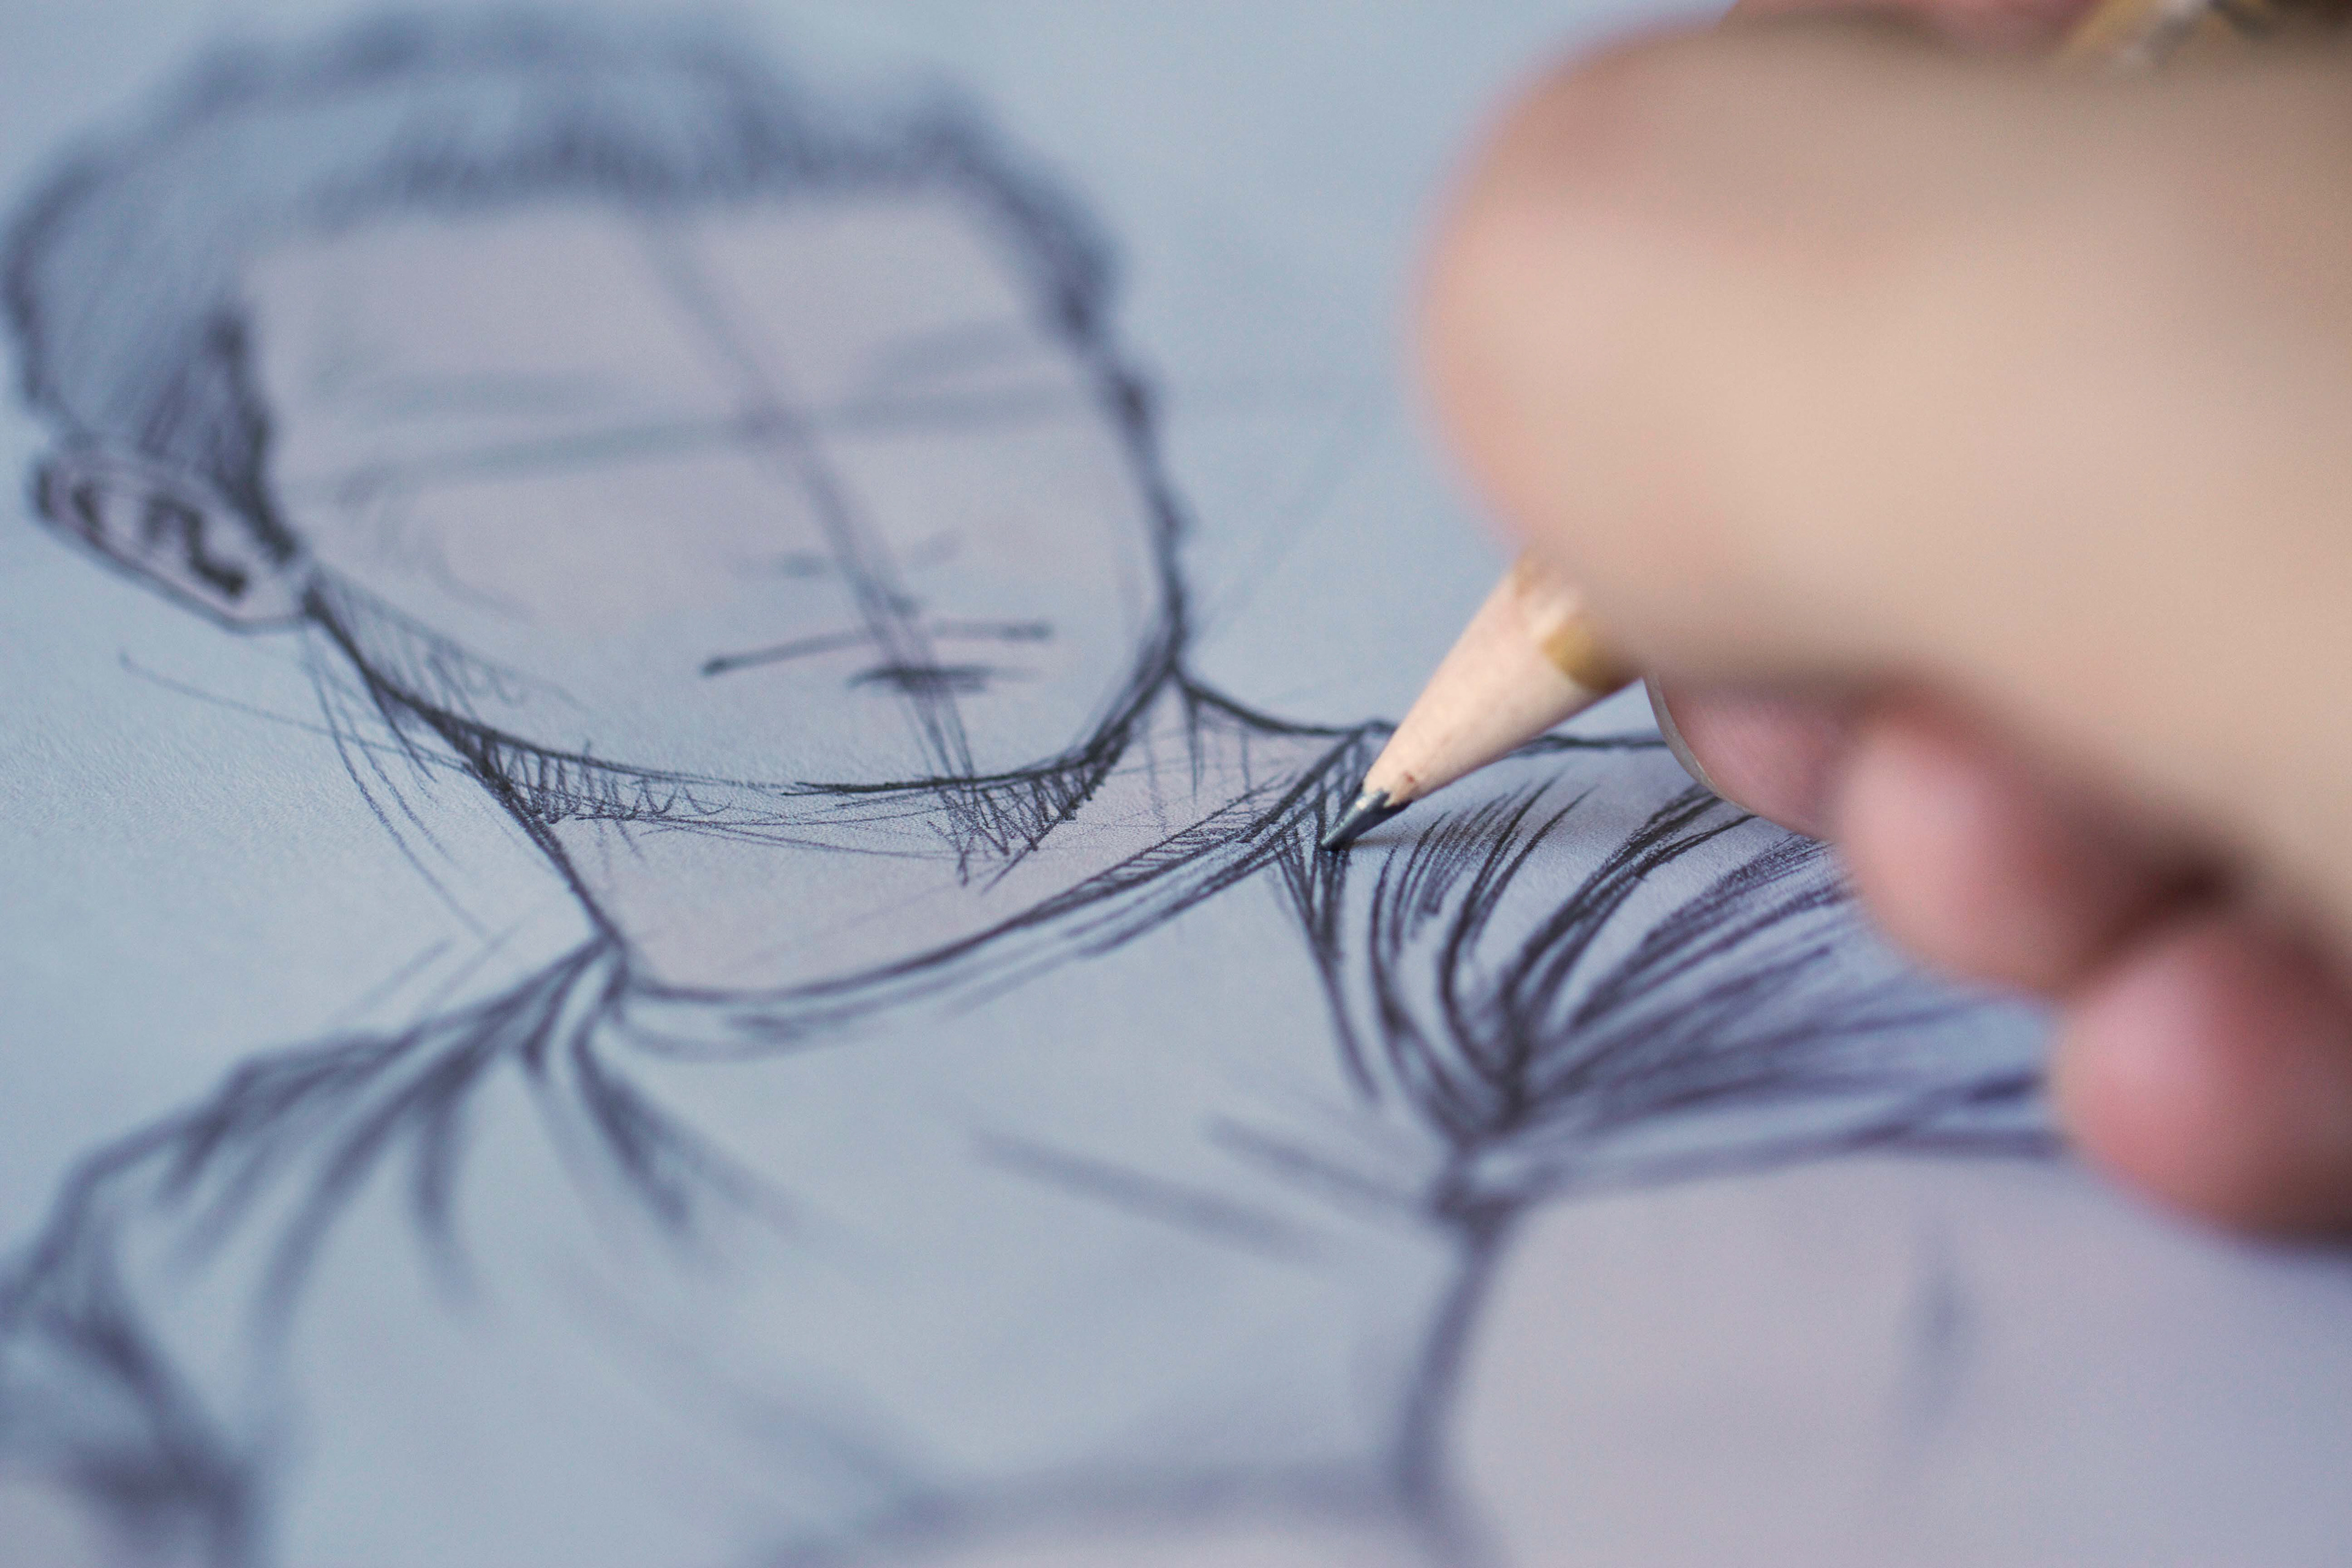
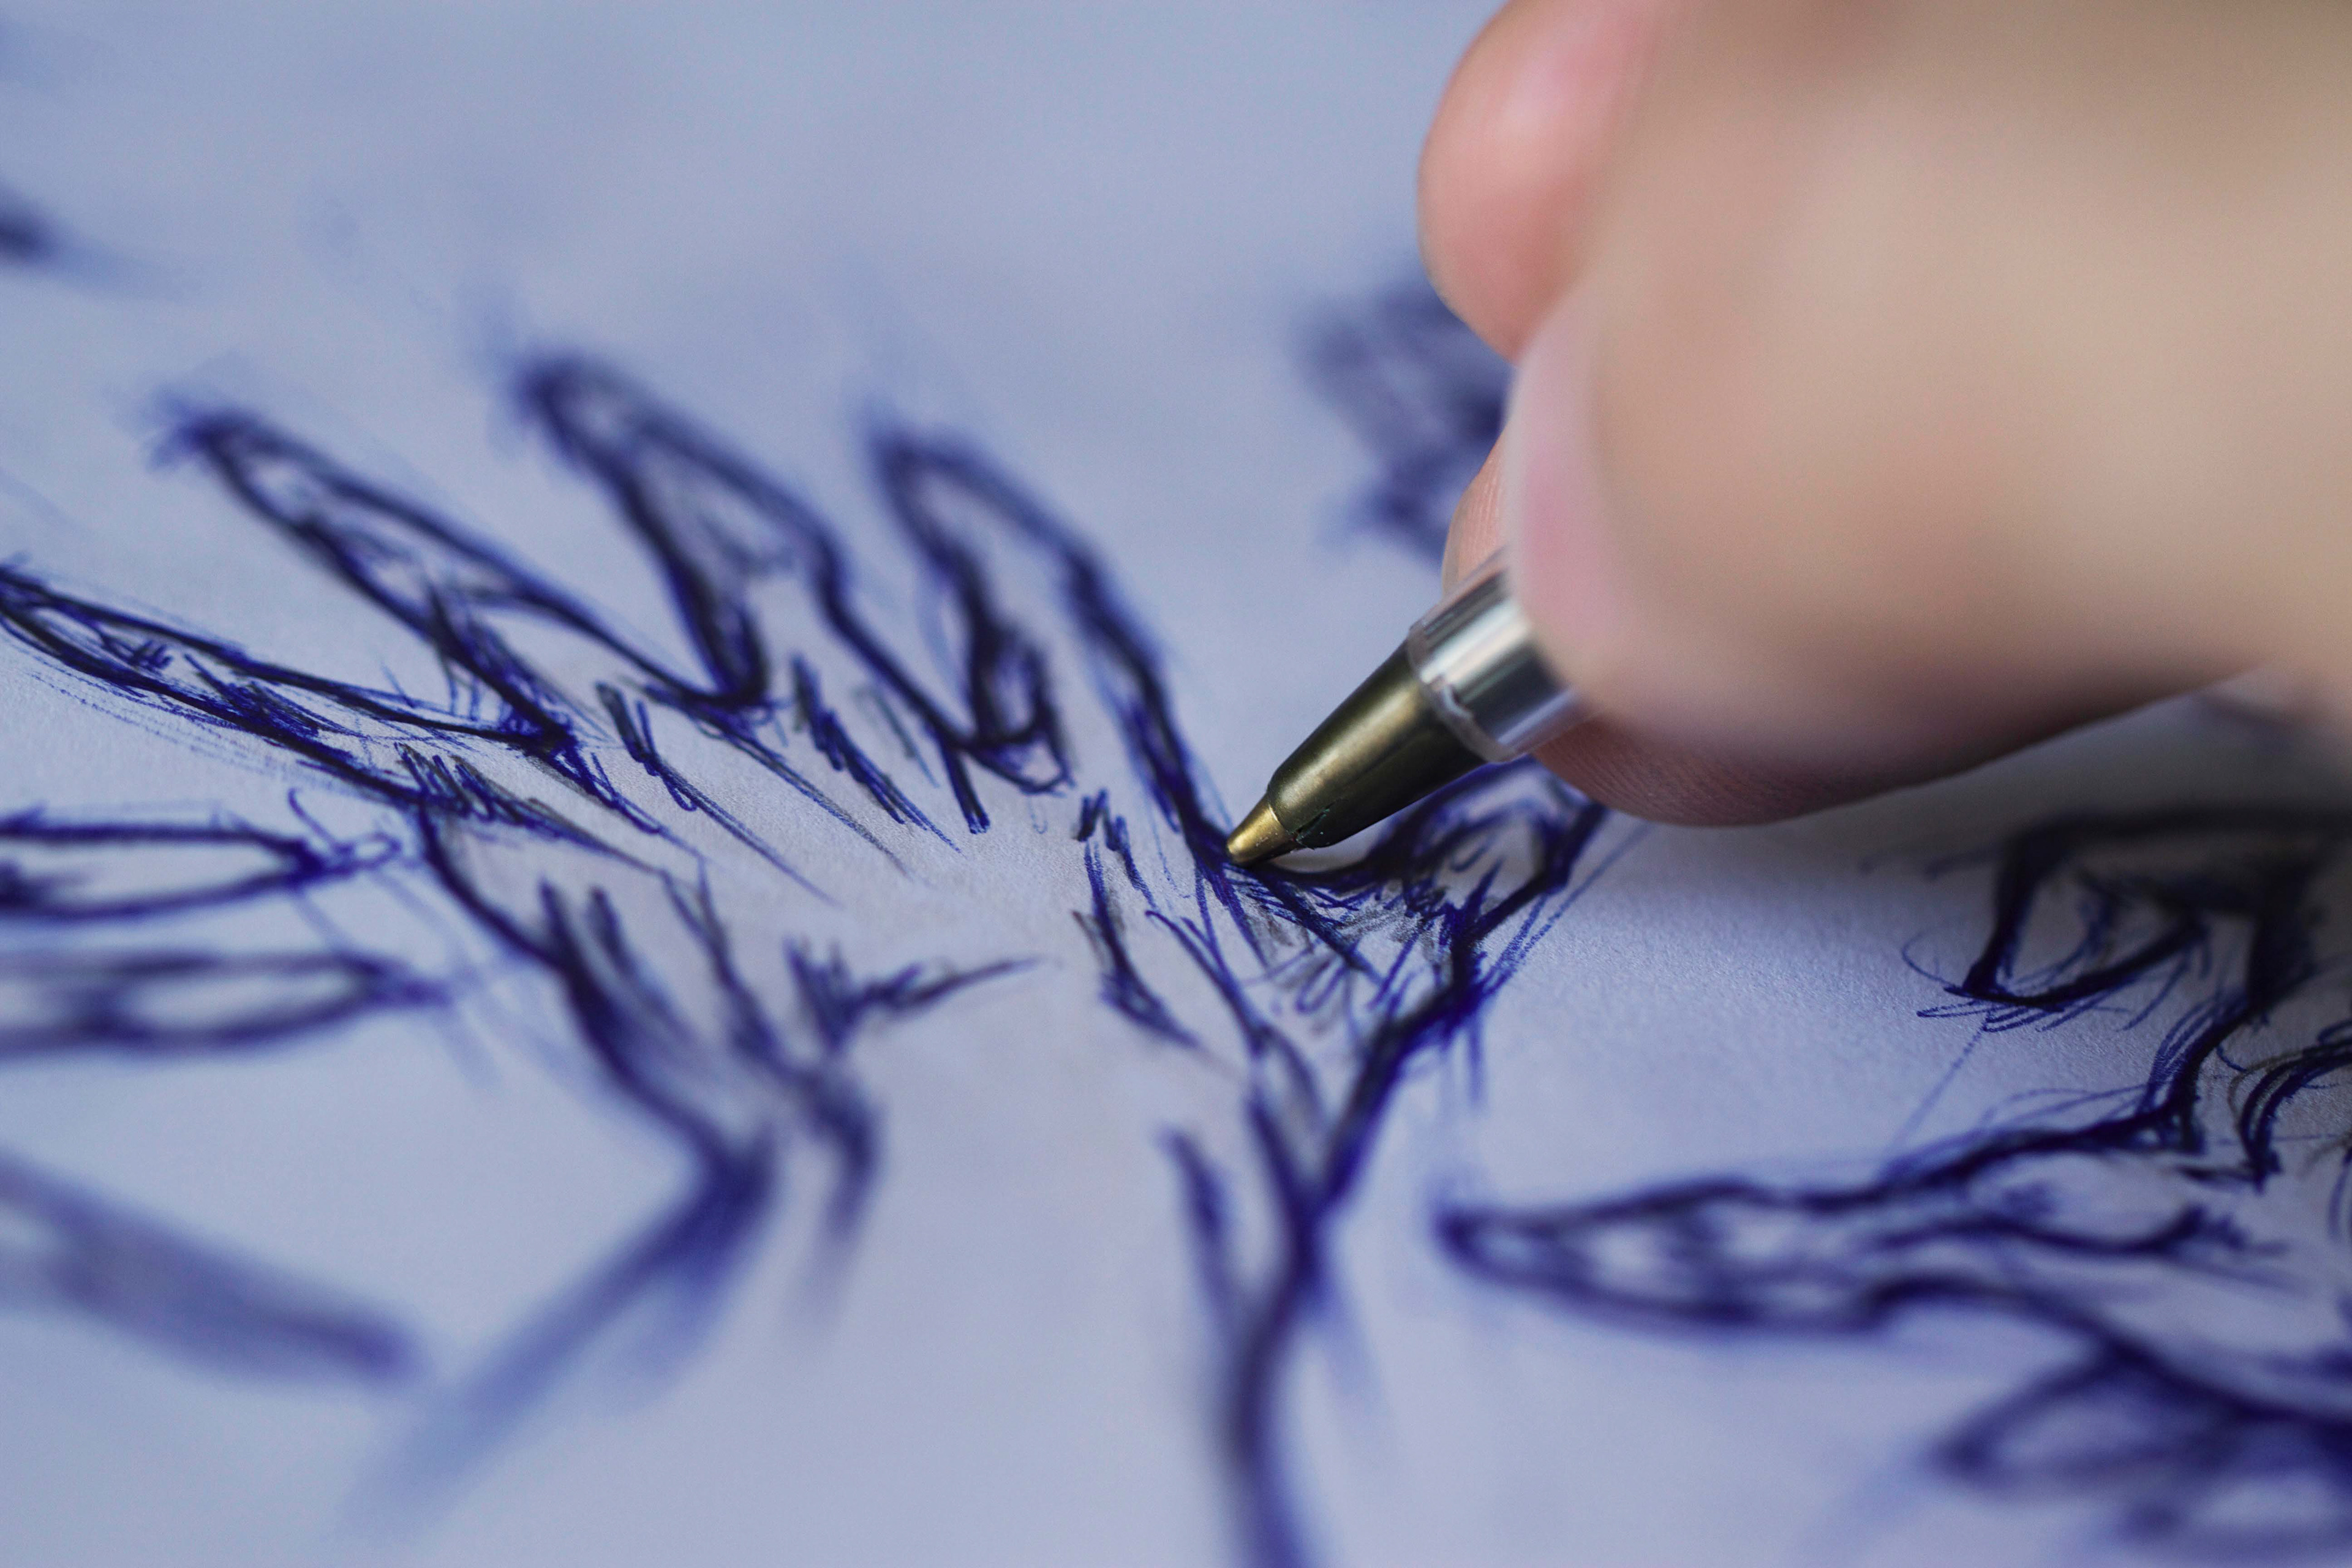
2) The trickiest part with these images is creating the sketch. It has to look realistic and balanced. You should show just enough but not too much. Also, the placement of the drawing must precisely match the position of the pencil in the photo.
3) My Dodge and Burn effect probably accounts for most of the work in the final rendering. It is in fact a multitude of brushstrokes, black or white, which serve to highlight the facial features and clothing. This treatment is intended to look more like a painting than a photo, and it allows me to make the transition between the photo and the drawing more appealing.
__
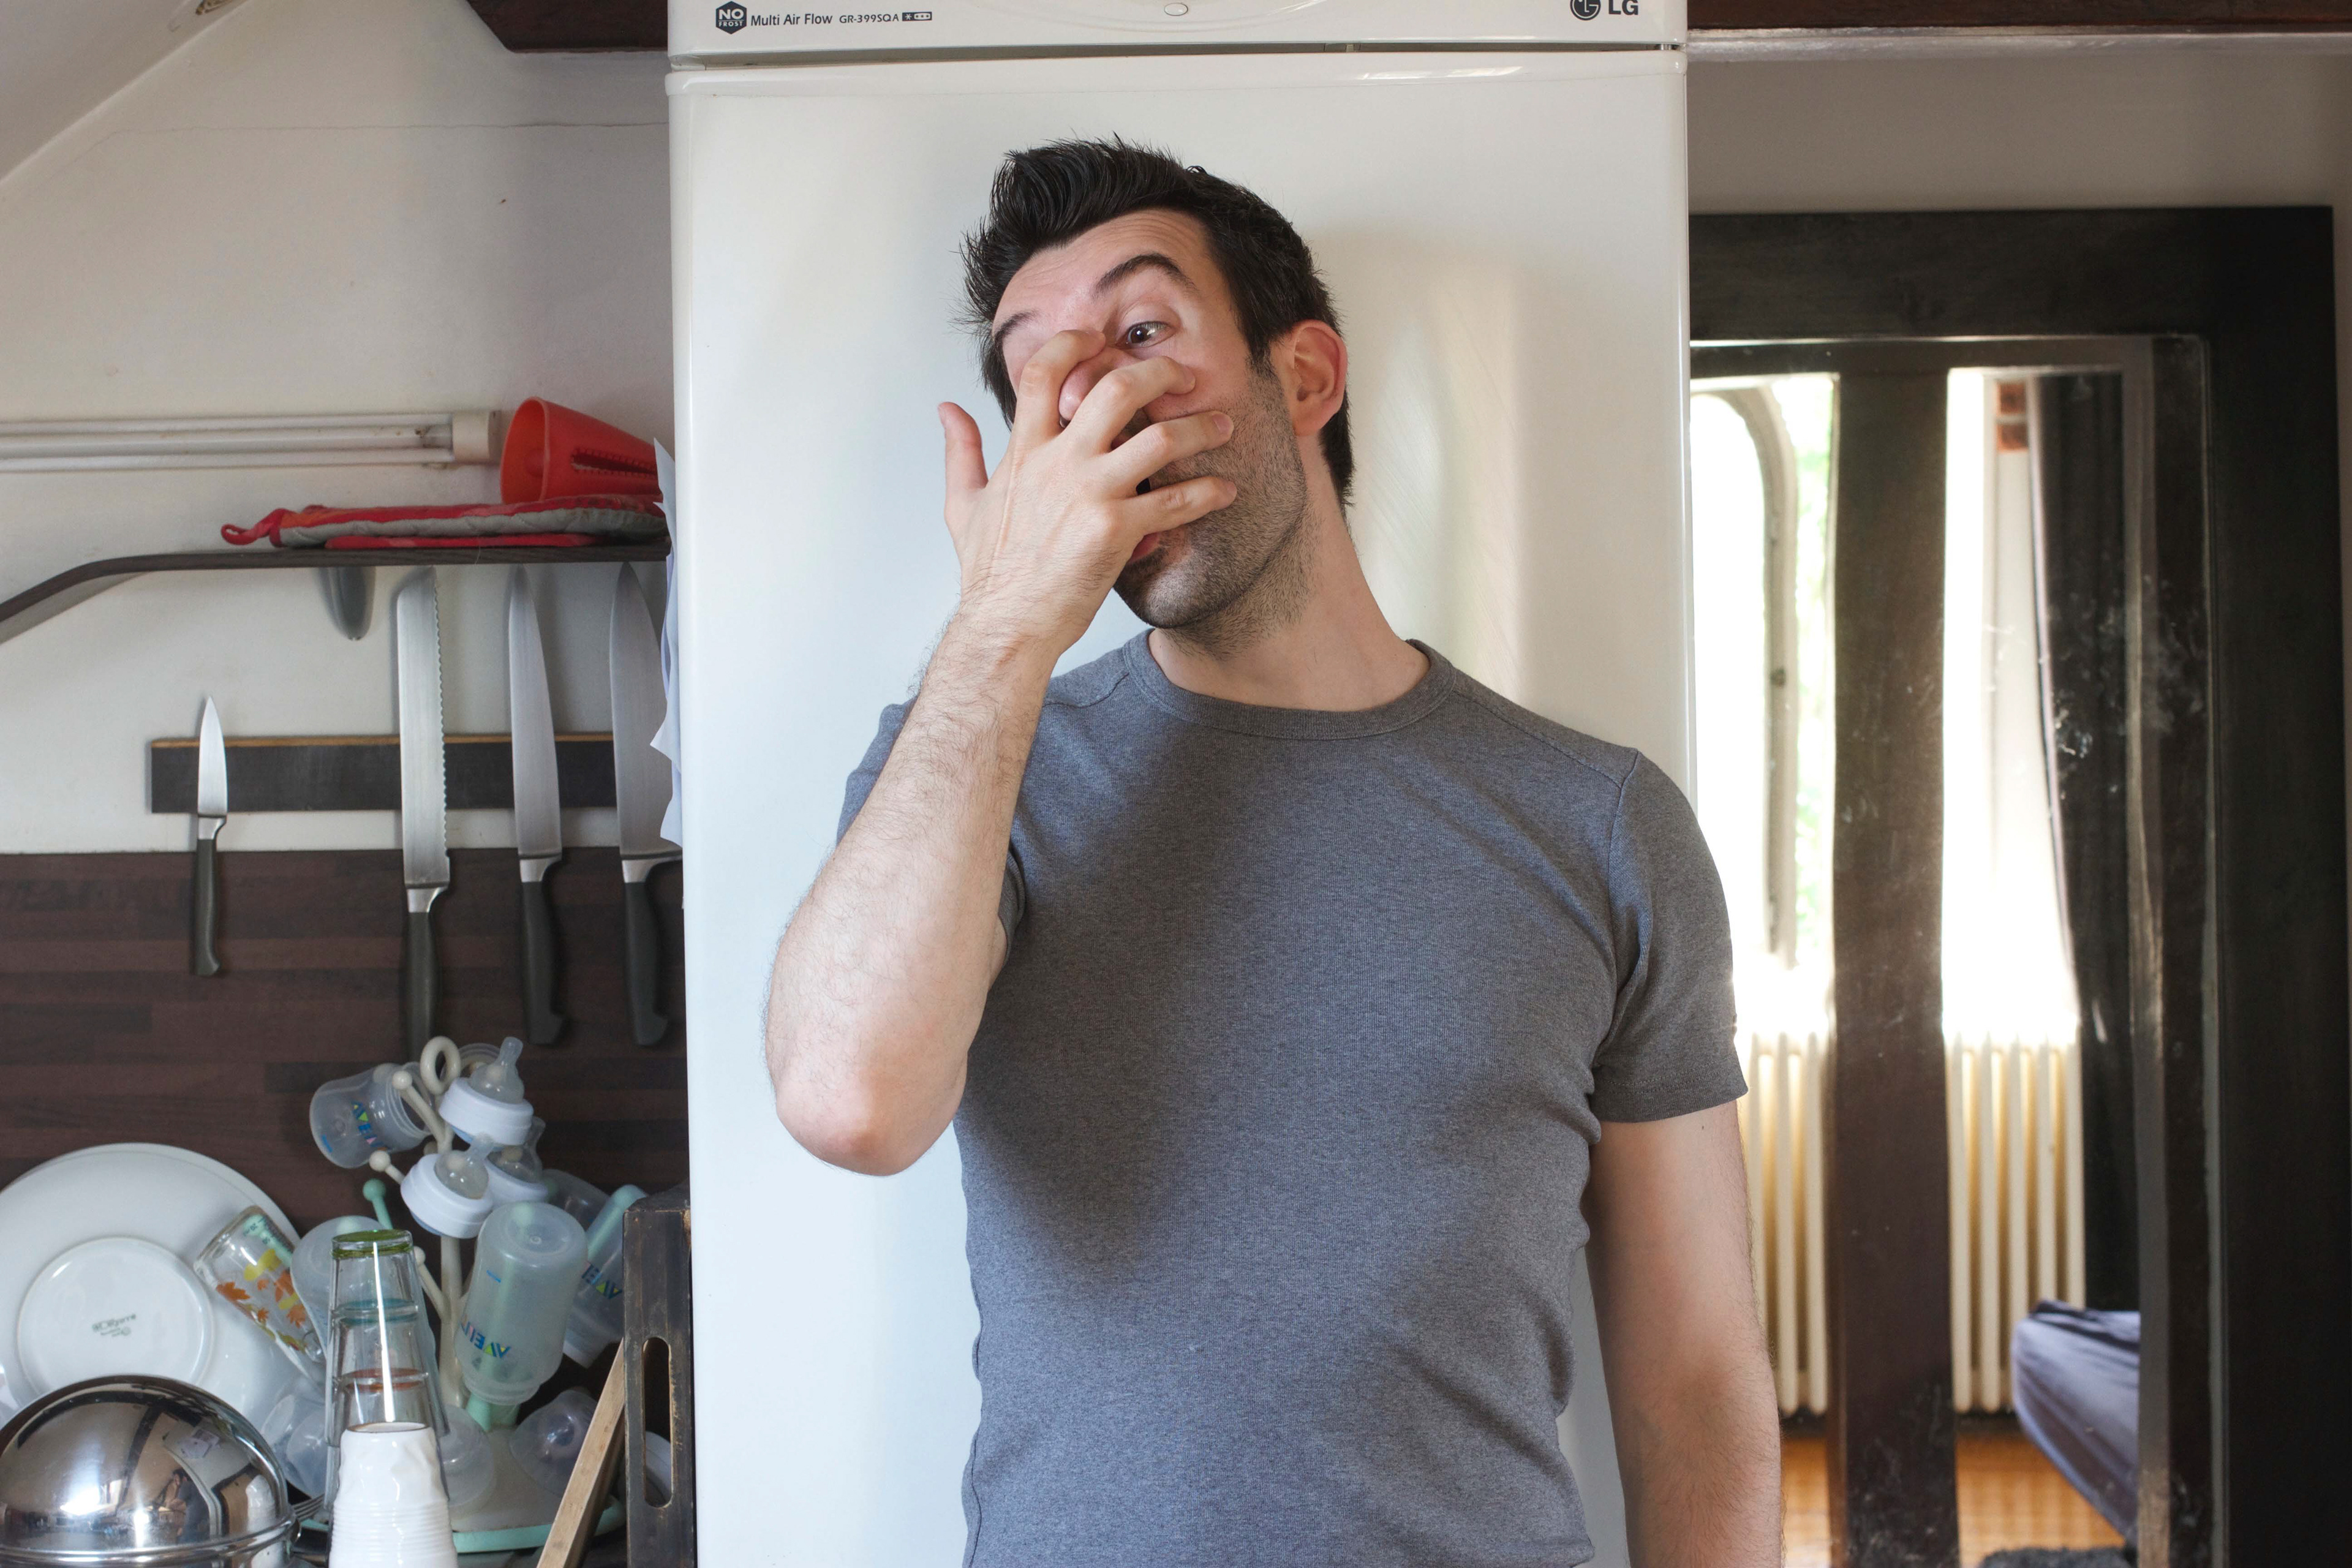
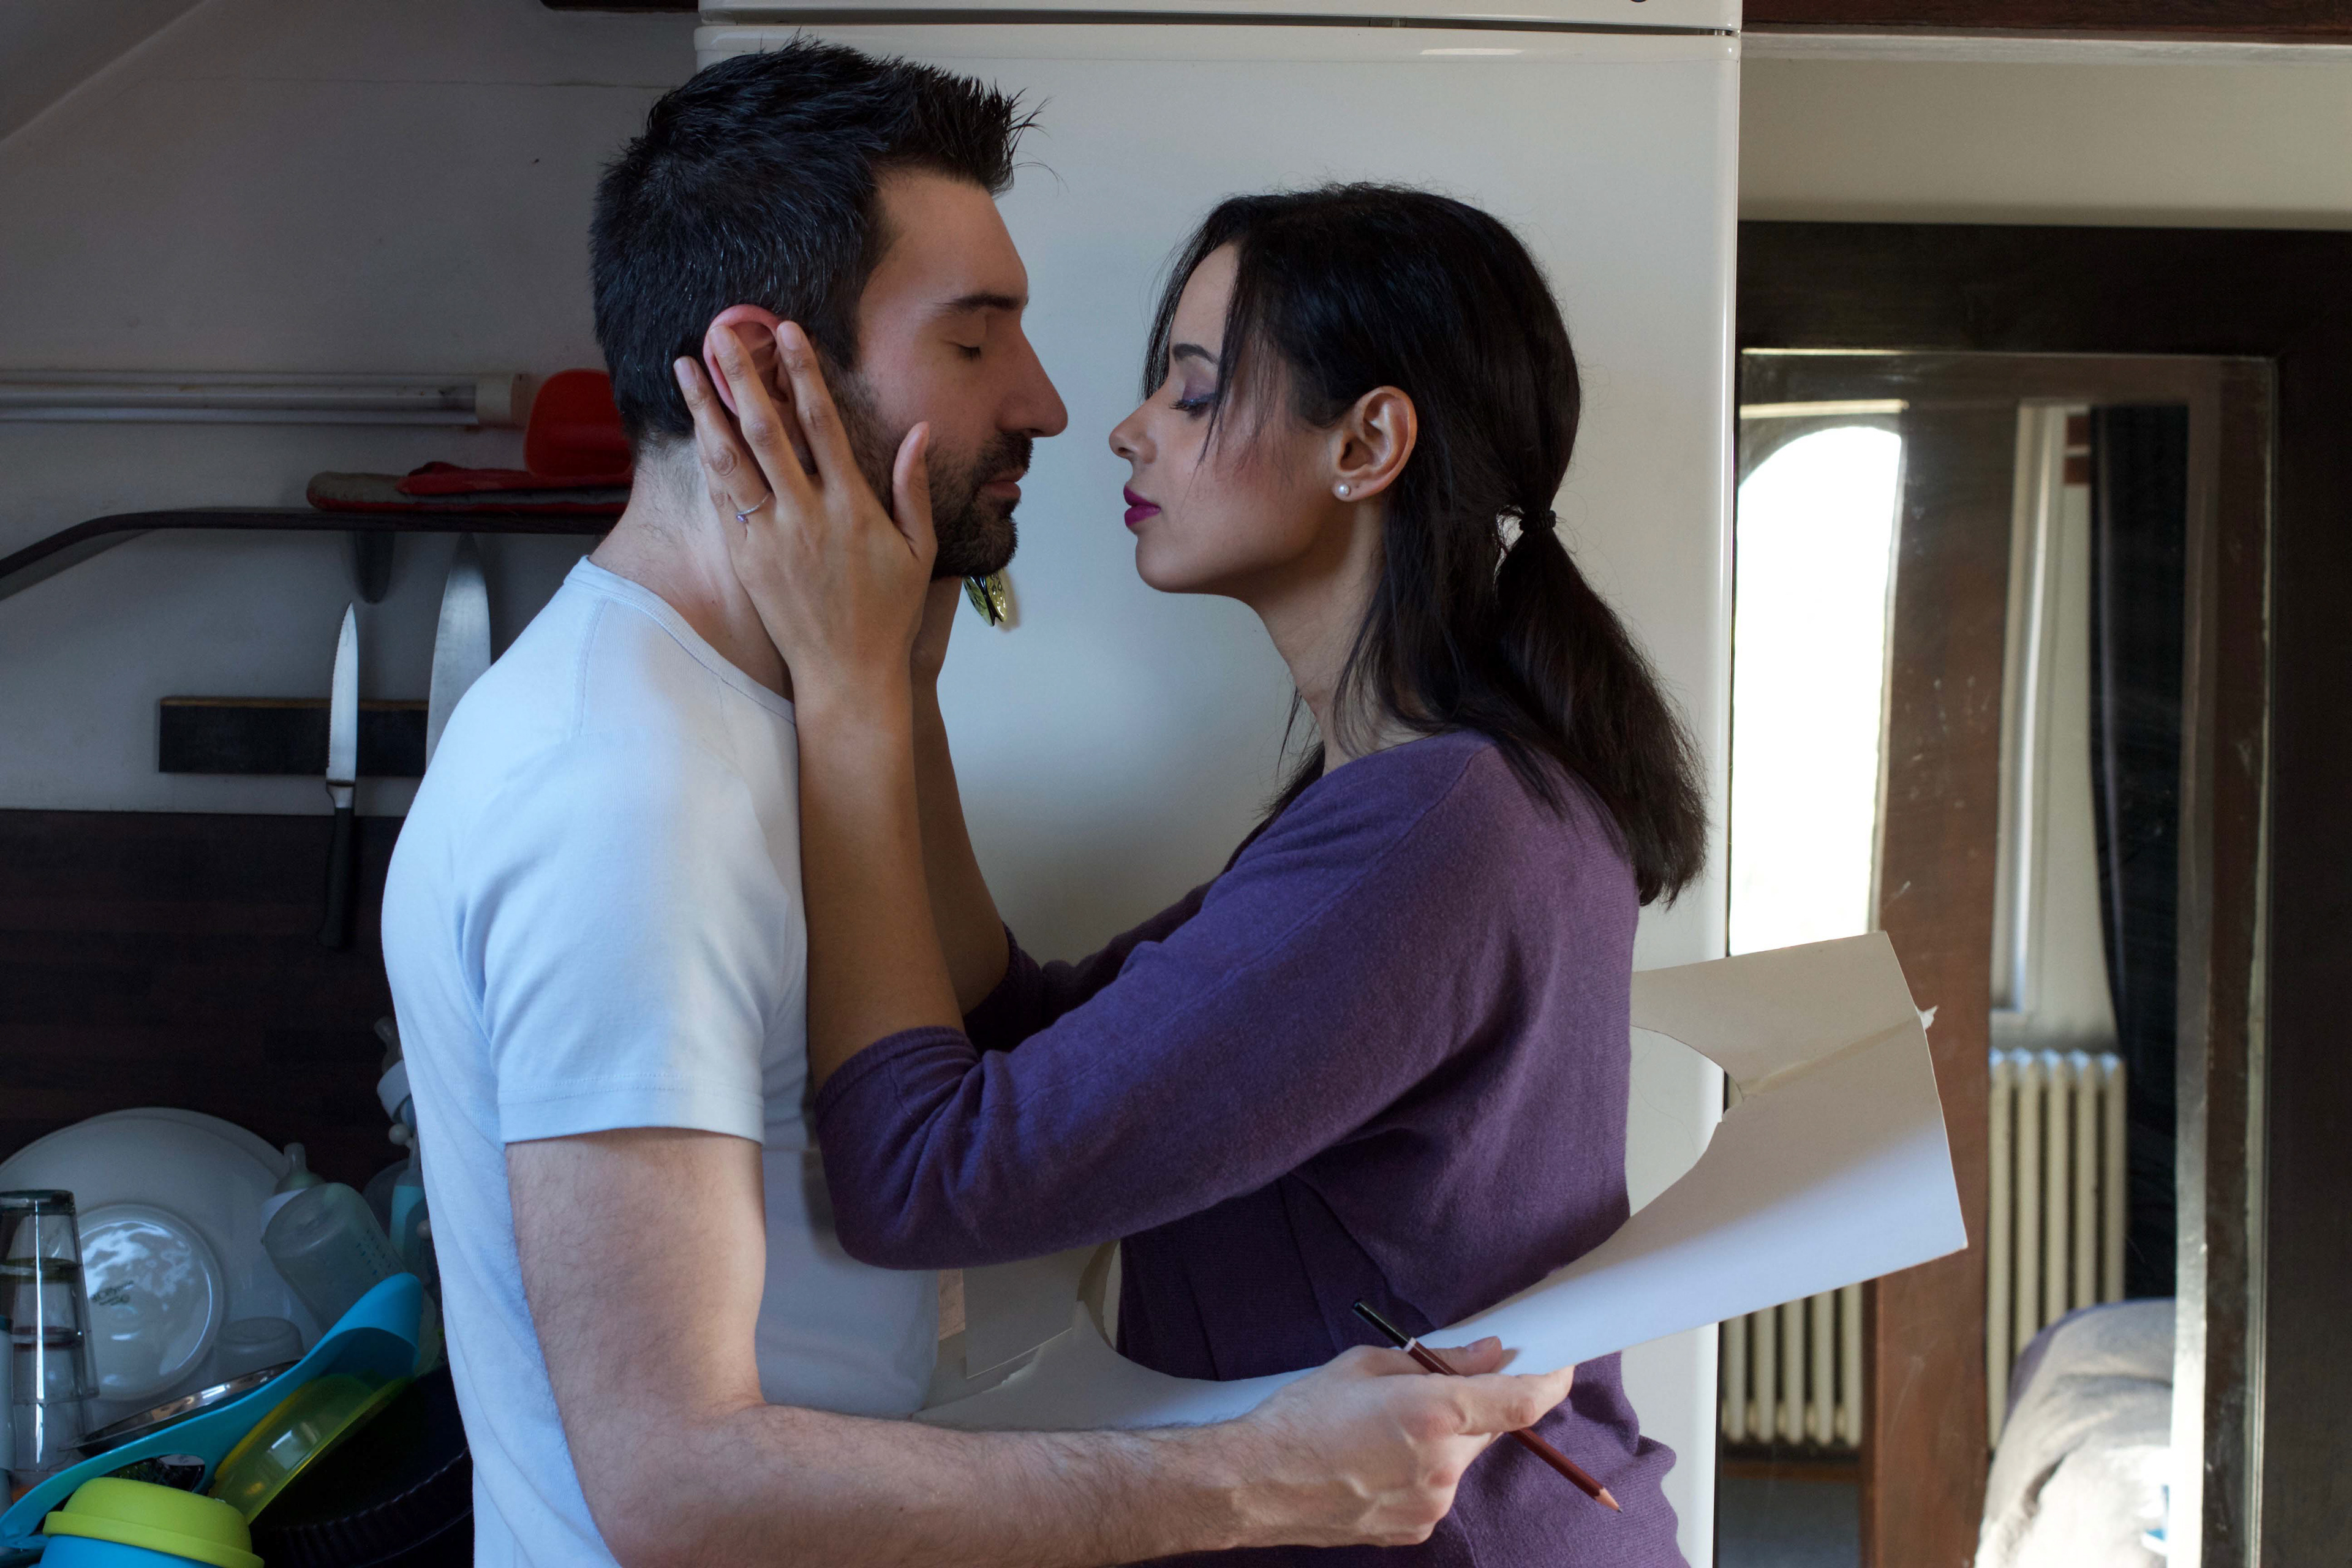
Behind the scene
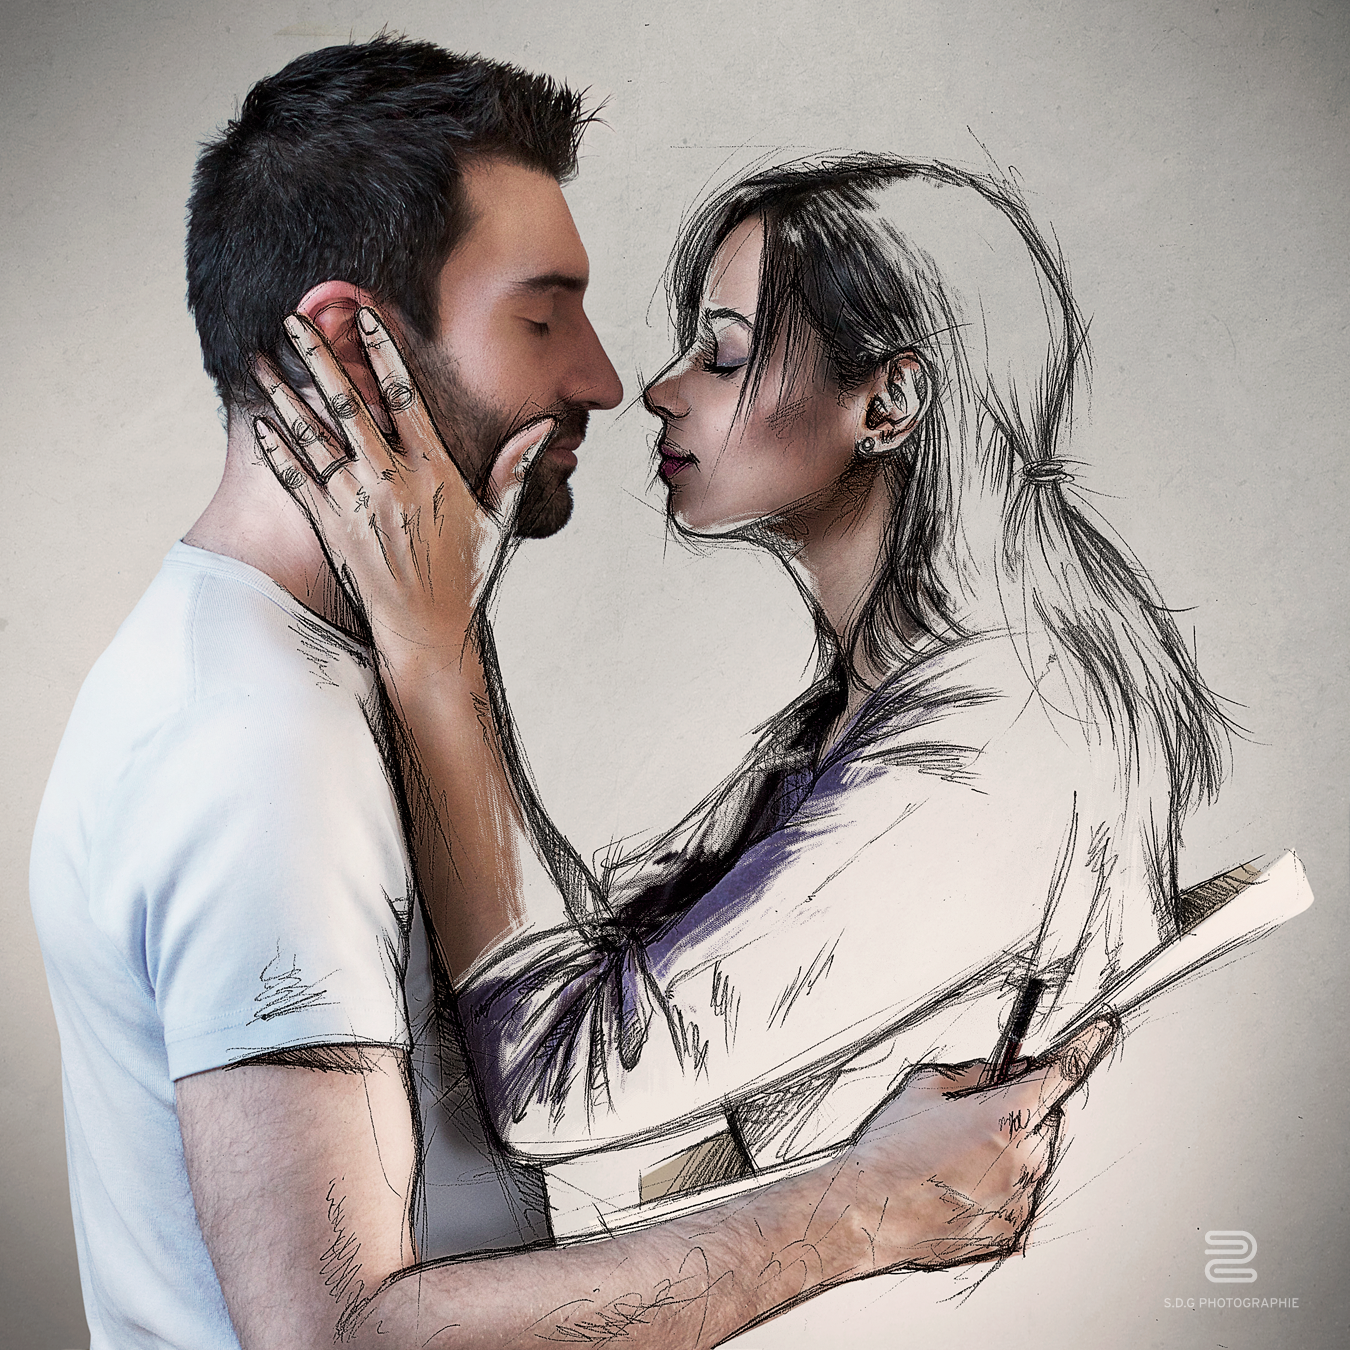
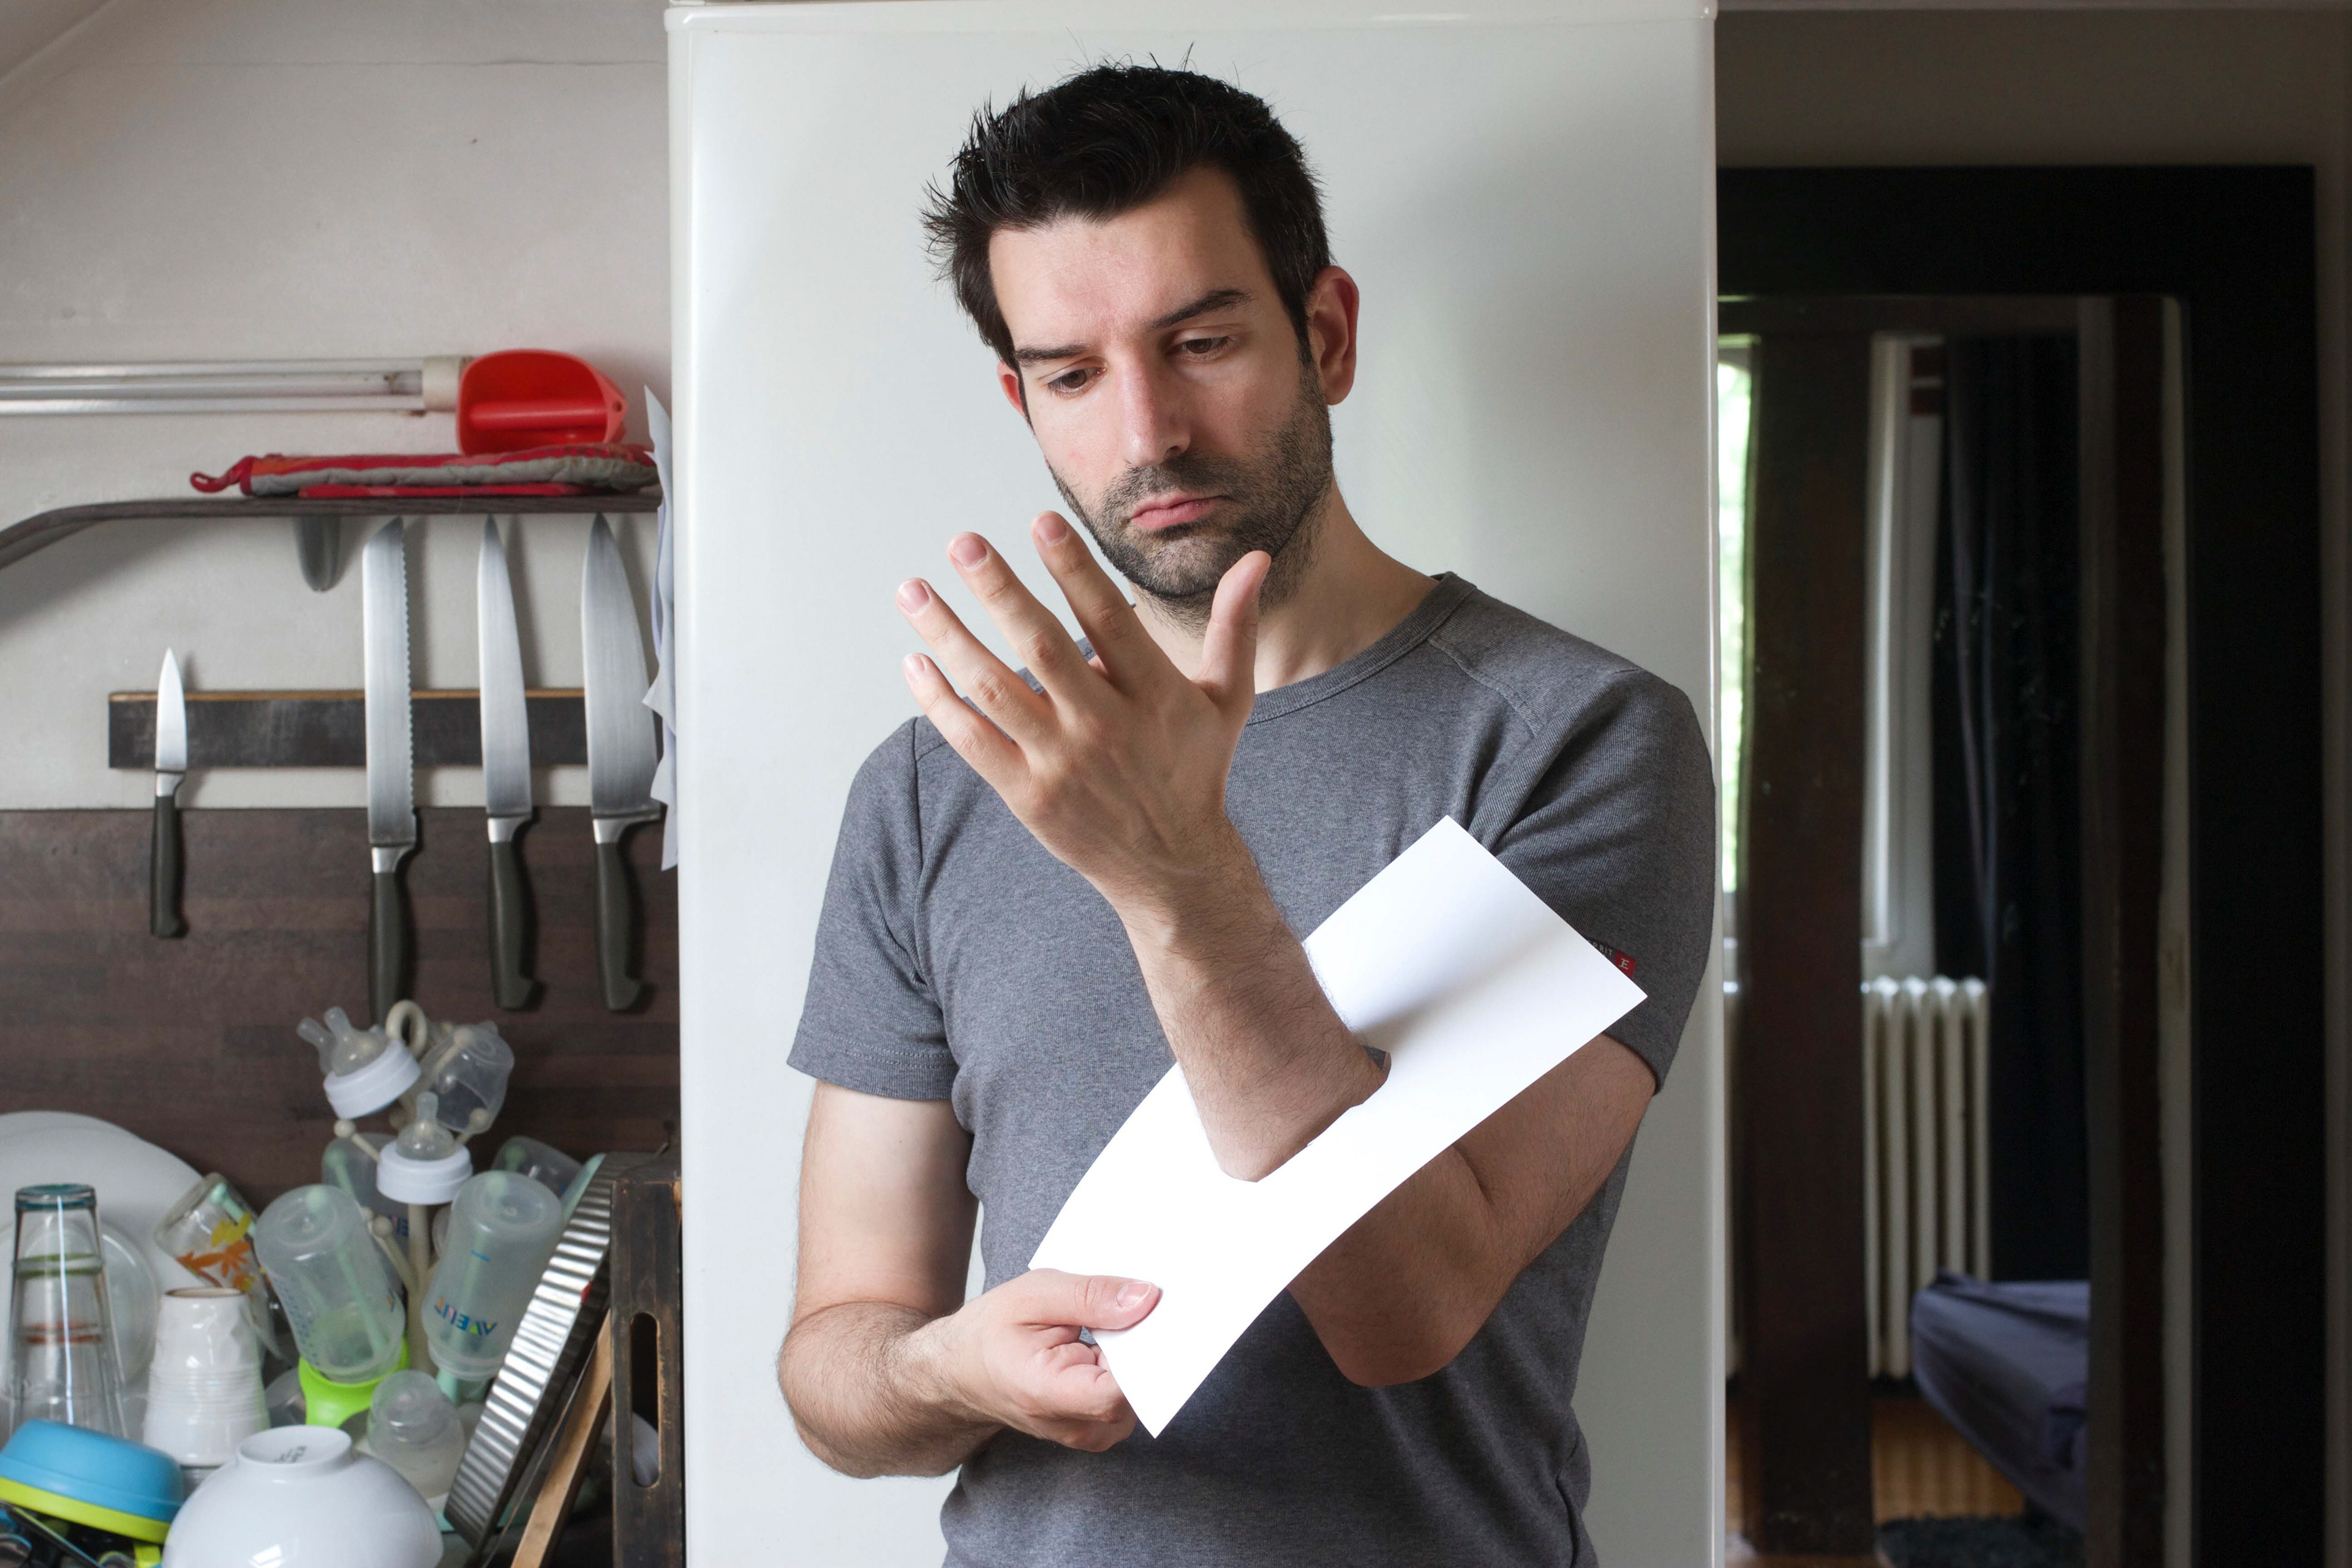
Some backstages of the images "the power of the sketch", "killer sketch" and "sketch the love". These shots are taken in natural light behind my fridge to have a clean white background;)
__

Sketches
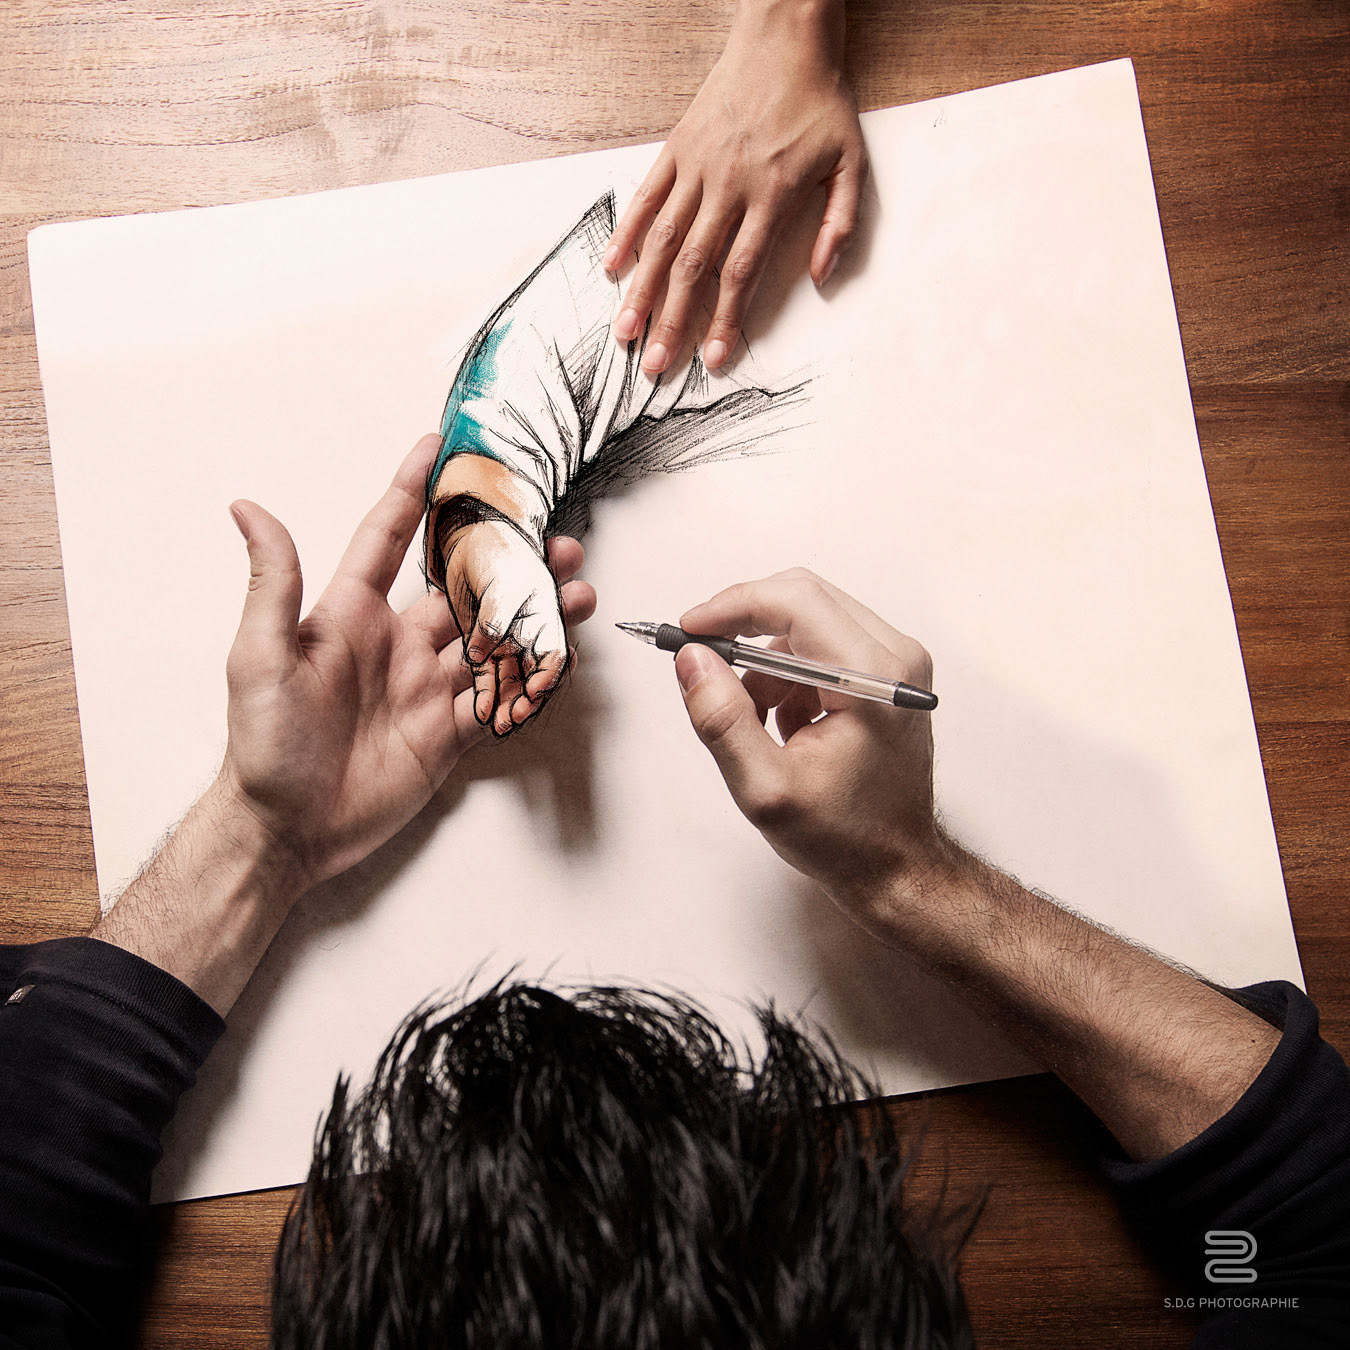
All my sketches are made with hand on a sheet of paper, then scanned and cleaned, and add to the photography with Photoshop.
__

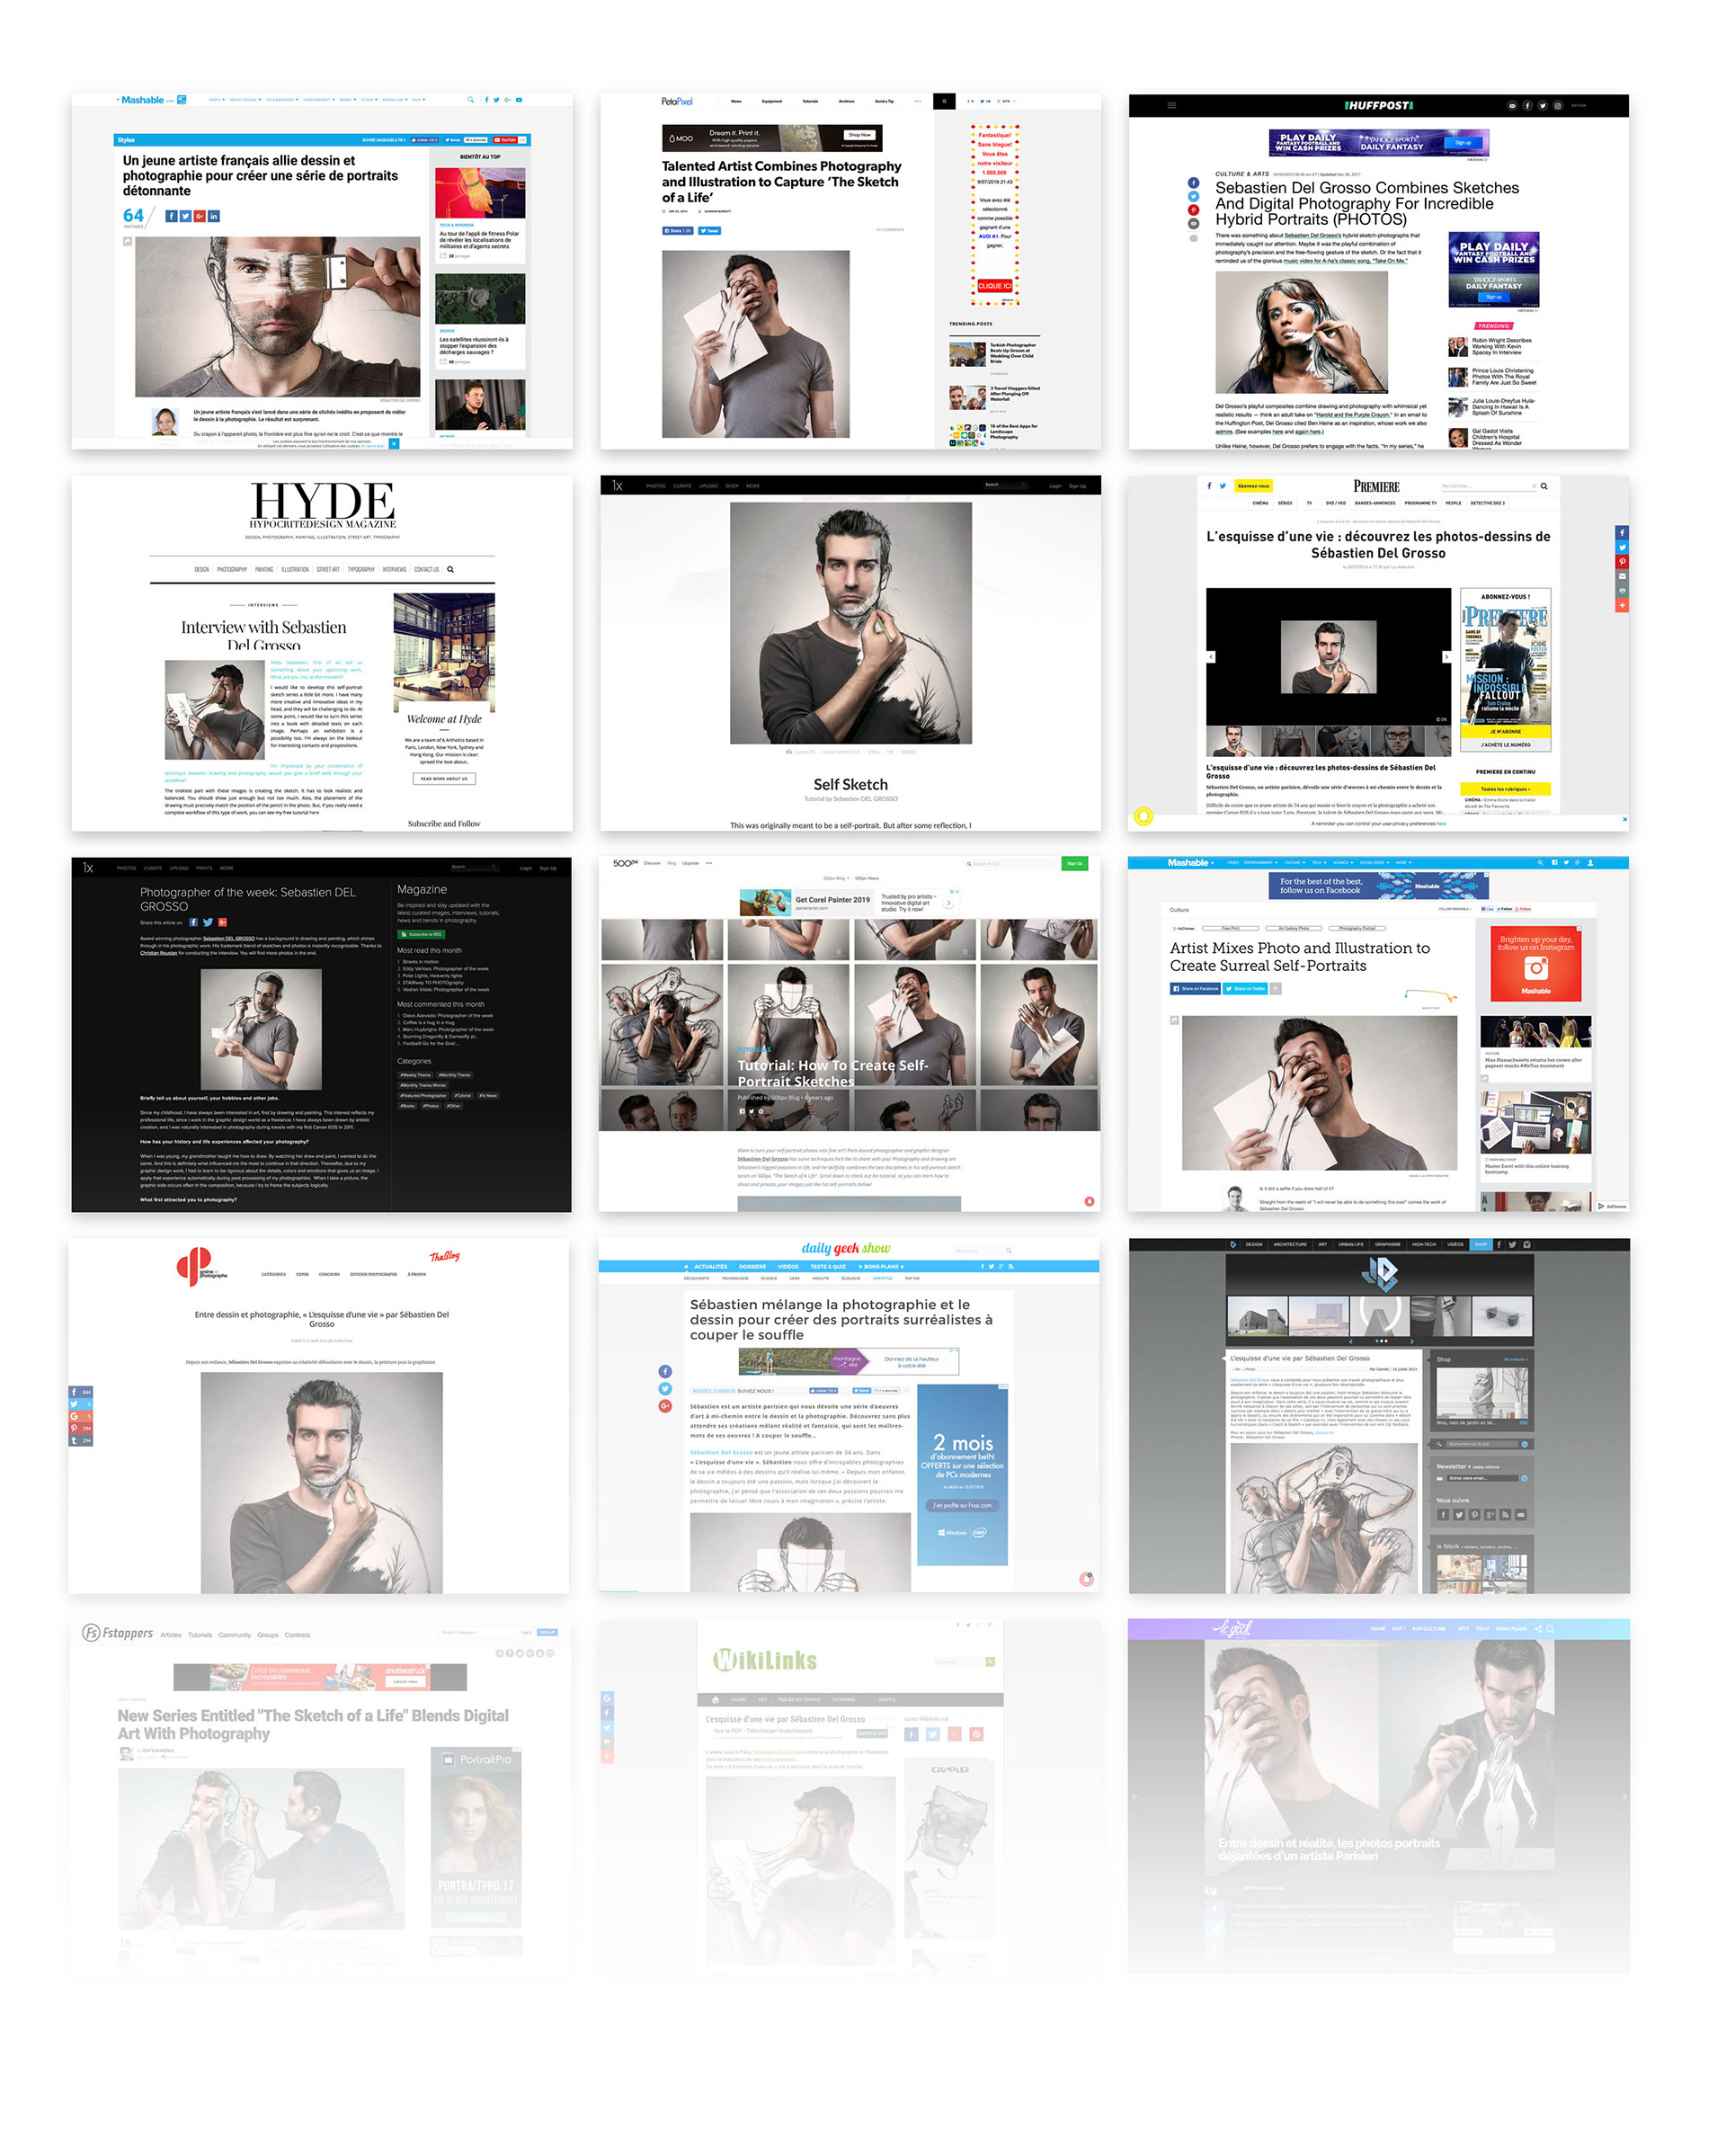
Publications
Some images of these series have been shared on big website like 500px, 1X, Mashable, Petapixel, Huffiest... and printed in American, English, French and Korean magazines.
__