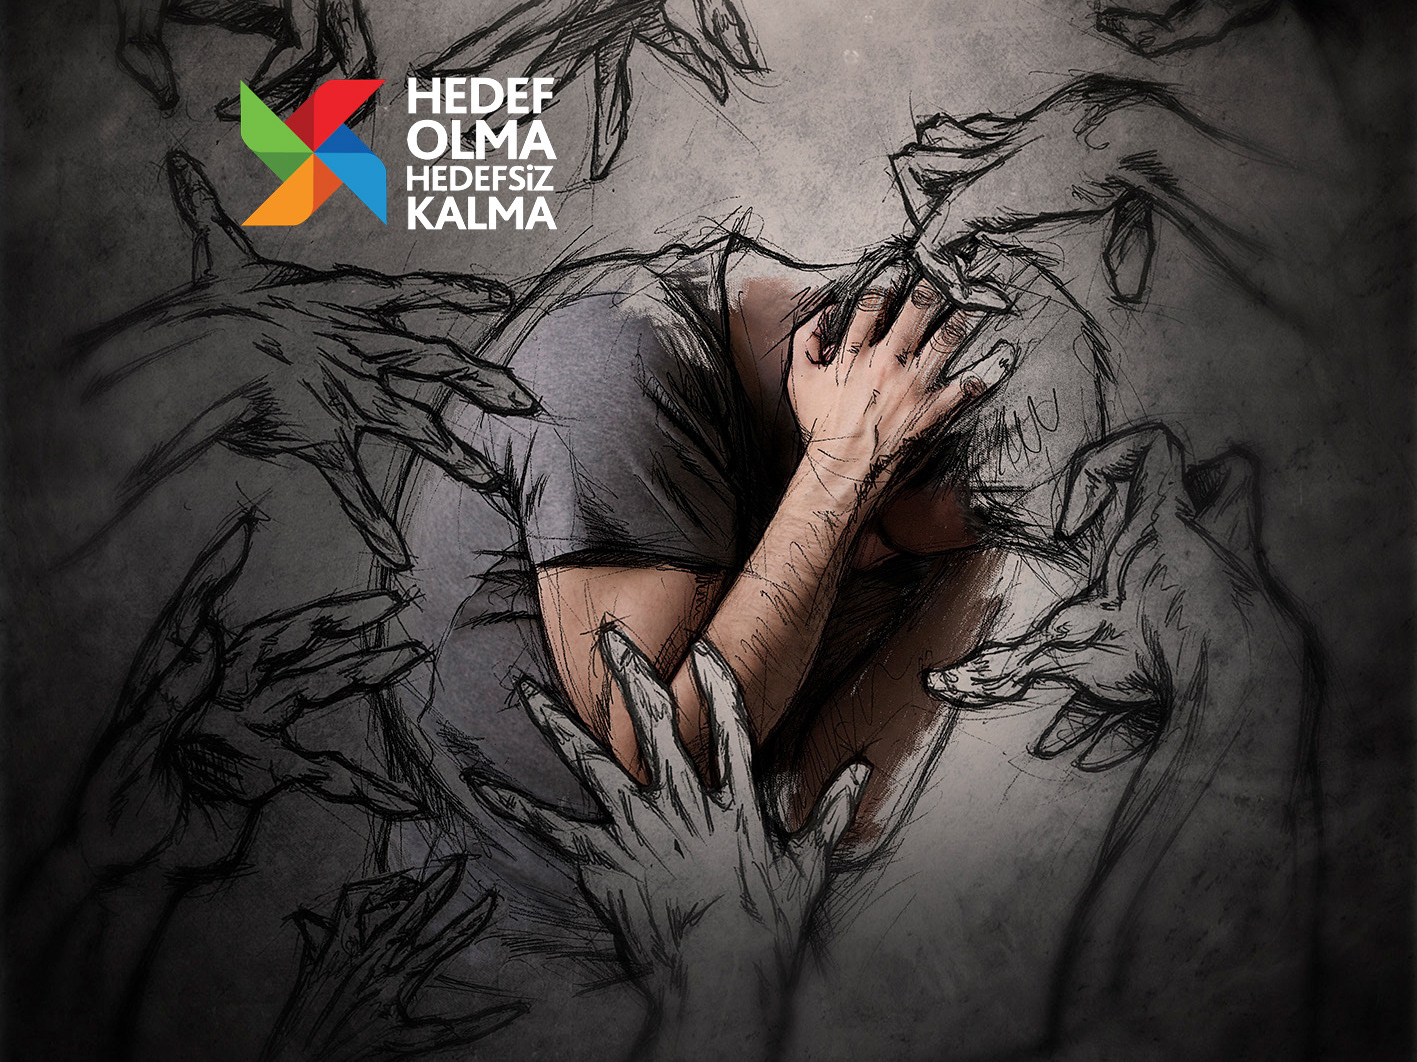
The Black Series


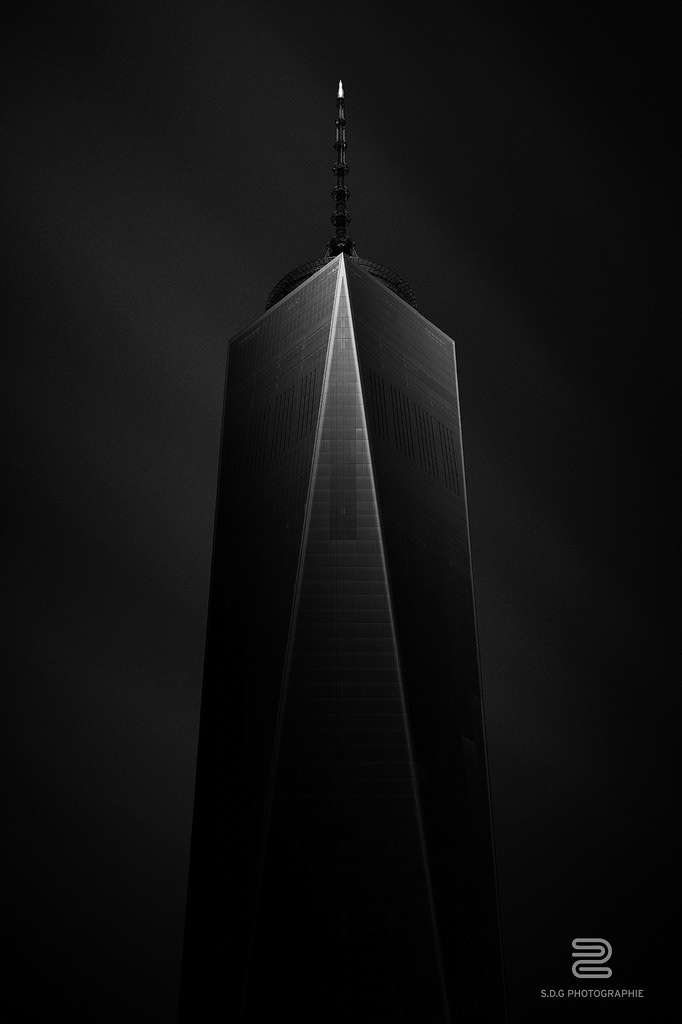
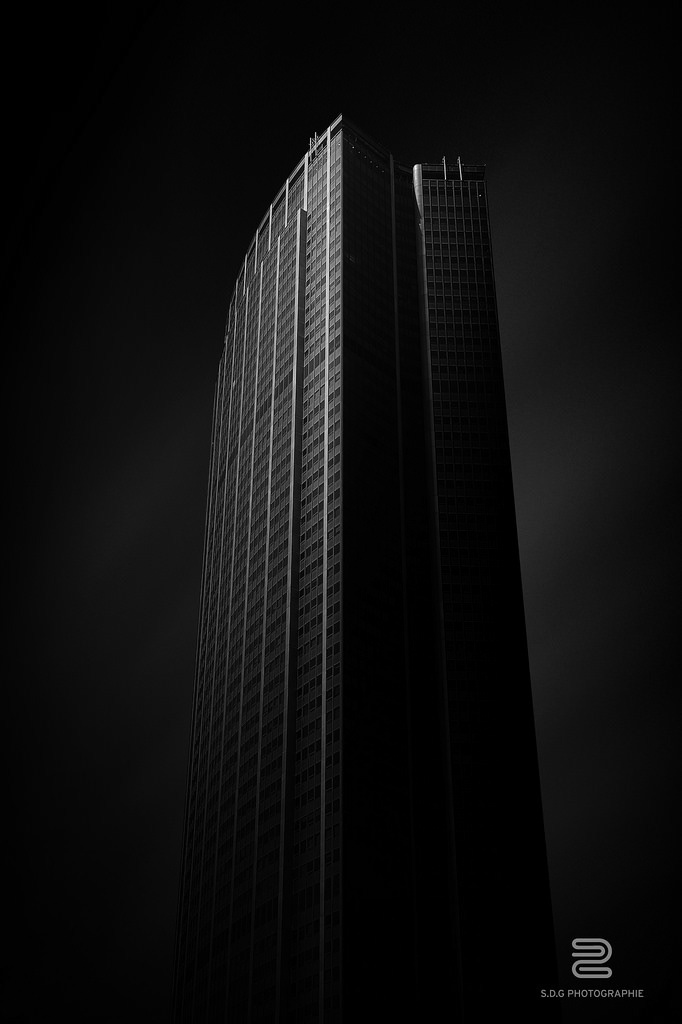

_____________________
Processing
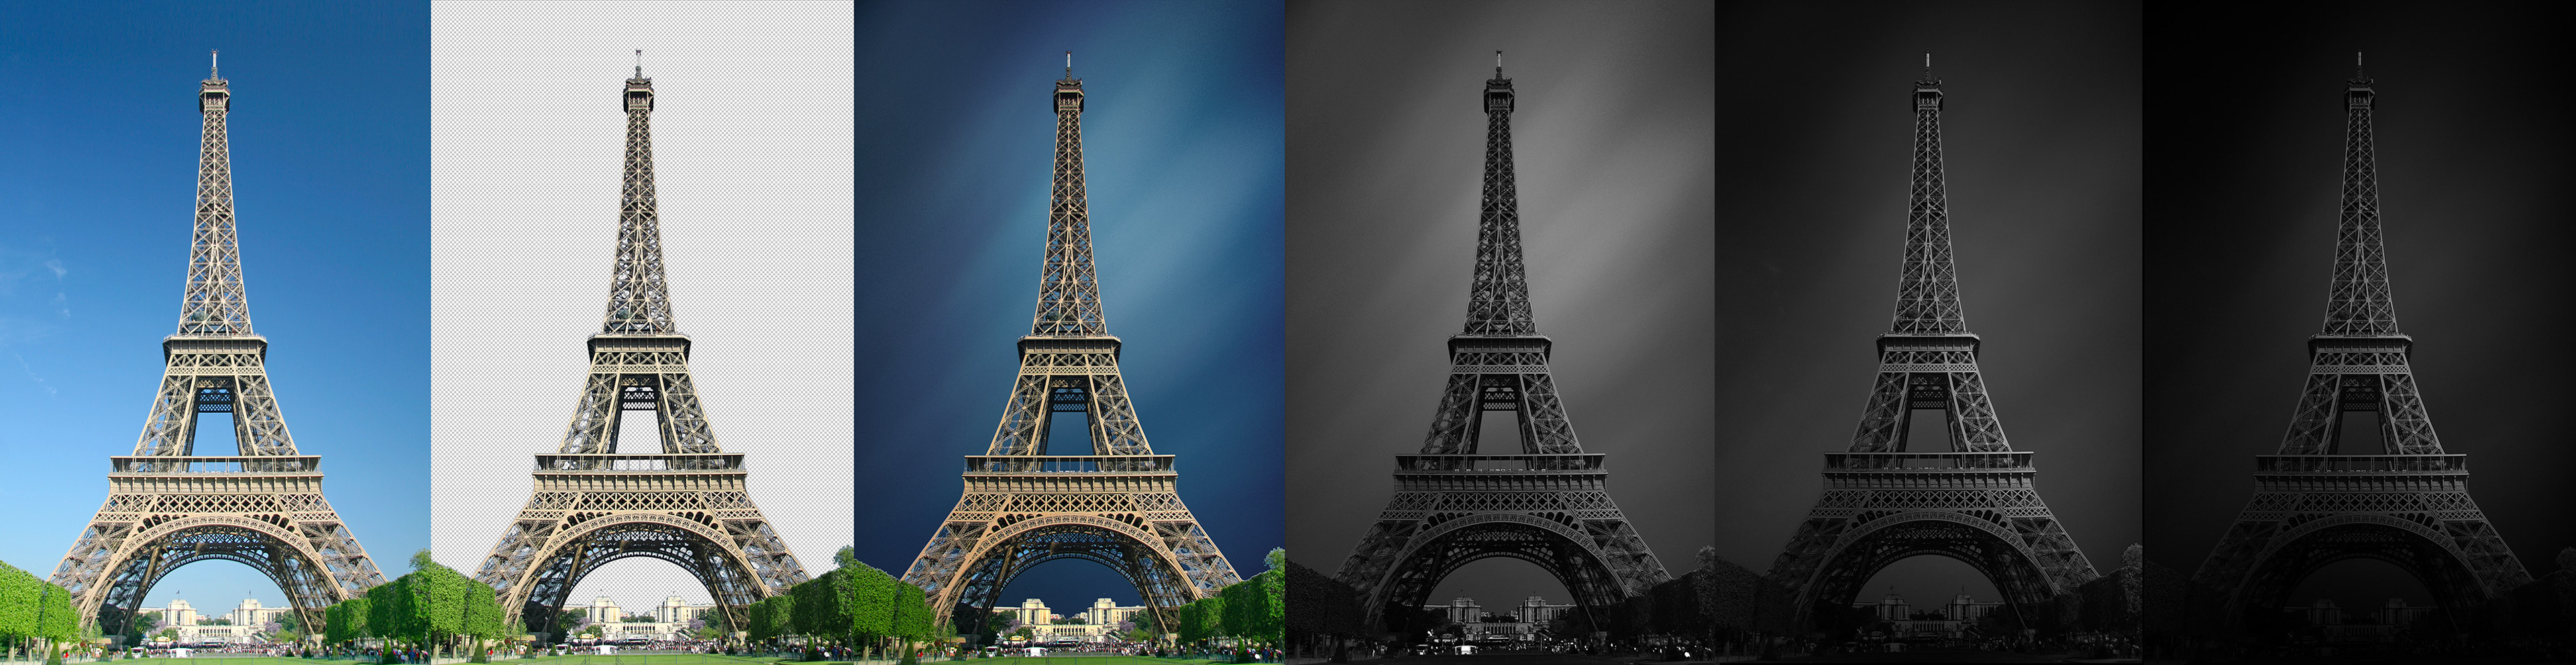
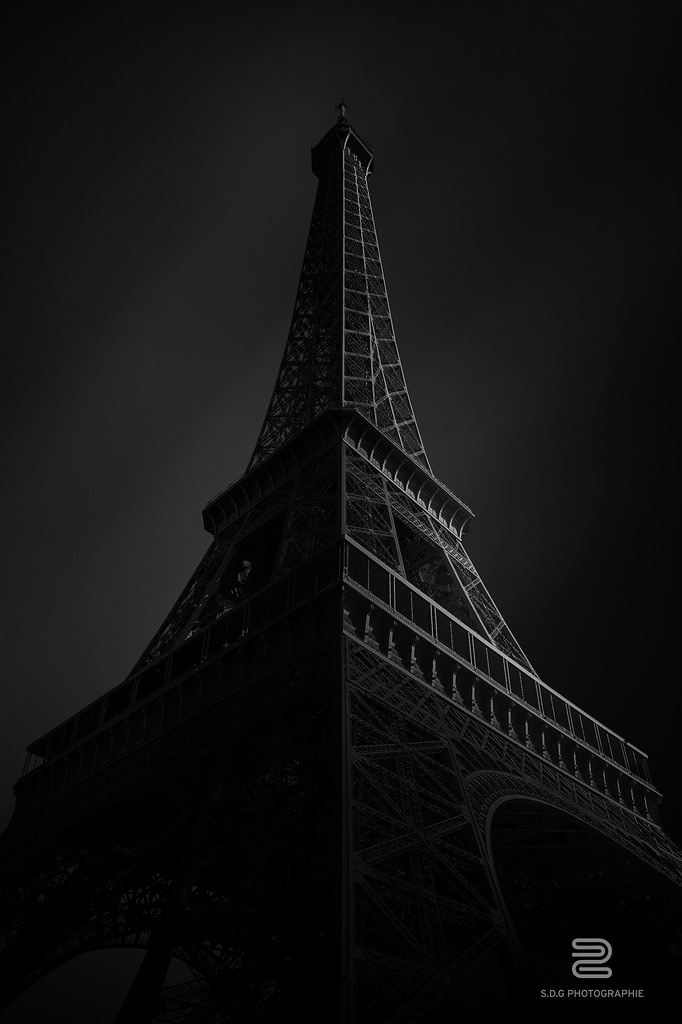
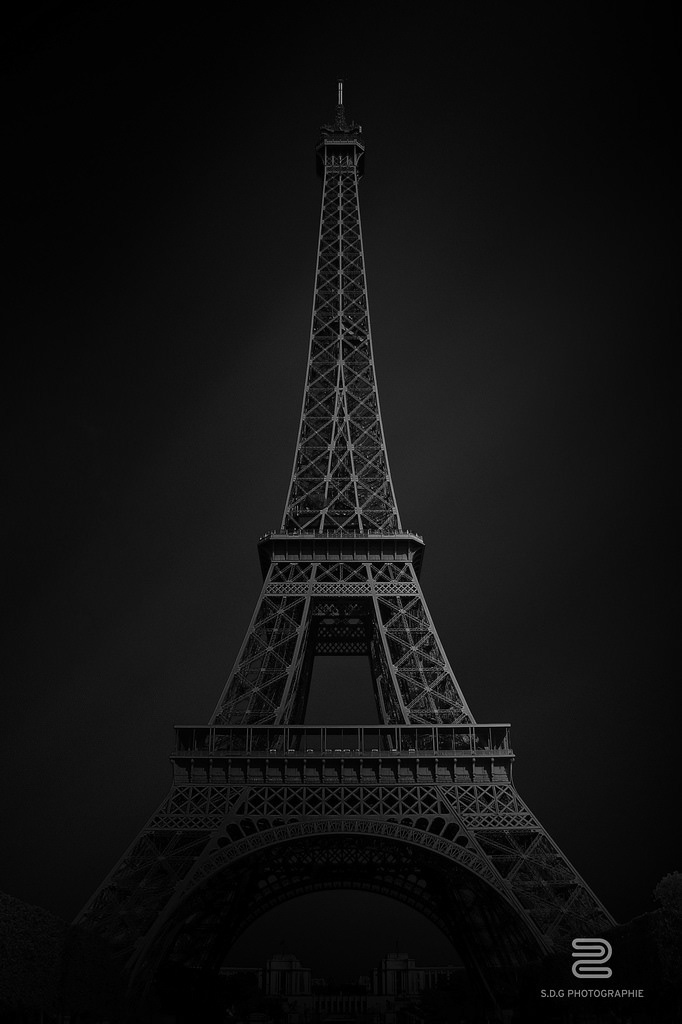
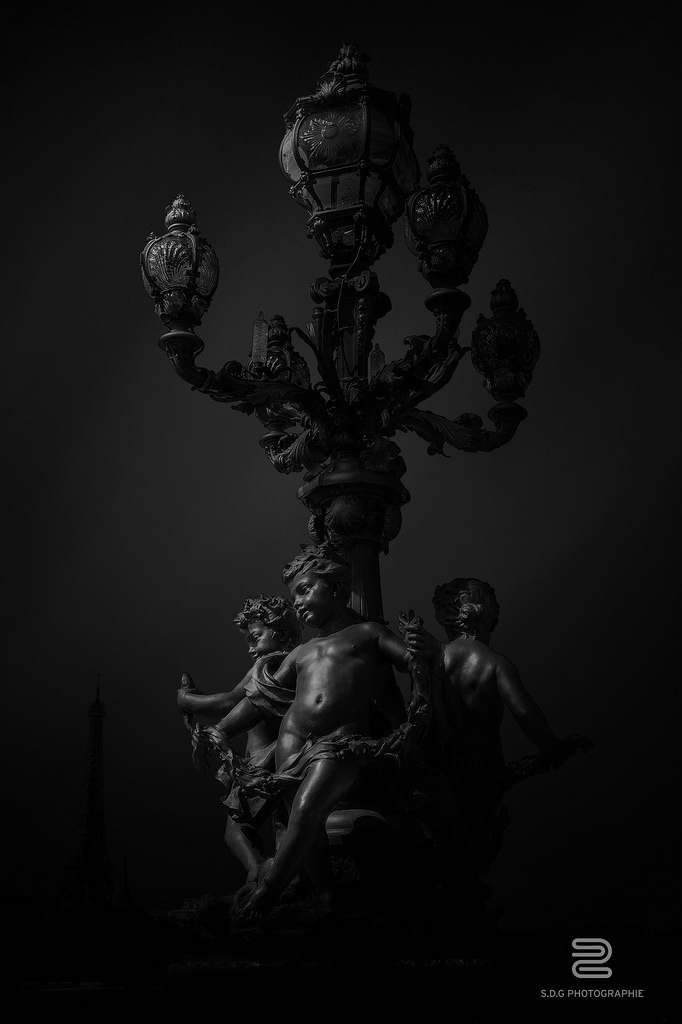
1 - Original picture
2 - Quick clipping can be done using a tool like the the « magic wand », the « quick selection » tool or the selections by layer. You don’t need to spend lots of time on clipping here at this stage, it is certainly the most laborious phase, and other tricks afterwards will allow you to hide most imperfections from a quick selection.
3 - Place here a sky of your choice, on a layer in the background (behind the eiffel tower). A nice sky made with a long exposure filter (i use the Lee big stopper for exemple), but if you are familiar with Photoshop, it is quite possible to create one easily.
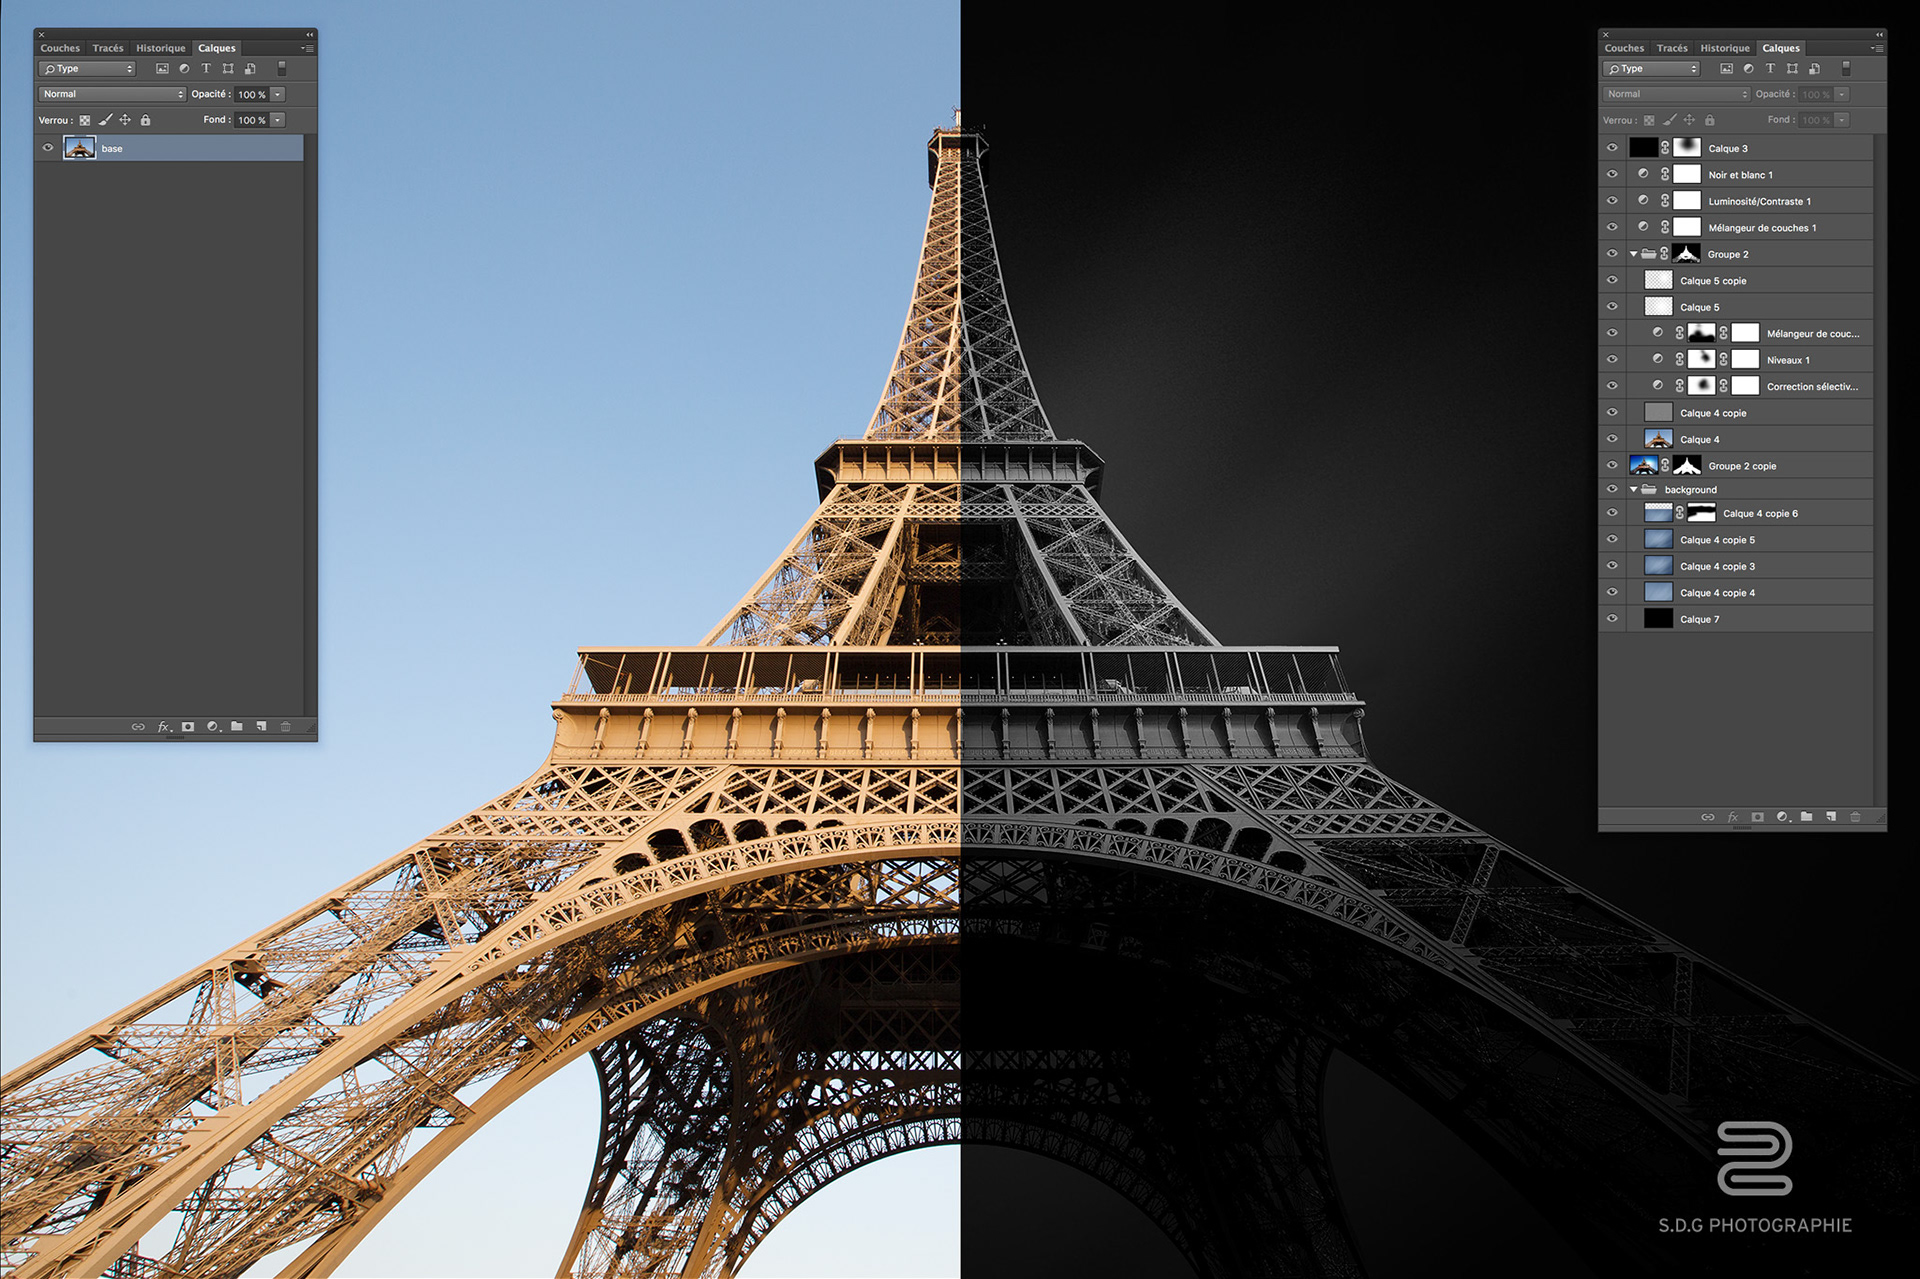
4 - Add a "black and white" adjustment layer positioned in the foreground. It’s important to play here with the different colors of the layers to begin to give contrast to your image. For exemple reds and yellows in this image lighten the eiffel tower, and the blue darken the background.
(A little trick here is to duplicate your basic image - the one before the sky was removed - place this layer behind the mask of the eiffel tower, and in « product » mode. This action will retrieve all the details of the edges which can be lost during clipping.You can also delete a few dark areas of the eiffel tower to bring up only the layer in product mode placed in the background)
5 - In this step, this is only the addition of a layer, in « product », « sieved » or « inlay » mode :
- black layer in dim light mode to darken the background, without bringing out the grain
- Adjustment layers: color balance or contrast light in a mask (to appear on the eiffel tower only), or a white brush stroke in « soft light » or « inlay » make it possible to bring out the areas of the eiffel tower in order to give the illusion of a more enlightened part than others.
(Another tip here is to apply a black inner glow, in product mode, on the eiffel tower, so as to erase the white smoothness that can appear when trimming, and become very visible with this dark background)
6 - Darkening the image using a black layer, and apply a mask on this layer to help the viewer's eye to the area you want to highlight.
_____________________
Thanks for watching